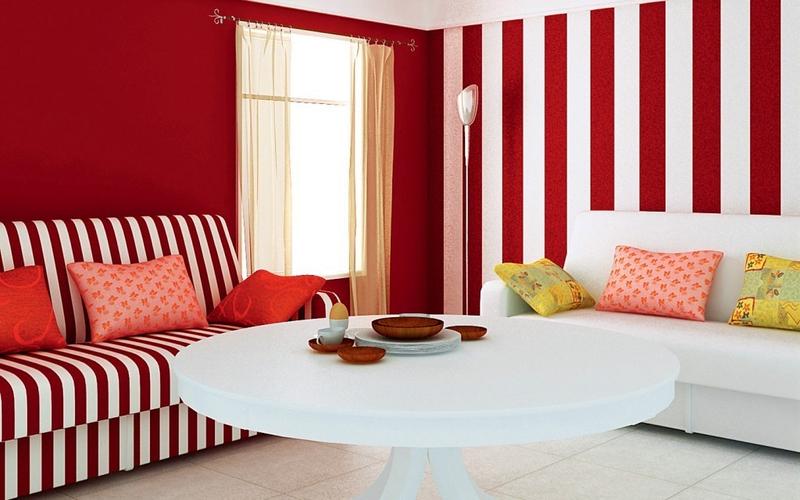
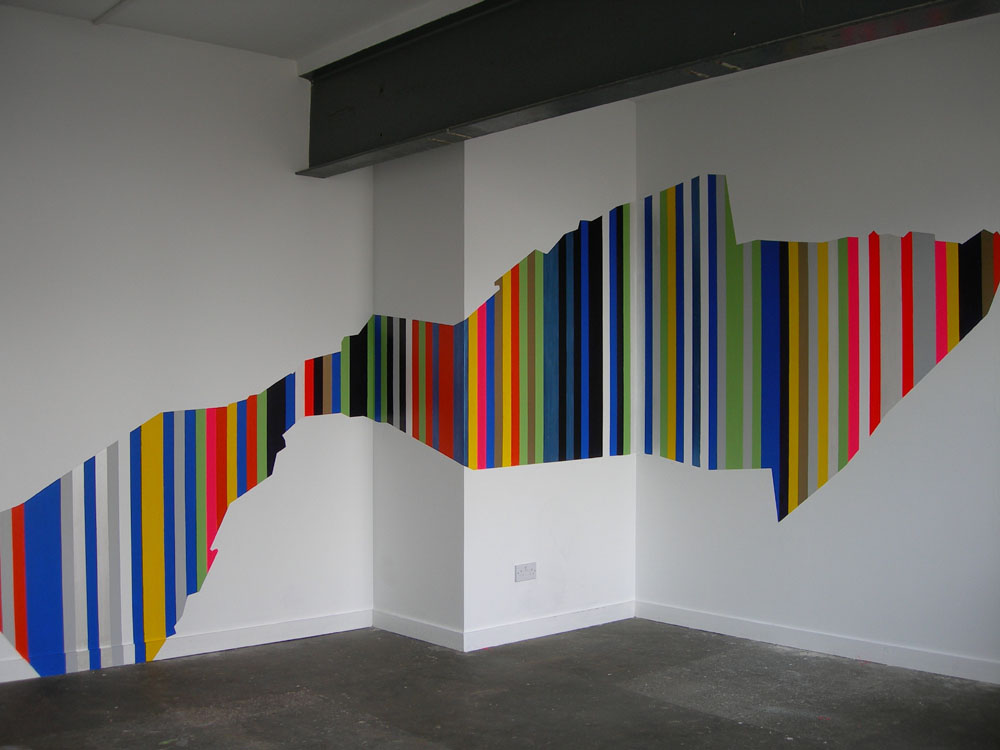
How to paint stripes on a wall? Adding stripes to your walls is a creative and stylish way to enhance the visual appeal of any room in your home. Whether you’re aiming for a bold statement or a subtle accent, painting stripes can instantly transform the look and feel of your space. In this comprehensive guide, we’ll walk you through the process of painting stripes on your walls like a pro, from planning and preparation to execution and finishing touches.

1. Planning Your Stripes:
Before you begin painting, it’s essential to plan out your stripe design carefully. Consider factors such as the width and direction of the stripes, as well as the color scheme and overall aesthetic of the room. You can create horizontal, vertical, or diagonal stripes, depending on your preference and the architectural features of the space. Use a pencil and ruler to sketch out your design on paper or directly onto the wall for reference.
2. Choosing Colors and Finishes:
Selecting the right colors for your stripes is crucial for achieving the desired look and feel. Choose contrasting or complementary colors to create a striking effect, or opt for subtle variations of the same hue for a more subdued appearance. Consider using different finishes, such as matte and satin, to add depth and texture to your stripes. Test paint samples on a small section of the wall to ensure you’re happy with the color combination before proceeding.
3. Preparing the Walls:
Proper preparation is key to achieving smooth and professional-looking stripes. Start by cleaning the walls with soap and water to remove any dirt, grease, or imperfections. Fill in any holes or cracks with spackling compound, then sand the surface smooth once it’s dry. Use painter’s tape to outline the edges of your stripes, ensuring clean and crisp lines. Cover the floors and furniture with drop cloths or plastic sheeting to protect them from paint splatters.
4. Measuring and Marking:
To ensure uniformity and accuracy, it’s essential to measure and mark the placement of your stripes before painting. Use a tape measure and level to mark evenly spaced intervals along the length of the wall, starting from the ceiling or floor. Use a pencil to lightly mark these points, then connect them with a straight edge to create guidelines for your stripes. Double-check your measurements and adjust as needed to ensure symmetrical spacing.

5. Applying the Base Coat:
How to paint a wall with a roller? Before painting your stripes, apply a base coat of paint to the entire wall in the lighter or background color. This will serve as the foundation for your stripes and help create a cohesive look. Use a roller to apply the paint in smooth, even strokes, working from top to bottom and overlapping each pass slightly for full coverage. Allow the base coat to dry completely before proceeding to the next step.
6. Painting the Stripes:
Once the base coat is dry, it’s time to paint the stripes. Use painter’s tape to mask off the areas between your pencil guidelines, ensuring straight and even lines. Apply the second garage wall paint to the exposed areas using a roller or brush, being careful not to bleed or smudge the edges of the tape. For best results, apply multiple thin coats of paint, allowing each coat to dry completely before applying the next.
7. Removing the Tape:
After painting the stripes, wait until the paint is dry to the touch before removing the painter’s tape. Slowly and carefully peel away the tape at a 45-degree angle, being mindful not to tear or damage the paint. If any paint bleeds or smudges along the edges, use a small brush or touch-up roller to fix any imperfections. Allow the paint to cure fully before moving furniture back into place or hanging artwork on the walls.
Tips for painting stripes on the wall
Adding stripes to your walls is a fantastic way to inject personality, style, and dimension into your living space. Whether you prefer bold, attention-grabbing stripes or subtle, understated ones, painting stripes can completely transform the look and feel of a room. However, achieving perfectly painted stripes requires careful planning, meticulous execution, and attention to detail.

1. Assessing Your Space:
Before diving into the painting process, take the time to evaluate your space and consider how stripes will complement its architecture, furnishings, and overall aesthetic. Ask yourself the following questions:
- What is the purpose of the room, and how do I want it to feel?
- Are there any architectural features, such as windows, doors, or alcoves, that will impact the placement of the stripes?
- How will the natural light in the room affect the appearance of the stripes throughout the day?
Understanding your space’s unique characteristics will help you make informed decisions about the size, direction, and color of your stripes.
2. Choosing the Right Colors:
Selecting the perfect color scheme for your stripes is crucial for achieving the desired atmosphere and visual impact. Consider the following tips when choosing colors:
- Contrast vs. Harmony: Decide whether you want your stripes to create a bold contrast with the existing wall color or blend harmoniously for a more subtle effect.
- Light vs. Dark: Light-colored stripes can make a room feel more spacious and airy, while dark-colored stripes add depth and intimacy.
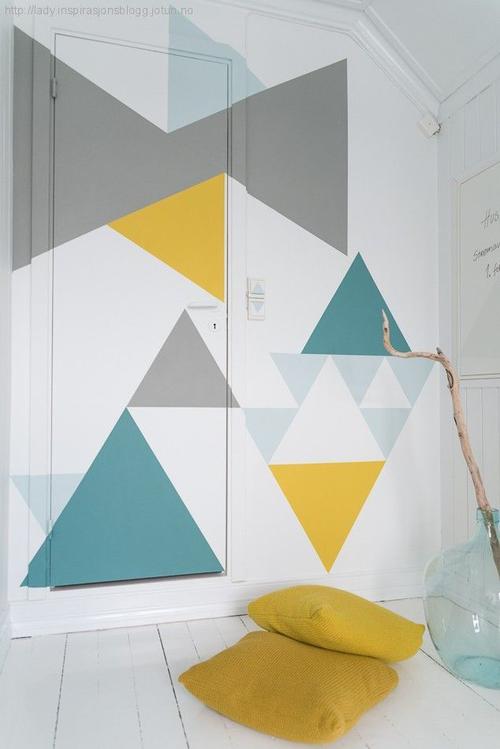
- Sample Testing: Before committing to a color scheme, simple geometric wall samples on a small section of the wall to assess how they look in different lighting conditions and alongside existing furnishings.
3. Determining Stripe Size and Direction:
The size and direction of your stripes will significantly influence the room’s visual perception and atmosphere. Here are some factors to consider:
- Width: The width of your stripes can range from narrow pinstripes to broad bands, depending on your preference and the scale of the room. Generally, wider stripes make a bolder statement, while narrower ones create a more delicate effect.
- Direction: Horizontal stripes can visually widen a room, making it feel more spacious, while vertical stripes elongate the walls, creating a sense of height. Diagonal or chevron stripes add dynamic movement and interest to a space.
Experiment with different stripe sizes and directions to see which option best complements your room’s proportions and layout.

4. Preparing Your Walls:
Proper preparation is essential for achieving smooth, crisp, and long-lasting stripes. Follow these steps to prepare your walls:
- Clean the Surface: Remove any dust, dirt, or grease from the walls using a mild detergent solution and a clean cloth. Allow the walls to dry completely before proceeding.
- Repair Imperfections: Fill in any cracks, holes, or blemishes with spackling compound, then sand the patched areas smooth with fine-grit sandpaper.
- Prime the Surface: Apply a coat of high-quality primer to the entire wall to create a uniform base for the paint and improve adhesion. Allow the primer to dry completely before painting.
5. Marking and Measuring:
Accurate measurement and marking are essential for ensuring evenly spaced and straight stripes. Here’s how to mark your walls effectively:
- Use a Level: Place a level horizontally or vertically along the wall to ensure that your stripes are perfectly straight. Adjust as needed to achieve the desired alignment.
- Measure and Mark: Use a tape measure to determine the desired spacing between each stripe, then lightly mark the intervals along the wall with a pencil. Consider using a chalk line or laser level for longer or more complex layouts.
Taking the time to measure and mark your walls accurately will prevent uneven or crooked stripes and ensure a professional-looking finish.

Conclusion:
In conclusion, painting stripes on your walls is a fun and rewarding DIY project that can instantly elevate the look of your home. By carefully planning and preparing your space, choosing the right colors and finishes, and following a step-by-step approach, you can achieve professional-looking results with ease. So roll up your sleeves, grab your paintbrushes, and get ready to transform your walls into works of art with stylish and eye-catching stripes!