How to fix paint chips on wall? Paint chips on walls can be unsightly and detract from the overall appearance of your home. Whether caused by wear and tear, accidental damage, or simply the passage of time, addressing paint chips promptly is essential to maintaining a fresh and polished interior. In this comprehensive guide, we will delve into the various methods and techniques for fixing paint chips on walls, empowering you to restore your walls to their former glory with ease and expertise.

1. Assessing the Damage:
Before diving into the repair process, it’s crucial to assess the extent of the geometric wall paint. Here’s how to effectively evaluate the situation:
- Size of Chips: Determine the size of the paint chips, categorizing them as small, medium, or large for appropriate repair methods.
- Location: Note the location of the paint chips, such as high-traffic areas, corners, or near furniture, as this can impact the repair approach.
- Surface Type: Consider the surface type of the wall, whether it’s drywall, plaster, or another material, as different surfaces may require specific repair techniques.
2. Gather Materials and Tools:
Before starting the repair process, gather the necessary materials and tools to ensure a smooth and efficient outcome. Here’s a list of commonly used items for fixing paint chips on walls:
- Primer: Choose a quality primer suitable for the wall surface and paint type.
- Paint: Obtain the same color and finish of paint used on the wall for seamless blending.
- Putty Knife: A putty knife or scraper is essential for applying and smoothing out repair materials.
- Spackling Compound: Use spackling compound for filling in small to medium-sized paint chips.
- Sandpaper: Have fine-grit sandpaper on hand for smoothing surfaces and blending edges.
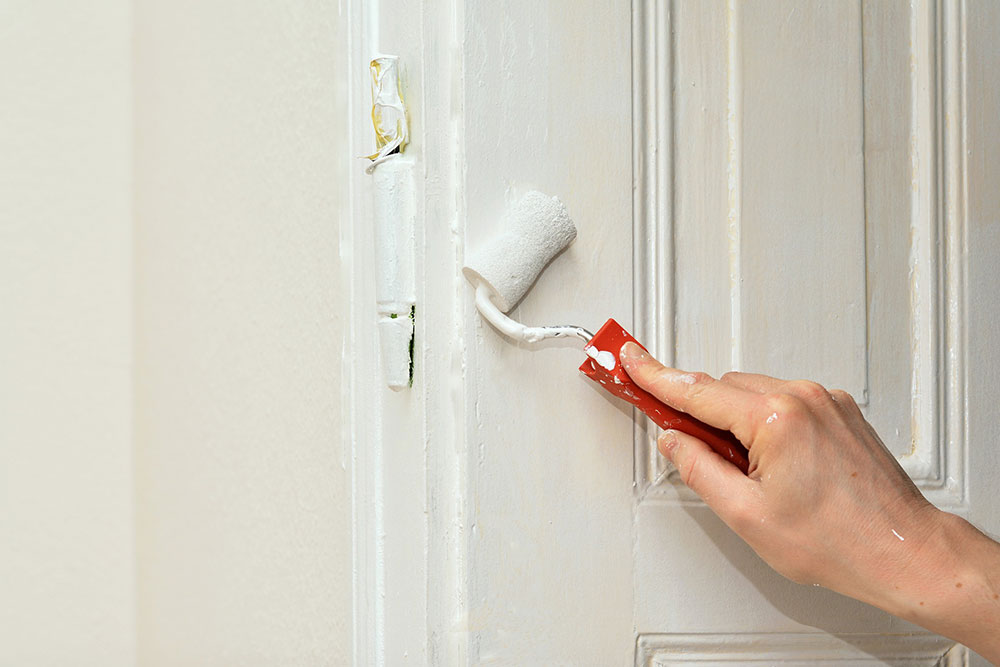
- Paintbrushes/Rollers: Use appropriate paintbrushes or rollers for applying primer and paint.
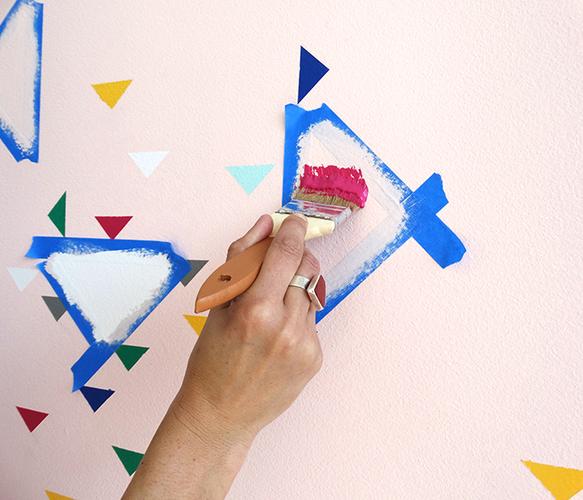
- Drop Cloth/Masking Tape: Protect surrounding areas with a drop cloth and use masking tape for clean edges.
3. Repairing Small Paint Chips:
For small paint chips, follow these steps to achieve a seamless repair:
- Clean Surface: Begin by cleaning the damaged area to remove dust, dirt, and loose paint particles.
- Apply Spackling Compound: Use a putty knife to apply a small amount of spackling compound to the chip, filling it in completely.
- Smooth and Blend: Once the compound dries, gently sand the area with fine-grit sandpaper to create a smooth surface and blend the edges.
- Prime and Paint: Apply a thin coat of primer to the repaired area, followed by matching paint to seamlessly blend with the surrounding wall.

4. Addressing Medium-Sized Paint Chips:
For medium-sized paint chips, follow these detailed steps for effective repair:
- Prepare Surface: Clean the damaged area and use a putty knife to remove any loose paint or debris around the chip.
- Fill with Spackle: Apply spackling compound to the chip, slightly overfilling to ensure a flush surface once dried.
- Smooth and Shape: Use the putty knife to smooth and shape the spackling compound, blending it with the wall surface.
- Sand and Prime: Once the compound dries, sand the area until smooth, then apply primer to prepare for painting.
- Paint and Blend: Apply matching geometric wall paint to the repaired area, feathering the edges for a seamless blend with the existing paint.
5. Handling Large Paint Chips:
Large paint chips may require additional steps and care for proper repair. Follow these guidelines for tackling larger areas of damage:
- Preparation: Clean and prepare the damaged area, ensuring it’s free of loose paint and debris.
- Fill and Shape: Use a larger amount of spackling compound to fill the chip, building up layers if necessary to achieve a flush surface.
- Smooth and Sand: After the compound dries, use sandpaper to smooth the repaired area, feathering the edges for a seamless transition.
- Prime and Paint: Apply primer to the repaired section, allowing it to dry completely before applying matching paint for a flawless finish.

Precautions when using wall paint
Wall paint serves as both a protective and decorative element in interior design, enhancing the aesthetics of a space while safeguarding surfaces from damage and wear. However, achieving optimal results with wall paint requires careful consideration and adherence to certain guidelines.
1. Choosing the Right Paint:
Selecting the appropriate type of paint is the first step towards successful wall painting. Consider the following factors:
- Surface Type: Determine whether the surface is drywall, plaster, wood, or another material, as different paints are formulated for specific surfaces.
- Finish: Choose from various finishes such as flat, eggshell, satin, semi-gloss, or high-gloss, based on desired aesthetics and practicality.
- Color: Take into account lighting conditions, room size, and desired mood when selecting paint colors, and consider testing samples in the intended space.
- Quality: Invest in high-quality paint to ensure better coverage, durability, and resistance to fading and stains.
2. Preparing the Surface:
Proper surface preparation is crucial for achieving a flawless paint finish. Follow these steps:
- Cleaning: Remove dust, dirt, grease, and any existing contaminants from the surface by wiping with a damp cloth or using a mild detergent solution.
- Repairing Damage: Fill cracks, holes, and imperfections with spackling compound or putty, and sand the surface smooth once the filler has dried.
- Priming: Apply a coat of primer to promote adhesion, improve coverage, and seal porous surfaces, allowing it to dry completely before painting.
3. Tools and Materials:
Gather the necessary tools and materials before starting the wall paint process:
- Paint: Ensure you have enough paint for the entire project, and stir it thoroughly before use to achieve a consistent color and texture.
- Brushes and Rollers: Select high-quality brushes and rollers suitable for the chosen paint type and finish, considering the size of the surface and desired texture.
- Drop Cloths and Masking Tape: Protect floors, furniture, and fixtures with drop cloths, and use masking tape to create clean lines and edges.
- Paint Tray and Grid: Pour paint into a tray and use a grid to remove excess paint from brushes and rollers, preventing drips and splatters.
- Ladder or Step Stool: Ensure safe access to high areas with a sturdy ladder or step stool, and use caution when working at elevated heights.

4. Application Techniques:
Mastering proper painting techniques is essential for achieving professional-looking results:
- Cutting In: Use a high-quality angled brush to carefully cut in around edges, corners, and trim before using a roller for larger areas.
- Rolling: Load the roller evenly with paint and apply it in a “W” or “N” pattern to ensure even coverage, working in small sections to maintain a wet edge.
- Overlapping Strokes: Blend overlapping strokes to avoid visible seams and roller marks, and feather edges for a seamless finish.
- Consistency: Maintain a consistent pressure and speed when applying paint to prevent uneven texture and color variation.
Conclusion:
Fixing paint chips on walls is a manageable task with the right knowledge, materials, and techniques. By assessing the damage, gathering the necessary supplies, and following the appropriate repair steps based on chip size, you can restore your walls to their original beauty. Whether dealing with small, medium, or large paint chips, attention to detail and a methodical approach will ensure professional-looking results. With these insights and guidelines at your disposal, you can confidently tackle paint chip repairs and enjoy a refreshed and rejuvenated interior space.

