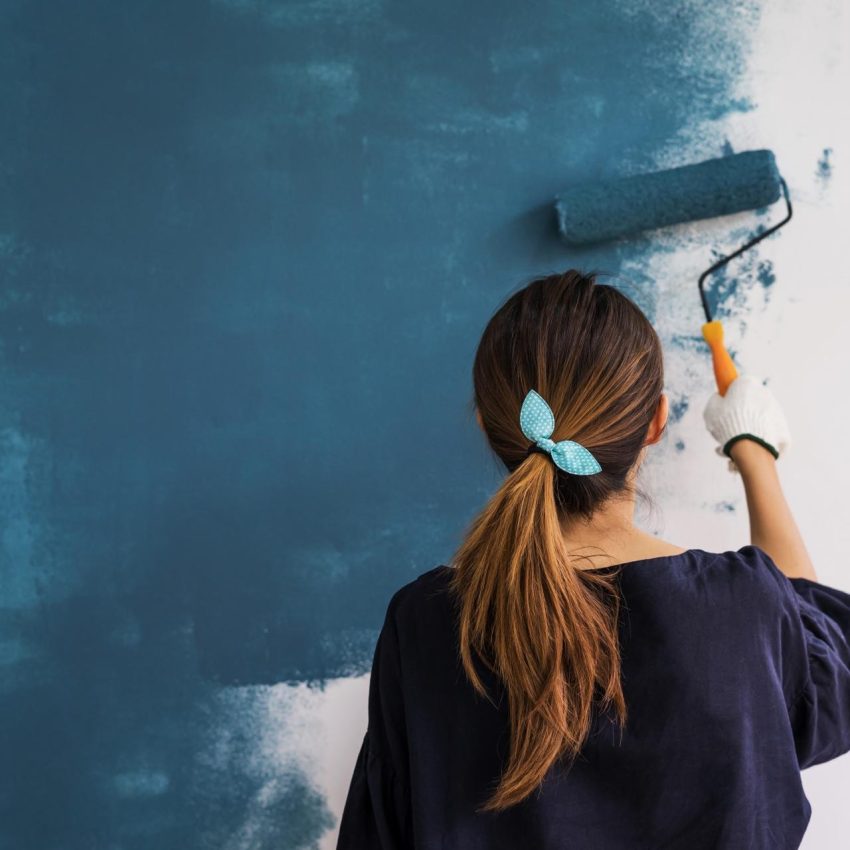
How to roll paint on a wall? Painting a wall is an effective way to refresh and transform the look of a room. Rolling paint is a common method used to cover large wall areas quickly and efficiently. This guide will provide step-by-step instructions on how to roll paint on a wall, ensuring a smooth and professional finish.
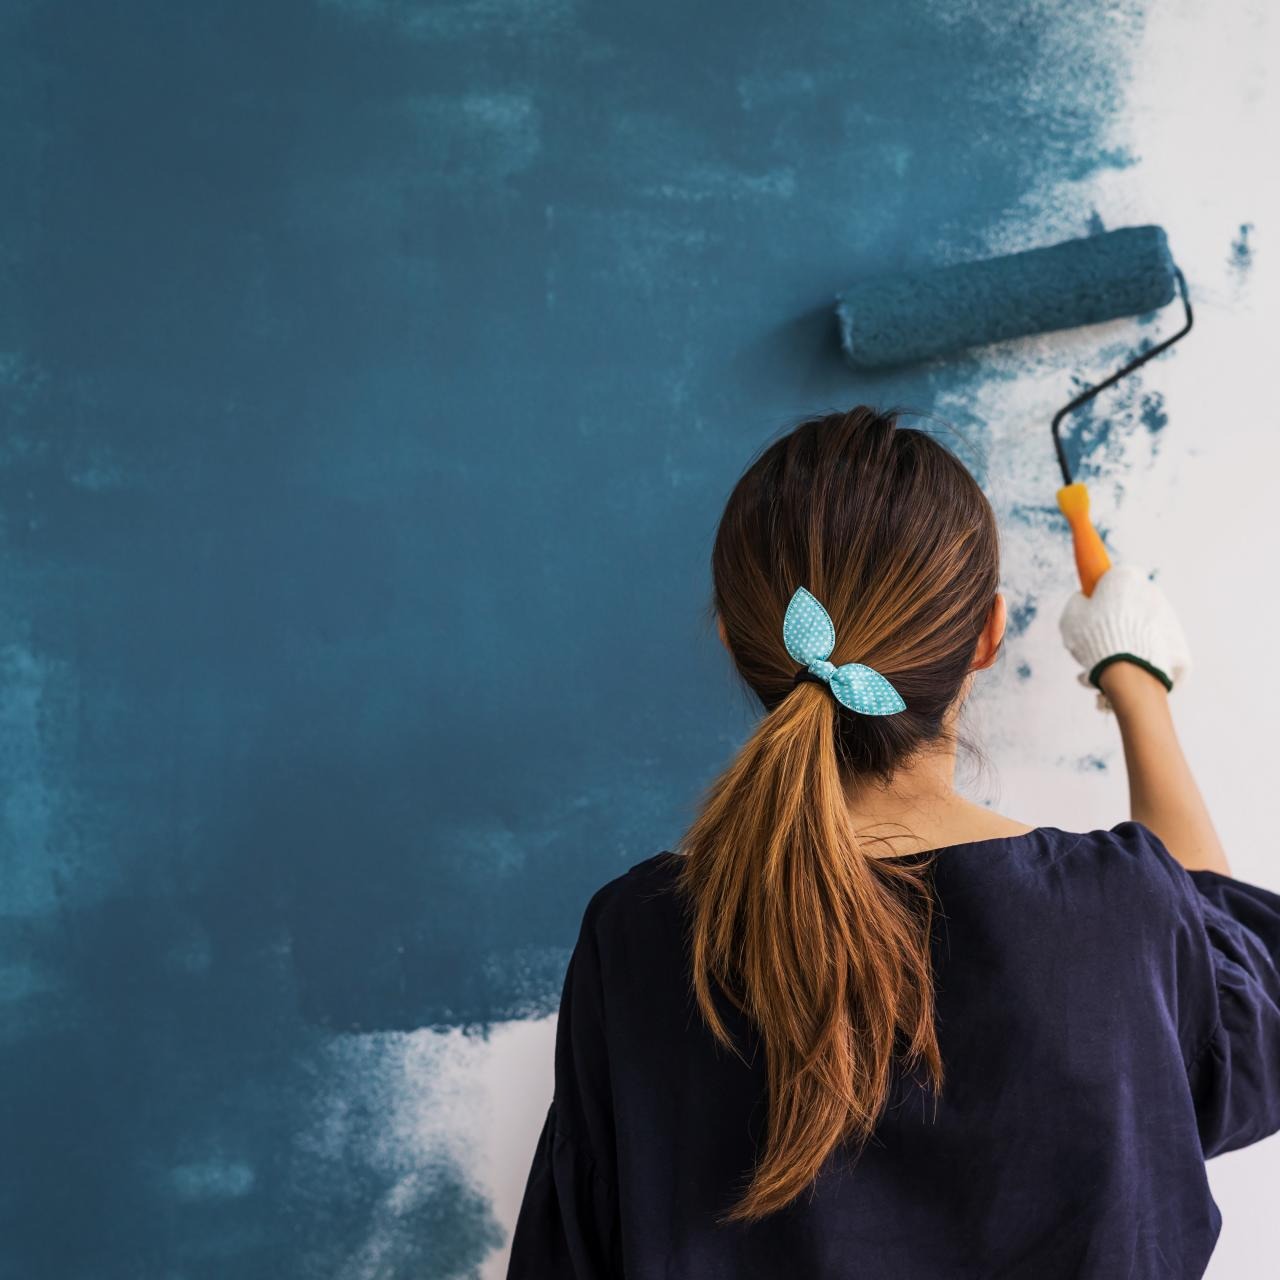
Preparing the Wall:
- Clear the area: Remove furniture, decorations, and cover the floor with drop cloths to protect against paint splatters.
- Repair any damages: Inspect the wall for cracks, holes, or bumps. Fill them with spackling paste and sand them down until smooth.
- Clean the wall: Dust and clean the wall to remove dirt, grease, and any loose particles. A mild detergent solution and a sponge can be used for this purpose.
Gathering the Supplies:
- Paint: Choose the type and color of paint that suits your preference and the room’s decor. Make sure to buy enough to cover the desired wall area. Latex paint is commonly used for walls due to its easy clean-up and durability.
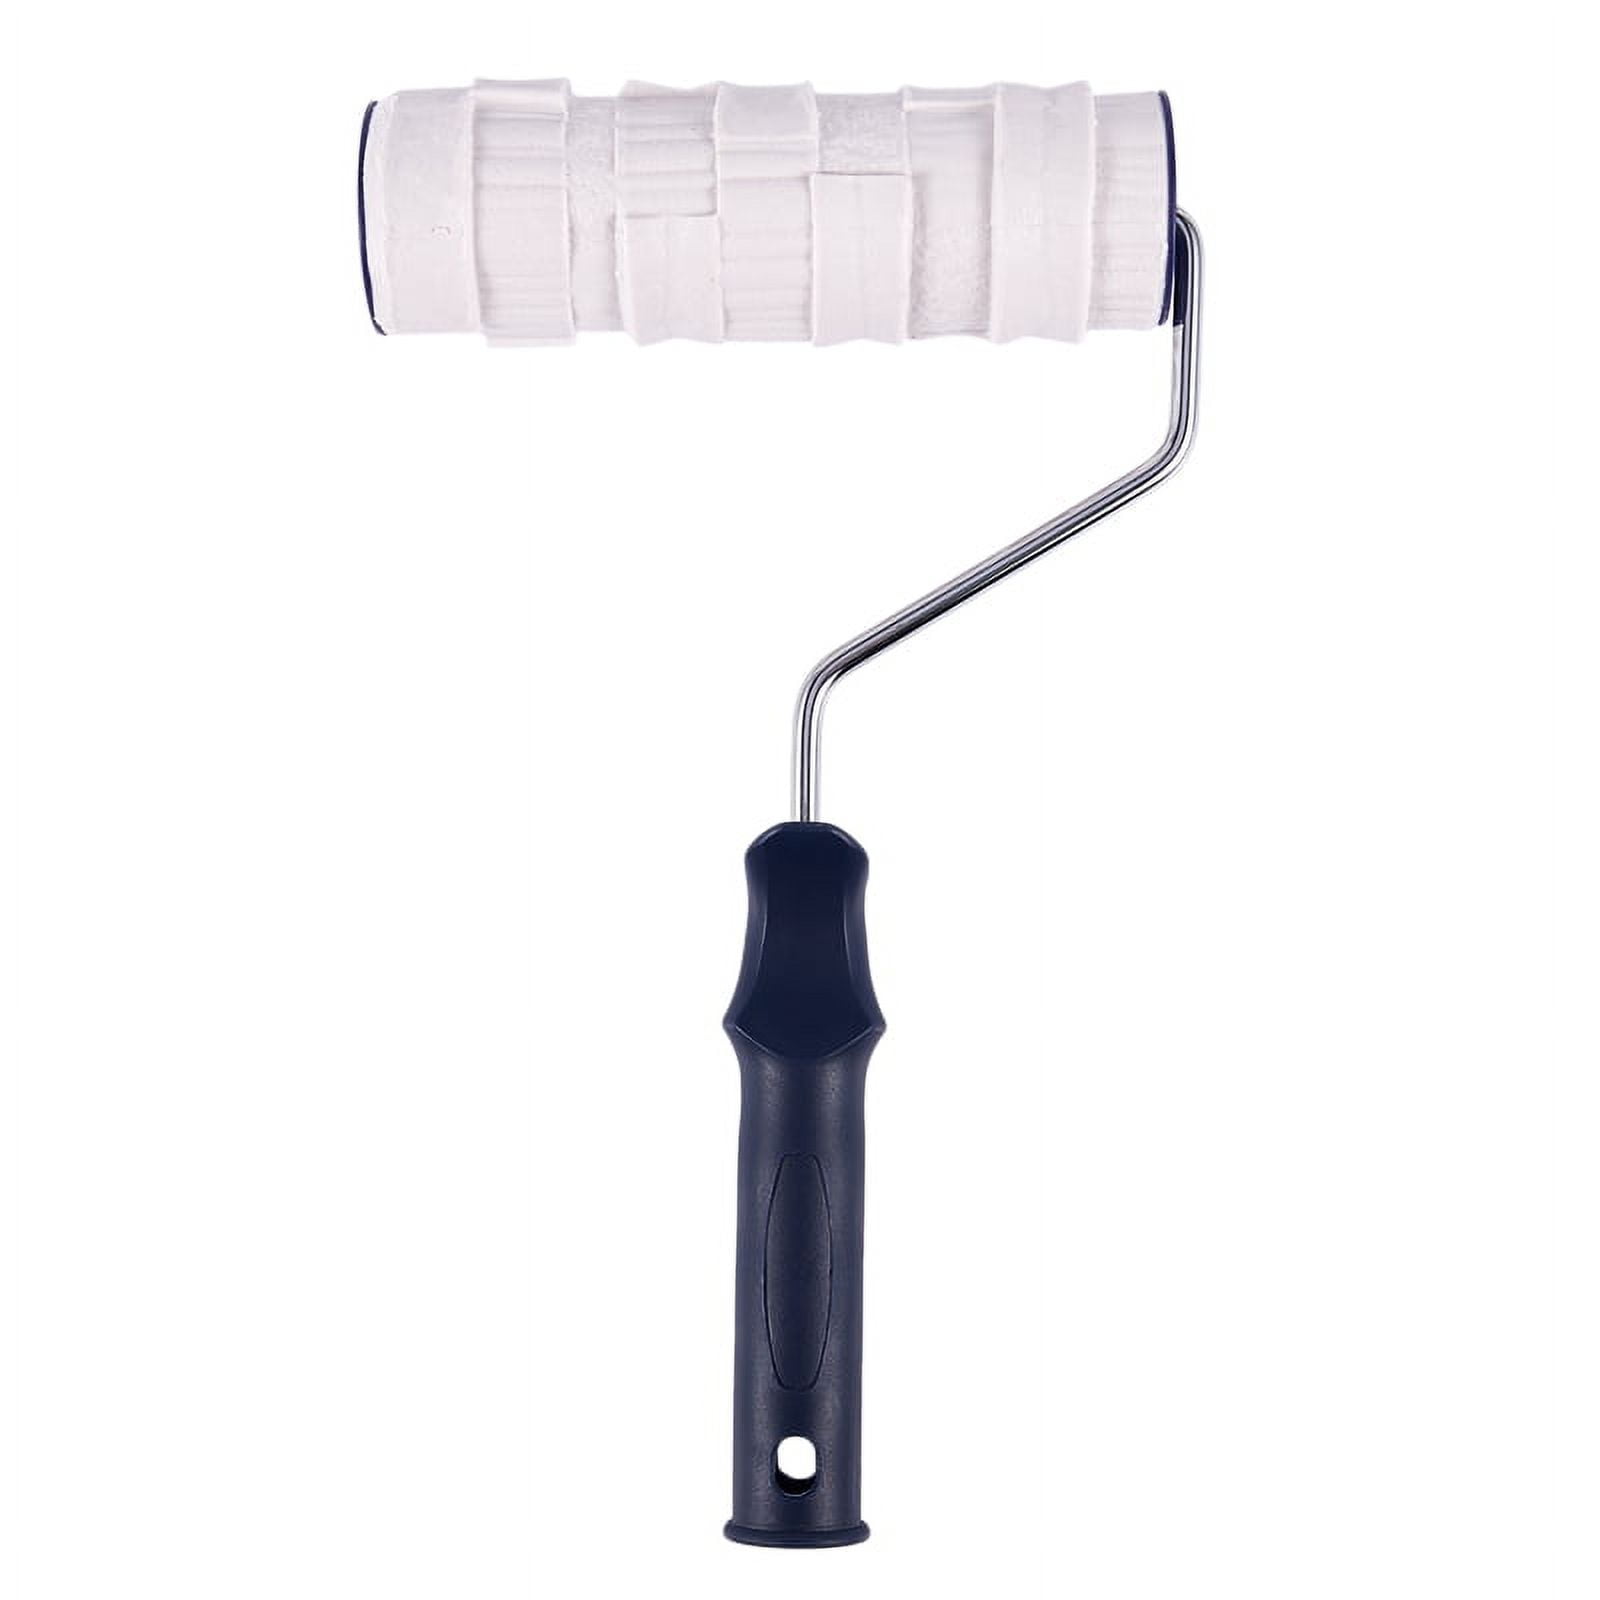
- Roller and tray: Purchase a roller cover with a suitable nap length based on the texture of your wall. The tray should be large enough to accommodate the roller, allowing for even distribution of paint.
- Extension pole: If reaching high walls or ceilings, consider using an extension pole to make the process easier and more comfortable.
- Painter’s tape: Use painter’s tape to protect edges, trim, and other areas that should not be painted.
Preparing the Paint:
- Open the paint can: Use a flat-head screwdriver or wall design can opener to pry open the can. Properly mix the paint with a stirring stick or a paint mixing attachment on a power drill.
- Pour paint into the tray: Pour a moderate amount of paint into the tray, ensuring it fills about one-third of the tray’s depth. This prevents the paint from drying out during the process.
Applying the Paint:
- Start with cutting in: Use a brush to “cut in” the edges and corners of the wall, painting a border around trim, ceilings, and baseboards. This helps achieve a neat and precise result.
- Load the roller: Dip the roller cover into the paint tray, rolling it back and forth to evenly distribute the paint. Do not oversaturate the roller to avoid drips and splatters.
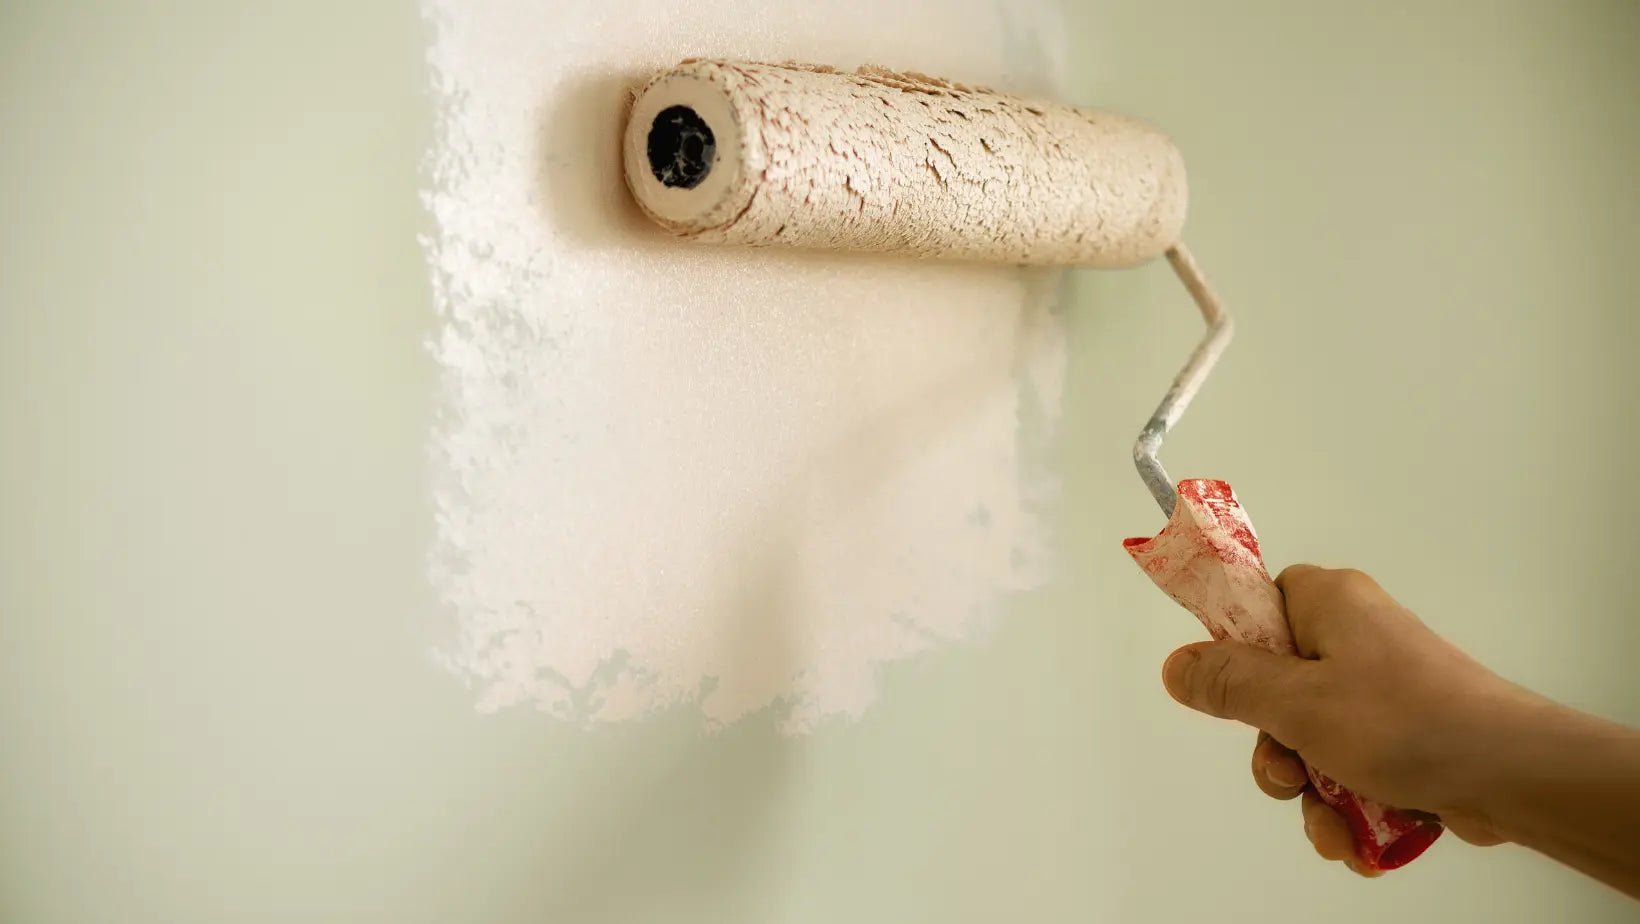
- Roll the paint on the wall: Begin rolling the paint onto the wall in a “W” or “M” shape. Apply light to medium pressure, evenly covering the surface. For a consistent finish, maintain a wet edge while rolling.
- Work in sections: Divide the wall into manageable sections, around 3 by 3 feet, and paint one section at a time. Make sure to slightly overlap each pass to blend the paint together.
- Use an extension pole: If needed, attach an extension pole to the roller handle to reach higher areas. This prevents strain and allows for better control during the process.
- Let the paint dry: Allow the first coat of paint to dry completely before applying a second coat. Refer to the paint manufacturer’s instructions for the recommended drying time.
Clean-up:
- Clean the roller and tray: Rinse the roller cover and tray thoroughly with water or an appropriate solvent, depending on the type of paint used. Remove excess ombre paint wall, ensuring the roller is clean for future use.
- Remove painter’s tape: Once the paint is dry, gently remove the painter’s tape at a 45-degree angle for clean edges.
- Dispose of materials: Properly dispose of paint cans, brushes, and any other materials according to local regulations.
- Clean the workspace: Remove drop cloths and clean any paint spills or splatters on the floor, furniture, or other surfaces.
Precautions for paint on a wall
Painting a wall can be a rewarding DIY project that breathes new life into a space. However, before you begin applying paint on a wall, it is essential to consider a few important factors to ensure the best possible results.
Surface Preparation:
- Clean the wall: Ensure the wall is clean and free from dust, dirt, and grease. Use a mild detergent solution and a sponge to remove any accumulated grime. Rinse with clean water and allow the wall to dry completely before painting.
- Repair any damages: Inspect the wall for cracks, holes, or dents. Fill them with spackling paste and smooth them out using a putty knife. Sand the areas lightly once dry to create a smooth surface.
- Remove existing paint: If the existing paint is peeling or flaking, it is crucial to remove it before applying a fresh coat. Use a scraping tool or a paint stripper to strip off the old paint entirely. Sand the surface to create an even texture.
Choosing the Right Paint:
- Consider the room’s purpose: Different rooms have different requirements. For high-traffic areas, choose a paint that is durable and easy to clean, such as latex or semi-gloss. For rooms where relaxation is a priority, opt for a matte finish to provide a soft, subtle look.
- Test the paint color: Before committing to a color, it is wise to test it on a small section of the wall or on a sample board. Observe the color during different lighting conditions to ensure it matches your desired effect.
- Quality of paint: Investing in high-quality easy wall paint ensures better coverage, durability, and a smoother finish. Cheaper paints may require multiple coats and are more prone to chipping or fading.
Necessary Tools:
- Roller cover: Choose a roller cover with the appropriate nap length depending on your wall texture. Shorter nap lengths work better for smooth walls, while longer nap lengths are suitable for textured surfaces.
- Roller tray and grid: The tray should be wide enough to accommodate the roller and have a grid to remove excess paint and prevent drips.
- Extension pole: If painting high ceilings or walls, an extension pole can make the process easier and more efficient.
- Brushes: Have a few different-sized brushes on hand for cutting in corners, edges, and details.
Applying the Paint:
- Use painter’s tape: Apply painter’s tape to protect edges, trim, and other areas that should not be painted. Make sure the tape is firmly adhered to achieve clean and sharp lines.
- Primer: Depending on the condition of the wall and the type of paint used, applying a primer might be necessary for better adhesion and coverage. Consult the paint manufacturer’s instructions or a paint professional for guidance.
- Drywall conditioner: If painting on newly drywalled or repaired surfaces, applying a drywall conditioner can help minimize surface porosity and ensure better paint coverage.
Post-Painting Care:
- Second coat: Allow the first coat to dry completely before applying a second coat of paint. This ensures a more opaque and uniform finish.
- Clean-up: Clean brushes and roller covers promptly after use to extend their lifespan. Use water or an appropriate solvent depending on the type of paint used. Dispose of any paint waste properly according to local regulations.
Conclusion:
How to roll paint on a wall? Rolling paint on a wall is a relatively straightforward process that can be done with some patience and attention to detail. Following the steps outlined in this guide will help you achieve a professional-looking finish and transform any room with a fresh coat of color.
