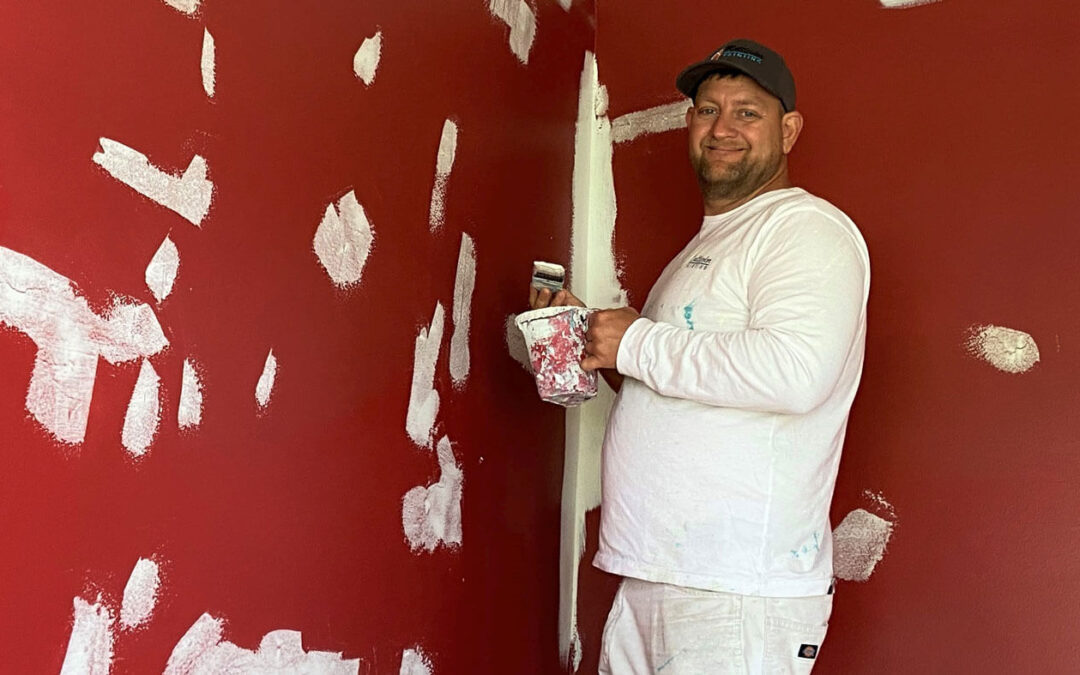
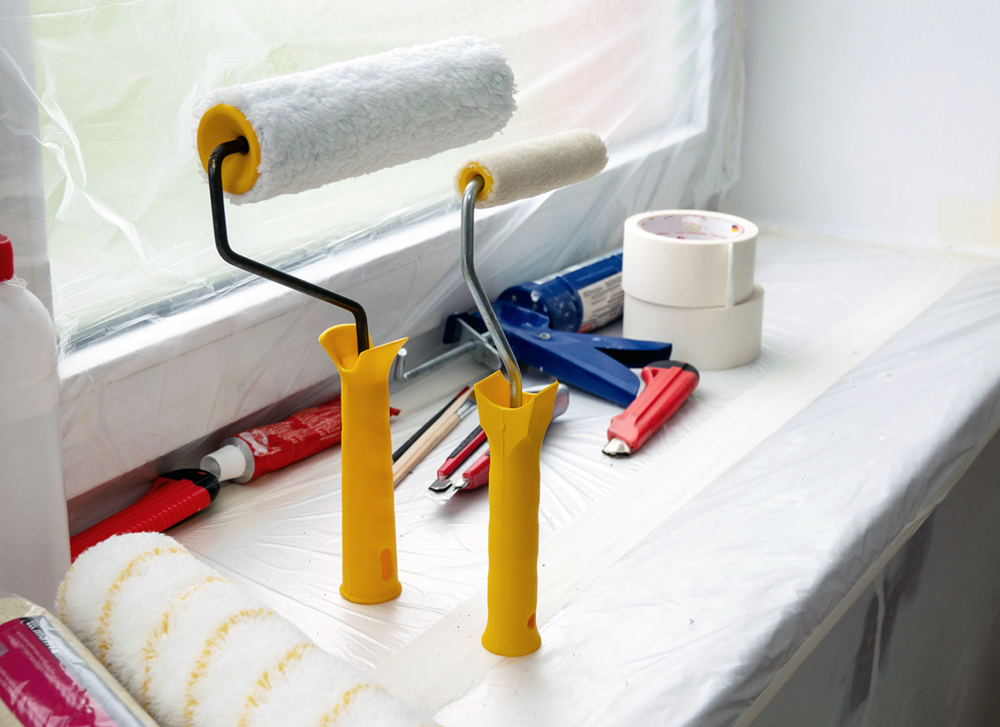
Properly preparing your wall prep for paint before painting is essential to achieve a smooth and long-lasting finish. Wall prep involves several steps, including cleaning, repairing, and priming the surface. This guide will provide you with valuable tips and considerations on how to choose the right wall prep materials, including cleaners, fillers, sandpapers, and primers, to ensure a successful paint application.

Assessing the Condition of the Walls:
- Identify Imperfections: Carefully inspect the walls for any imperfections, such as cracks, holes, or flaking paint. These issues require different types of wall prep materials to ensure a flawless painting surface.
- Surface Texture: Determine the texture of the walls, as this will influence the type of wall prep materials needed. Smooth surfaces require less extensive prep compared to textured or rough surfaces.
Choosing Wall Cleaners:
- Mild Cleaners: Mild wall cleaners, such as diluted dish soap or general-purpose cleaning solutions, are suitable for regular dirt and grime removal. They are gentle enough to avoid damaging the wall paint or underlying surface.
- Heavy-Duty Cleaners: For more stubborn stains or greasy residues, consider using heavy-duty wall cleaners. These cleaners will effectively remove tough stains without leaving behind any residue.
Selecting Wall Fillers:
- Spackling Paste: Spackling paste is ideal for filling small cracks, nail holes, or dents. It dries quickly and can be easily sanded for a smooth finish.
- Joint Compound: Joint compound is a suitable option for larger holes or damaged areas. It has a thicker consistency and can be applied in multiple layers, allowing for better flexibility and durability.
Sandpaper and Sanding Tools:
- Grit Options: Sandpapers are available in various grits, ranging from coarse to fine. Coarser grits such as 80-120 are suitable for smoothing rough surfaces, while finer grits such as 220-320 are ideal for achieving a polished finish.
- Sanding Block or Electric Sander: Depending on the size and texture of the wall, you may need either a sanding block or an electric sander for efficient and even sanding. An electric sander is recommended for larger surface areas or heavily textured walls.

Primers:
- Primer Types: Choose a primer that best suits the wall surface and the wall design you plan to use. Common options include all-purpose primers, stain-blocking primers, or primer-sealer combinations.
- Primer Functionality: Consider additional functionalities, such as mold and mildew resistance or adhesion-promoting properties, if needed for specific wall conditions.
Considering Environmental Factors:
- Low VOC or Green Options: If you have concerns about indoor air quality or environmental impact, look for low VOC (volatile organic compounds) or green wall prep materials. These options minimize the release of harmful chemicals into the air during and after paint application.
Seeking Expert Advice:
- Consult Professionals: If you are unsure about the specific wall prep materials needed for your project or if you are dealing with unique wall surfaces, seek guidance from professionals or knowledgeable individuals at paint or home improvement stores.
Test Patch:
- Perform a Test Patch: Before proceeding with the entire wall, apply and evaluate the wall prep materials on a small inconspicuous area. This test patch will help ensure that the selected materials adhere well, deliver the desired results, and do not damage or react negatively with the existing surface.

Precautions when using wall prep for paint
Proper wall preparation is essential for achieving a smooth and long-lasting paint finish. It ensures that the paint adheres well, covers evenly, and enhances the overall appearance of the walls.
Safety Measures:
- Personal Protective Equipment (PPE): Wear appropriate PPE such as goggles, gloves, and a dust mask to protect yourself from dust, debris, and potentially harmful chemicals.
- Ventilation: Ensure adequate ventilation in the painting area by opening windows or using fans to prevent the accumulation of fumes or dust particles.
Surface Preparation:
- Clean the Walls: Thoroughly clean the walls to remove dirt, grease, and any mold or mildew. Use mild cleaners or appropriate solutions recommended for wall surfaces. Ensure the walls are completely dry before proceeding.
- Patch and Repair: Inspect the walls for cracks, holes, or any other imperfections. Use spackling paste or joint compound to fill these areas, ensuring a smooth and even surface.
- Sanding: Use sandpaper or sanding tools to lightly sand the walls, especially around repaired areas, to create a smooth surface for geometric wall paint adhesion. Wipe off dust or debris using a clean cloth or tack cloth.

Attention to Detail:
- Edges and Corners: Pay special attention to edges, corners, and areas around trim or molding. Use a putty knife or brush to ensure paintability and a clean finish.
- Light Fixtures and Switches: Remove light fixtures, switch plates, and outlet covers to ensure a neat and professional-looking paint job. Mask or cover them properly to protect from paint splatters.
Primer Application:
- Choose the Right Primer: Select a primer designed for the specific surface, paint type, and desired finish. Consult the manufacturer’s instructions for recommended application techniques and drying times.
- Application Techniques: Apply primer with a brush or roller, ensuring even coverage and smooth application. Follow recommended drying times before applying paint.
- Multiple Coats: Depending on the condition of the walls and the desired outcome, multiple coats of primer may be required. Allow each coat to dry thoroughly before applying the next.
Testing and Color Selection:
- Test Patch: Before applying paint to the entire wall, test a small patch to assess color, coverage, and overall appearance. This helps ensure the chosen paint color is satisfactory and complements the space.
- Paint Compatibility: If applying new paint over existing paint, ensure compatibility by checking with the paint manufacturer or performing an adhesion test in an inconspicuous area.
Cleanup and Disposal:
- Cleanup: Properly clean brushes, rollers, and other painting tools after use to maintain their quality and prolong their lifespan. Dispose of excess paint, solvents, or cleaning materials according to local regulations.
- Environmental Considerations: Choose low VOC or environmentally friendly paint and cleaning products to minimize the impact on indoor air quality and the environment.

Conclusion:
Choosing the right wall prep materials is crucial for achieving a smooth and flawless paint finish. Consider the condition and texture of the walls, the types of imperfections to be addressed, and the functionality of the chosen primers. Keep environmental considerations in mind and seek expert advice if needed. Performing a test patch will help determine the suitability and effectiveness of the chosen wall prep materials. By selecting the appropriate cleaners, fillers, sandpapers, and primers, you can ensure optimal wall preparation for a successful and long-lasting paint application.
