
Importance of Wallpaper Primer
A good wallpaper primer sets the stage for a smooth and lasting finish. Priming your wallpaper before wallpapering is crucial. It ensures that your wallpaper adheres properly to the wall. Without primer, you may face peeling or bubbling soon after installation. It’s a step that saves time and money in the long run.
Primers also protect your walls. They can seal in stains, avoid damage from adhesive, and make future wallpaper removal easier. Whether you’re dealing with new drywall or painted surfaces, a suitable primer exists for each scenario. Ignore this step, and you risk imperfections showing through or poor wallpaper performance.
Moreover, the type of primer you choose can impact room ventilation. Some emit strong odors and require proper airflow during application. Always match the primer to your wall surface for the best outcome. Consider the wallpaper you plan to use as well. Heavy or textured wallpapers need a strong grip that only the right primer can provide.
In short, primer is a wallpaper project’s best friend. It promotes better adhesion, protects your walls, and enhances wallpaper longevity. Always prime before wallpapering, and your walls will thank you with a flawless display.
Different Types of Wallpaper Primers
Choosing the correct wallpaper primer is essential for job success. Each type of primer caters to specific conditions and surfaces. Exploring these options will help you make an informed decision.
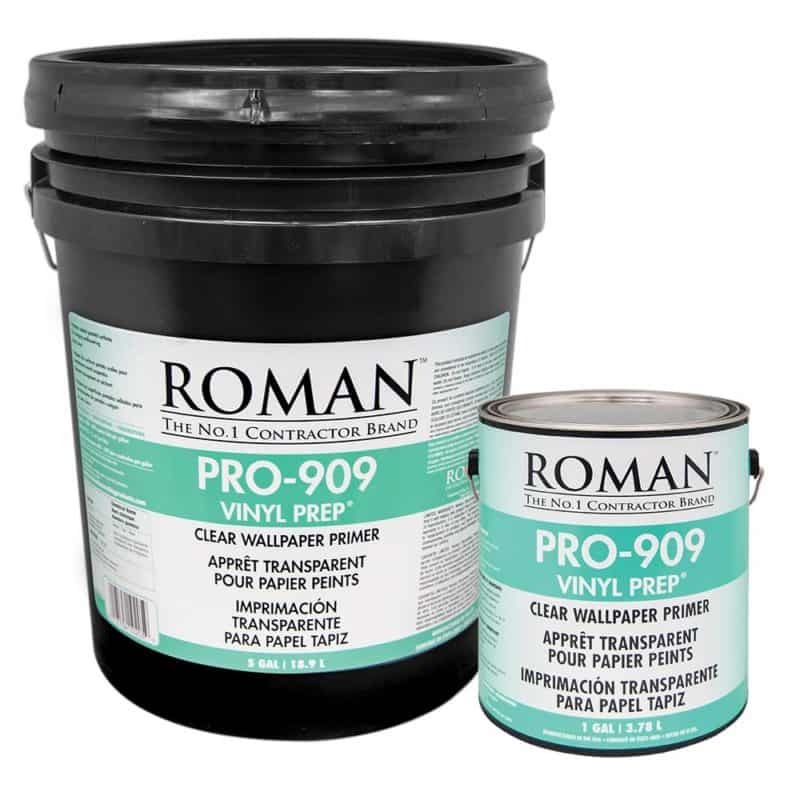
Water-Based Primer
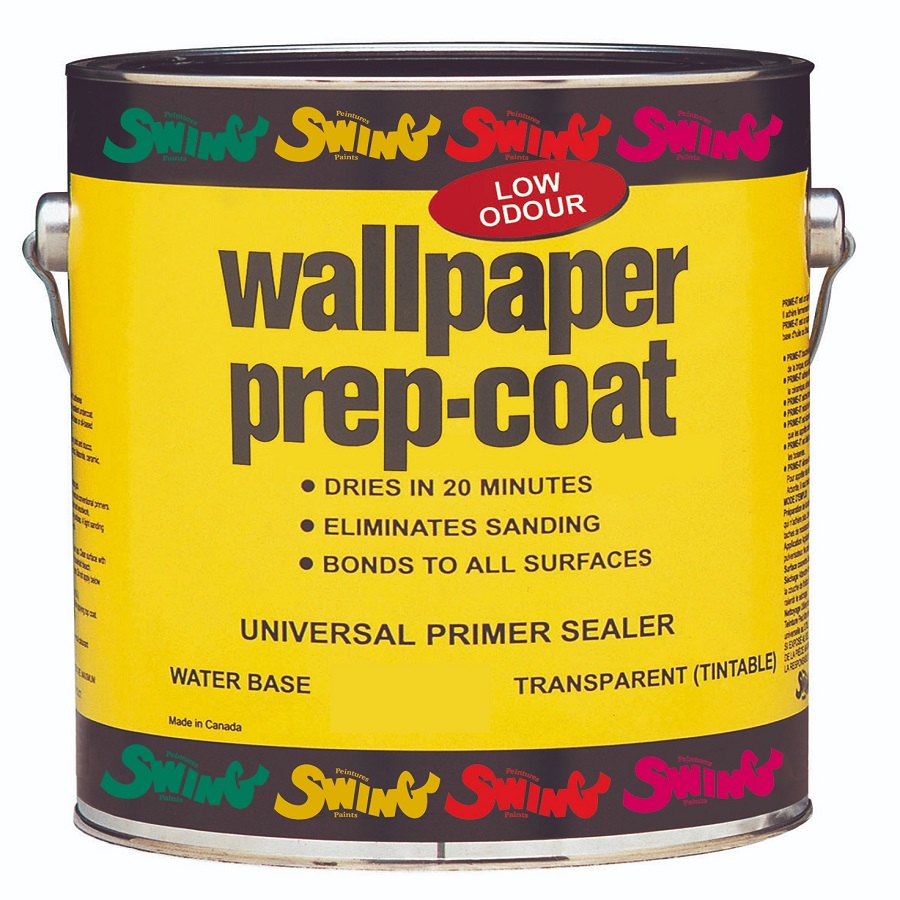
Water-based primers are popular for most wallpapering projects. They work well on drywall and plaster. These primers are easy to apply, dry quickly, and are low in odor. They create a smooth surface that helps wallpaper stick better.
Oil-Based Primer
Oil-Based primers are strong and versatile. They cover stains well and are good for glossy surfaces. They take longer to dry and have strong fumes. Good ventilation is a must when using them.
Shellac-Based Primer
Shellac-Based primers are great for stained or damaged walls. They dry quickly and are very durable. Use them in high-traffic areas. Strong fumes mean good room airflow is necessary.
How to Select the Right Primer for Your Wall Surface
Choosing the right wallpaper primer is vital for a perfect finish. Different surfaces require different primers. Here’s how to select the ideal one for your walls.
For Bare Drywall
For new drywall, pick a water-based primer. It seals the surface and helps wallpaper stick. It also dries quickly and emits less odor, making it a good starting point.
For Plaster Walls
Plaster walls work well with either water-based or oil-based primers. The choice depends on the wall’s condition. Smooth walls, water-based may suffice. For walls with imperfections, consider an oil-based primer for stronger coverage.
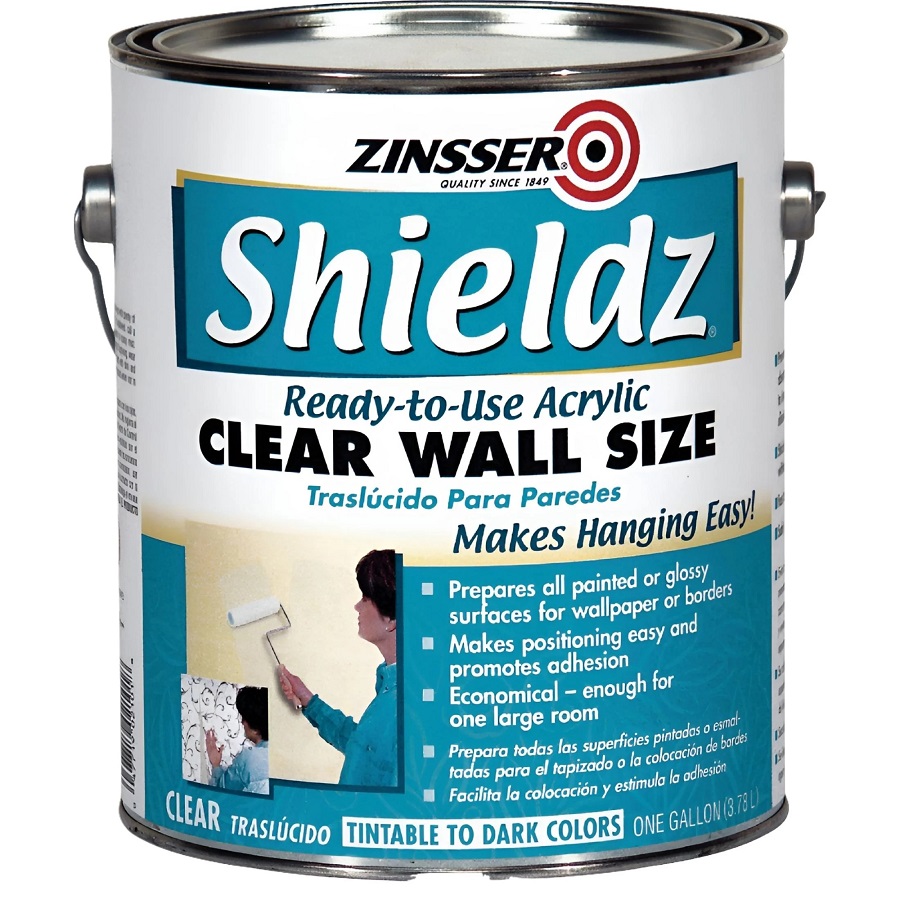
For Painted Walls
Painted walls usually pair well with a clear, acrylic wallpaper primer. This type of primer sticks to paint, providing a good grip for the wallpaper. If the painted surface is glossy, lightly sand before priming for best results.
Sealed or Glossy Surfaces
Sealed or glossy surfaces require a special primer that can grip these slick areas. An adhesion-promoting primer or a shellac-based option might be needed to ensure wallpaper sticks properly.
Preparing Your Walls for Wallpaper Primer
Preparing your walls correctly is vital for a perfect wallpaper job. It’s like foundation is to makeup; it’s the base that everything else relies on. Proper wall prep can save you from the headaches of wallpaper that peels or bubbles. Let’s talk about how to set the stage for a flawless wallpaper application.
Cleaning and Repairs
Start by cleaning your walls. They must be free of dust and grease. Use mild soap and water, then let them dry. Next, inspect for damage. Fill holes and cracks with spackle. Once the spackle dries, sand it smooth. A well-prepared wall means wallpaper that sticks better and looks smoother.
Removal of old Wallpaper
If you have old wallpaper, it needs to go. Use a scoring tool on the wallpaper. Then apply a stripping solution to soften the adhesive. Carefully peel the paper off. Wash any residue off the walls. Don’t skip this step! Old adhesive can cause new wallpaper to fail.
Priming Dos and Don’ts
Here are some key dos and don’ts for priming. Do choose the right type of wallpaper primer for your surface. Don’t rush the drying process; let the primer dry thoroughly. Do apply the primer evenly. Don’t forget to smooth out any drips or bubbles before they dry. Remember, taking your time with primer means fewer headaches later.
Application Process for Wallpaper Primer
A successful wallpaper job starts with the correct primer application. Using primer ensures your wallpaper sticks well and looks professional. Here is a step-by-step guide on how to apply wallpaper primer correctly.
Tools and Supplies Needed
Before starting, gather all necessary items. You’ll need:
- Wallpaper primer
- Paint roller and tray
- Angled brush for edges
- Sandpaper for smoothing
- Spackle and putty knife for repairs
- Clean rags and water
- Painter’s tape for protection
- Ladder for high spots
- Drop cloths for floor protection
These tools help you prepare for a clean, efficient primer application.
Steps for Applying Primer
Applying primer is straightforward if you follow these steps:
- Clean your walls thoroughly. Remove dust, grease, and debris.
- Repair any wall damage. Fill holes with spackle. Let it dry and sand smooth.
- Cover the floor with drop cloths. Protect trim with painter’s tape.
- Stir primer until it’s well mixed.
- Use a paint roller to apply primer on large areas. Move in a consistent pattern.
- Apply primer on edges and corners with an angled brush. Be precise.
- Wait for the primer to dry completely. Follow the product’s drying time instructions.
- Inspect walls for uneven spots. Lightly sand if needed.
- If necessary, apply a second primer coat. Check walls again after drying.
Proper primer application creates an excellent base for your wallpaper. Take your time for the best results. Good prep work means a smoother wallpaper application and a beautiful finish.
Advantages of Priming Before Wallpapering
Applying wallpaper primer offers several benefits that ensure a successful wallpaper project. Here are the key advantages to note.
Enhanced Adhesion
Primer creates a better surface for wallpaper to stick. It reduces the chance of peeling. This means your wallpaper stays in place, looking good for longer.
Wall Protection and Longevity
A good primer shields your walls from damage. It seals in stains and helps wallpaper last longer. Protective barriers prevent adhesives from harming the wall surface. This care extends the life of your walls.
Easier Future Wallpaper Removal
Using primer makes it easier to take off wallpaper later. It avoids the need for tough scraping and potential wall damage. This is helpful when you want to change decors more often.
Considerations When Choosing a Primer
Selecting the right wallpaper primer involves more than just matching it to the surface. Here are key factors to consider.
Surface Type
The surface you’re working on dictates the primer choice. Smooth surfaces might need a primer that promotes adhesion. Porous surfaces, such as new drywall, require a primer that seals and preps for wallpaper application.
Room Ventilation
Always check the primer’s fumes. Some primers, like oil-based options, emit strong odors. Ensure good airflow in the room when you apply such primers.
Intended Wallpaper Type
The wallpaper you plan to use can influence your primer selection. Heavy or textured wallpapers might need a stronger primer for better grip. For light or semi-transparent wallpapers, a primer that can be tinted could be ideal.