
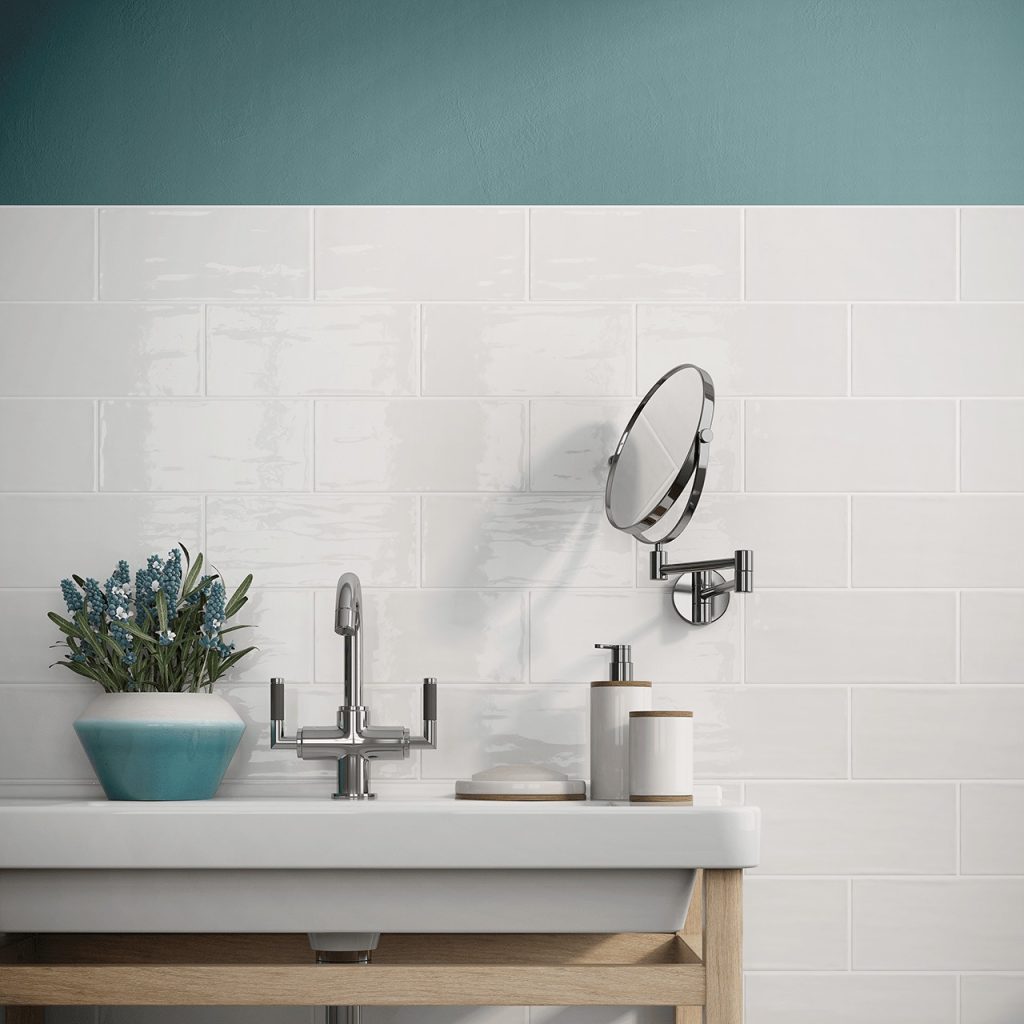
Introduction to Ceramic Wall Tiles
Ceramic wall tile are popular for both homes and commercial spaces. They provide a durable and easy-to-clean surface. Plus, they offer endless design possibilities. When choosing ceramic wall tiles, think about color, size, and pattern. These aspects can influence the look and feel of your space. The right tile can make a room seem larger, brighter, or more inviting. But, installing these tiles needs precise work. You must handle tools and materials with care. Every step from planning to sealing is crucial to a successful installation. This guide will show you how to properly install ceramic wall tiles. Follow it to create a space that is both beautiful and enduring.

Tools and Materials Needed for Installation
Before starting your ceramic wall tile installation, gather the right tools and materials. Doing so ensures a smooth and efficient process. Here’s a list of essentials:
- Measuring Tape: Measure your space to buy enough tiles.
- Level: Ensure your tiles align and are even.
- Tile Cutter: For cutting tiles to fit edges and corners.
- Notched Trowel: Apply adhesive evenly on walls.
- Tile Spacers: Keep tiles evenly spaced.
- Adhesive: Choose a strong adhesive suited for ceramic tiles.
- Grout: Fill the gaps between tiles.
- Sponge & Bucket: Clean tiles after grouting.
- Rubber Grout Float: Apply and press grout between tiles.
Make sure you have these items before you start. Quality tools make the job easier and help achieve a professional finish. Choose supplies designed for ceramic wall tile installation. Next, we’ll prep the walls for installing your new tiles.
Preparing the Walls for Tile Installation
Before tiling, wall preparation is essential. This step will determine the final look and longevity of your ceramic wall tile. Let’s go through the must-do’s for wall prep.
First, clear the area. Remove any current coverings, nails, and fixtures. Make sure you cover floors and furniture to protect them from dust and debris. Next, clean the walls. You want a dust-free, smooth surface. Use a degreaser if necessary to avoid any adherence issues with the adhesive.
Check for any damage. Look for cracks or holes in the walls. Repair them with spackle or joint compound, and then sand the surface smooth. After repairing, wipe the walls with a damp cloth to remove any dust.
Planning the Layout for Ceramic Wall Tiles
Proper layout planning is crucial for a successful ceramic wall tile installation. Here are the steps to ensure your tiles are arranged perfectly:
- Find the Center Point: Start by finding the midpoint of each wall. Mark these points with a pencil. This will be your starting place.
- Draw Reference Lines: From the center points, draw horizontal and vertical lines across the walls. Use a level to make sure these lines are straight. They will guide your tile placement.
- Dry Lay Tiles: Lay tiles along the reference lines without adhesive. This helps you picture the final look and make adjustments.
- Check for Cuts: Look for areas that need cut tiles, like corners and edges. Plan to place cut tiles in less visible areas.
- Decide on the Pattern: Choose your tile pattern before starting. Popular options are straight, diagonal, or herringbone.
By following these layout planning steps, you’ll set the stage for a smooth and appealing ceramic wall tile installation. Stick to the plan to avoid unnecessary cuts and to ensure a symmetrical layout. Now you’re ready to start installing the tiles.
Steps for Installing Ceramic Wall Tiles
After your walls are prepped and your layout planned, it’s time to begin the installation. Here is a step-by-step guide to help you install ceramic wall tiles like a pro:
- Apply Adhesive: Use your notched trowel to spread adhesive on the wall. Start from the center point. Cover a small area that you can tile within 10 minutes to prevent the adhesive from drying out.
- Set First Tile: Align the first tile with your reference lines. Press it firmly into the adhesive. Remember to leave space for grout.
- Continue Tiling: Place tile spacers at the corners and set the next tiles. Maintain consistent spacing. Check with a level frequently to ensure tiles are flat and even.
- Measure and Cut Tiles: When you reach the end of a row or need to tile around an object, measure the gap left. Then, use your tile cutter to trim tiles accordingly.
- Apply Tiles Around Obstacles: For areas around outlets or fixtures, cut tiles to fit. Apply these precisely to maintain the overall pattern.
By following these steps, you’ll ensure that your ceramic wall tiles are installed with precision and care. Each step is important for a successful, long-lasting finish. Pay close attention to detail and work patiently. Soon, your walls will showcase beautifully installed tiles.
Grouting and Sealing Ceramic Wall Tiles
After laying the tiles, grouting is the next step. It fills the gaps and gives walls a finished look. Here’s how to grout and seal your ceramic wall tile effectively:
- Mix Grout: Follow the package instructions to mix your grout. Aim for a peanut butter-like consistency.
- Apply Grout: Use a rubber grout float to apply grout. Press it into the gaps between the tiles. Work at a 45-degree angle.
- Wipe Excess: As grout starts to set, gently clean the tile surface with a damp sponge. Rinse your sponge often to avoid grout haze.
- Smooth Grout Lines: Use a damp finger or grout shaper to smooth the grout lines. This gives a professional finish.
- Let Grout Dry: Wait for the grout to dry. Refer to the instructions for the drying time.
- Seal Grout: Once dry, apply a grout sealer. This helps prevent stains and extends the life of your grout.
Following these steps ensures a neat grouting job. Sealer provides added protection. Together, they keep your ceramic wall tile looking great for years. Remember these tips to achieve the best results.
Maintenance and Care for Ceramic Wall Tiles
Maintaining ceramic wall tiles is simple but crucial for their longevity. For routine care, wipe the tiles with a soft, damp cloth. Avoid harsh chemicals that may damage the glaze. Instead, use mild detergent diluted in water for tougher stains. Here are some additional tips to keep your tiles in top condition:
- Regular Cleaning: Dust and wipe your tiles weekly. This prevents grime build-up.
- Immediate Stain Attention: Address spills quickly to prevent stains.
- Mild Cleaners: Opt for pH-neutral cleaners for regular use.
- Grout Care: Clean grout lines with a soft brush and mild cleaner to avoid discoloration.
- Avoid Abrasives: Don’t use steel wool or scouring pads that can scratch the tiles.
When cleaning, use circular motions to avoid streaking. Rinse the areas with clean water after washing them with detergent. Once in a while, inspect and reapply grout sealer to ensure the grout remains waterproof and stain-resistant. By following these care steps, your ceramic wall tiles will continue to look as good as new.
Common Mistakes to Avoid During Installation
Avoiding common mistakes during the installation of ceramic wall tile can save you time and ensure a professional finish. Here are errors to steer clear of:
- Ignoring Wall Preparation: The wall must be clean, level, and free of damage. If skipped, tiles may not adhere correctly.
- Rushing the Layout: Take your time planning the tile layout. Rushing can lead to uneven lines and a disorganized look.
- Skipping Spacers: Tile spacers are crucial for even gaps. Without them, your tiles could end up crooked.
- Inconsistent Adhesive Application: An uneven spread of adhesive can cause tiles to sit at different heights. Apply it evenly for a smooth surface.
- Letting Adhesive Dry: Delaying tile placement after adhesive application can prevent proper sticking. Work in sections.
- Overlooking Level Checks: Regularly use a level. This ensures each tile is flat and even.
By dodging these pitfalls, you will ensure a solid and lasting installation of your ceramic wall tile. Be patient and attentive at each step to achieve the best results.
