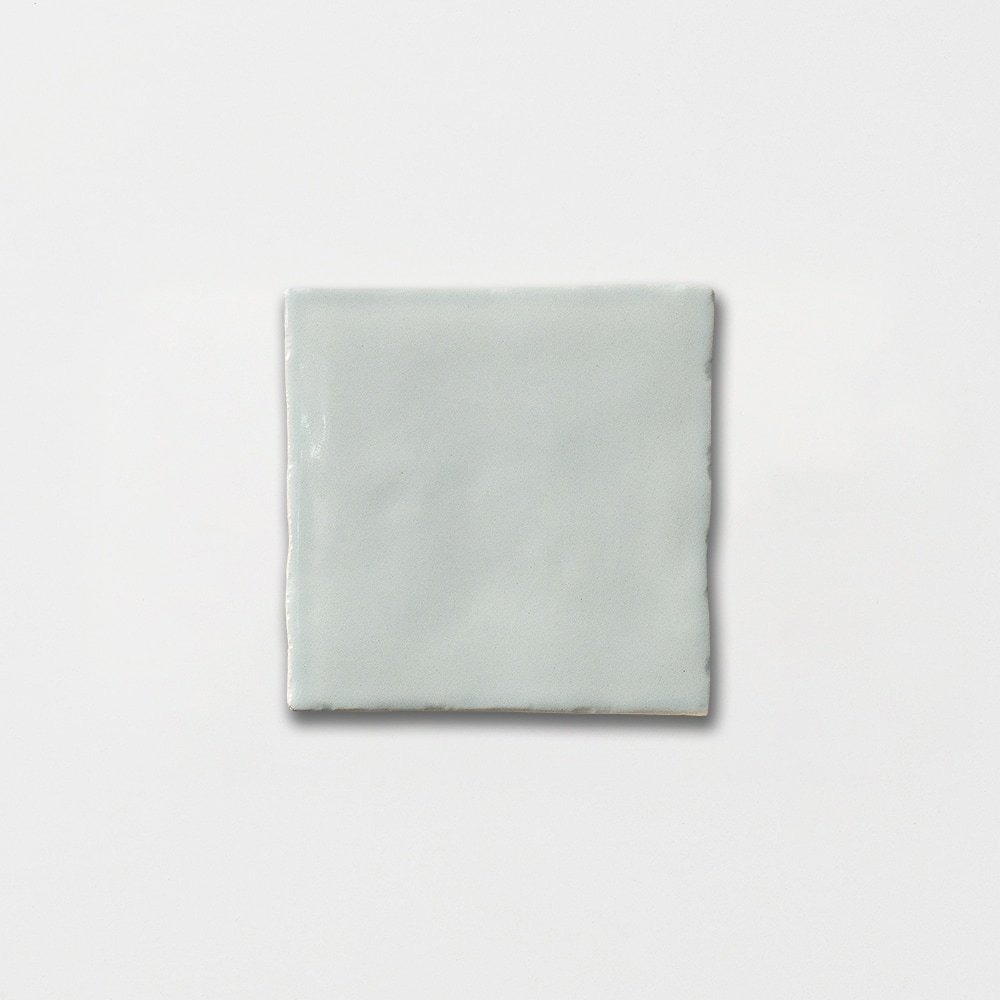
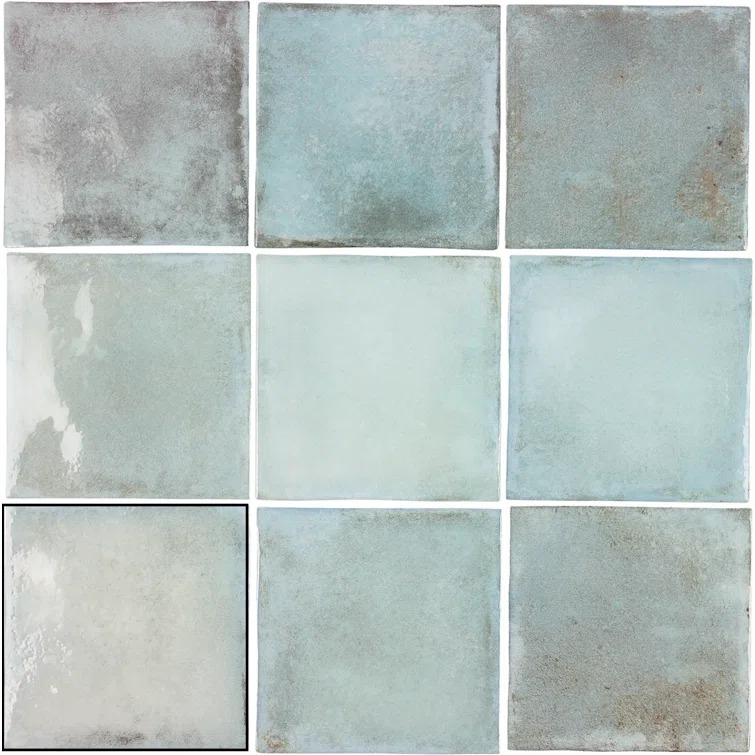
Essential Tools and Materials for Tiling
Before you begin the process of laying 4×4 ceramic tile, it’s crucial to gather all the necessary tools and materials. Proper preparation will ensure a smooth installation process. Here is a list of the essentials you will need:
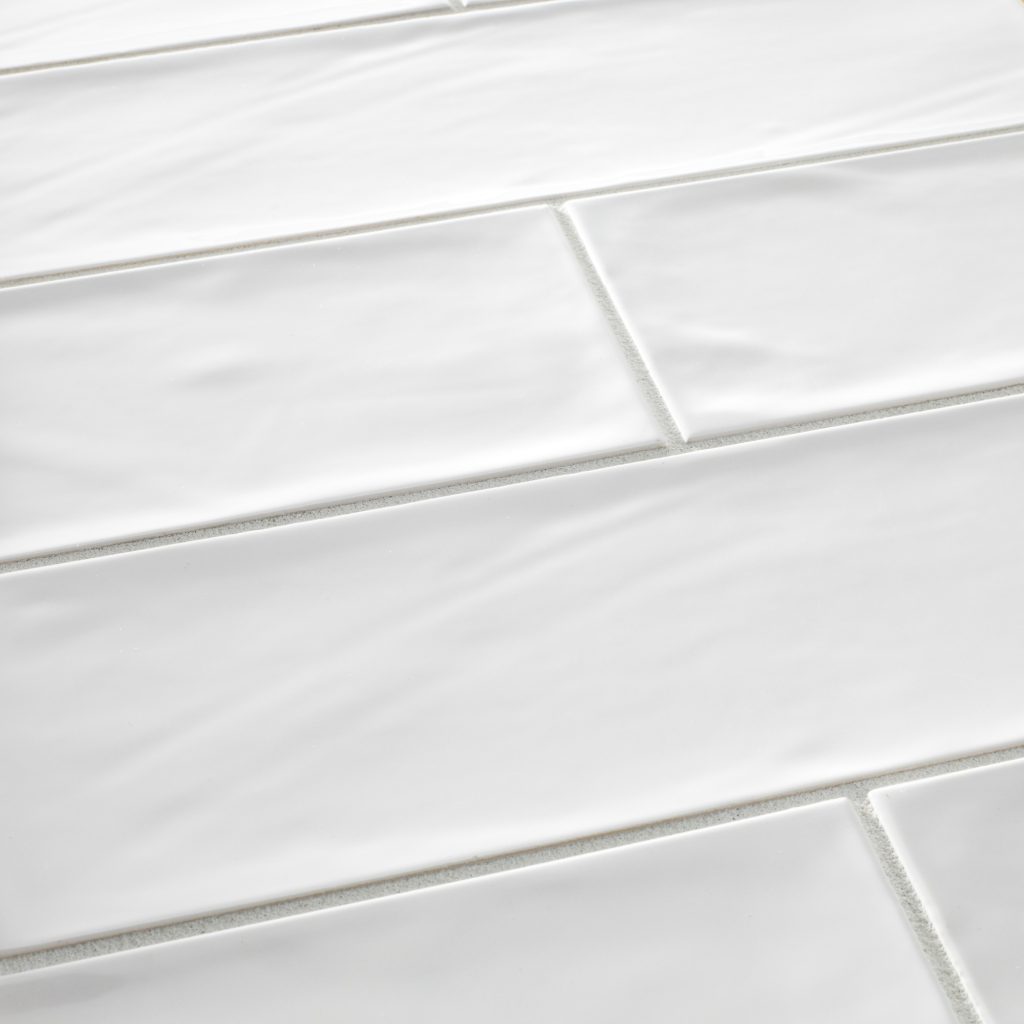
- Measuring Tape: Accurate measurements are key to a successful tile job.
- Tile Cutter: A tile cutter makes precise cuts for a perfect fit.
- Notched Trowel: Used to apply adhesive in a uniform pattern.
- Tile Spacers: These help in maintaining equal gaps between tiles.
- Level: A level surface is critical for laying tiles to prevent unevenness.
- Chalk Line: This tool helps in marking the area to guide tile placement.
- Grout Float: Necessary for applying and spreading grout between the tiles.
- Sponge & Buckets: Helpful for cleaning up excess grout and keeping the area tidy.
With these tools and materials, you’ll be well-equipped to handle the installation of 4×4 ceramic tiles. Remember to choose quality products that will complement the durability and beauty of your new tiled surface.
Preparing the Surface for Tile Installation
Before laying your 4×4 ceramic tile, surface preparation is a must for a solid installation. Start by cleaning the area thoroughly. Remove any dirt, grease, or old adhesives that might interfere with the new tile adhesion. Once clean, assess the surface. It should be flat, smooth, and free from defects. Use a leveling compound to fix any dips or hills in the floor or wall. Let the compound dry as the manufacturer instructs.
Next, check for moisture issues, especially when tiling in areas prone to water, like bathrooms. Moisture can cause tiles to lift or mold to grow. Apply a waterproofing membrane if necessary to create a moisture barrier.
Measuring and Planning the Tile Layout
After preparing the surface, the next step is measuring and planning for your 4×4 ceramic tile layout. This phase is crucial for a symmetrical and pleasing tile arrangement. Here are key points to focus on:
- Find the Center Point: Measure the length and width of the area. Mark the center. This is your starting point for tile placement.
- Check Tile Size and Fit: Align the 4×4 ceramic tiles from the center to the edges. Ensure they fit well without significant cuts.
- Decide on a Pattern: Choose a layout pattern that fits your space and aesthetic. Popular patterns include straight lay, diagonal, or a custom design.
- Account for Grout Lines: Measure the width of the grout lines. Use tile spacers for consistent gaps. This will affect the final look.
Plan carefully and adjust as needed before moving on to cutting and fitting the tiles. A well-thought-out layout is key to a professional-looking finish.

Cutting and Fitting 4×4 Ceramic Tiles
Once you have your layout planned, it’s time to cut and fit the 4×4 ceramic tile. Here’s how to do this step correctly:
- Measure Twice, Cut Once: Double-check your measurements before cutting. It saves tile and time.
- Use a Tile Cutter: A high-quality tile cutter ensures clean cuts for your 4×4 ceramic tile. Practice on a few spare tiles to get the hang of it.
Place the tile in the cutter aligning the cutting wheel with your mark. Press down firmly and slide the cutter across the tile to score it. Then apply pressure to break the tile cleanly along the scored line.
- Dry Fit Tiles: After cutting, place the tiles back to check their fit. This will help you spot any necessary adjustments without adhesive.
- Trim for Obstacles: Sometimes, tiles need trimming to fit around obstacles like pipes. Mark the area to cut and use tile nippers or a wet saw to shape the tile.
- Smooth Edges: After cutting, smooth out any sharp edges with a rubbing stone to prevent chipping and ensure a safer handling.
- Final Check: Before applying adhesive, ensure all your tiles fit well and the pattern is as planned. Make any last tweaks to your layout at this stage.
Cutting and fitting the 4×4 ceramic tiles with precision is essential for a neat and professional looking finish. Take your time, and don’t rush through this step to avoid mistakes.
Adhesive Application and Tile Placement Techniques
Applying adhesive correctly is key to securing your 4×4 ceramic tile in place. Follow these step-by-step techniques to ensure a strong, even bond:
- Spread Adhesive: Use a notched trowel to spread tile adhesive over the surface. Hold the trowel at a 45-degree angle to create uniform ridges.
- Apply to Small Sections: Work on a small area at a time to prevent the adhesive from drying out.
- Press Tiles Firmly: Place the 4×4 ceramic tiles on the adhesive and press them down firmly. Make sure each tile is level with the next.
- Use Spacers: Insert tile spacers between tiles for even grout lines. This ensures consistent spacing across the entire area.
- Align Tiles: Check the placement with a level and adjust if necessary. Tiles should sit flat against the surface without any lippage.
After setting the tiles in place, allow the adhesive to dry as the manufacturer recommends. This waiting period is critical for a sturdy tile job. Once the adhesive sets, you can move on to grouting, the next step in the tiling process.
Grouting and Sealing: Finishing Touches
Once the adhesive sets, it’s time for grouting and sealing your 4×4 ceramic tile, the final steps to complete your tiling project. Grouting fills the spaces between tiles, while sealing protects your work. Here’s how to execute these steps effectively:
- Mix the Grout: Follow the manufacturer’s instructions to mix grout. Aim for a smooth, paste-like consistency.
- Apply Grout: Use a grout float at a 45-degree angle to work the grout into the gaps between tiles.
- Wipe Excess Grout: With a damp sponge, gently remove the excess grout from the surface of the tiles.
- Let Grout Set: Wait for the grout to harden slightly, usually for about half an hour, then shape the lines with a damp sponge.
- Cure the Grout: Allow the grout to cure as per the time suggested by the grout manufacturer. It’s usually 24 to 48 hours.
By following these steps, you’ll help ensure a beautiful and long-lasting finish to your ceramic tiling project. Make sure tiles and grout lines are clean before sealing, and always test the sealer on a small area first to check for any changes in color or texture.
Maintenance Tips for Long-Lasting Ceramic Tile Floors
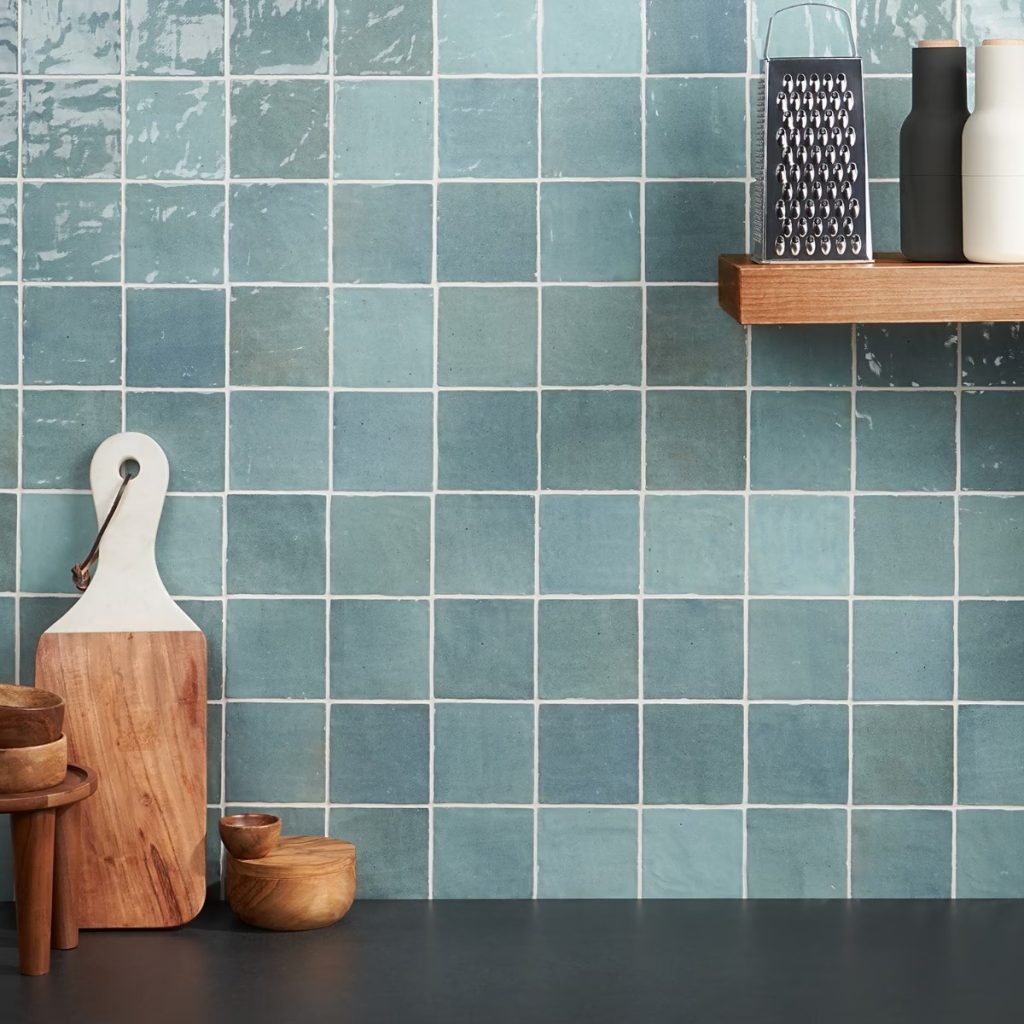
Proper maintenance ensures your 4×4 ceramic tile floors stay beautiful for years. Here’s what you should do:
- Sweep Regularly: Keep dirt and grit off. They cause scratches. Sweep your floors daily.
- Mop Wisely: Damp mop with mild detergent. Avoid harsh chemicals. They can dull the tile’s finish.
- Spot Clean Spills: Clean spills immediately. Stains become harder to remove over time.
- Use Rugs and Mats: Place them in high-traffic areas. They reduce wear on your tiles.
- Avoid Abrasives: Never use steel wool or rough brushes to clean. They scratch the surface.
- Seal Grout Lines: Sealing protects grout from stains and moisture. Reapply sealer annually.
- Furniture Protectors: Use felt pads under furniture legs. They prevent scratches and damage.
- Periodic Professional Cleaning: Consider professional cleaning occasionally. They deep clean without damaging tiles.
By following these tips, your 4×4 ceramic tile floors will keep looking as good as new. Small efforts can make a big difference in the life of your floors.
Common Mistakes to Avoid During Installation
When laying your 4×4 ceramic tile, steer clear of these common pitfalls to guarantee a flawless finish:
- Skipping Surface Preparation: Never start tiling without a clean and level surface. Uneven or dirty areas can cause tile adhesion problems.
- Incorrect Adhesive Application: Do not spread too much adhesive or leave it too thin. Apply just enough for a strong bond.
- Neglecting Measurements: Forgetting to double-check measurements can lead to misaligned tiles. Always measure more than once.
- Overlooking Grout Lines: Uniform grout lines are crucial. Inconsistent spacing looks unprofessional. Use tile spacers.
By being mindful of these mistakes, your 4×4 ceramic tile installation will look great and last longer. Aim for precision and patience, and your efforts will pay off with a professional-looking finish.
