Introduction to Ceramic Tile Replacement
Replacing ceramic tile can refresh any room. It boosts your home’s value and appeal. Tired, damaged, or outdated tiles often require replacement to maintain the integrity and look of your space. In this guide, we’ll walk through why and when to tackle this project. Knowing when to replace your ceramic tiles is crucial. Watch for cracks, chips, or loose tiles. These signs could mean it’s time for a change. Regular wear and tear, or a desire for a fresh look, also warrant a replacement. This task may seem daunting. Yet, with the right tools and guidance, you can achieve professional results.
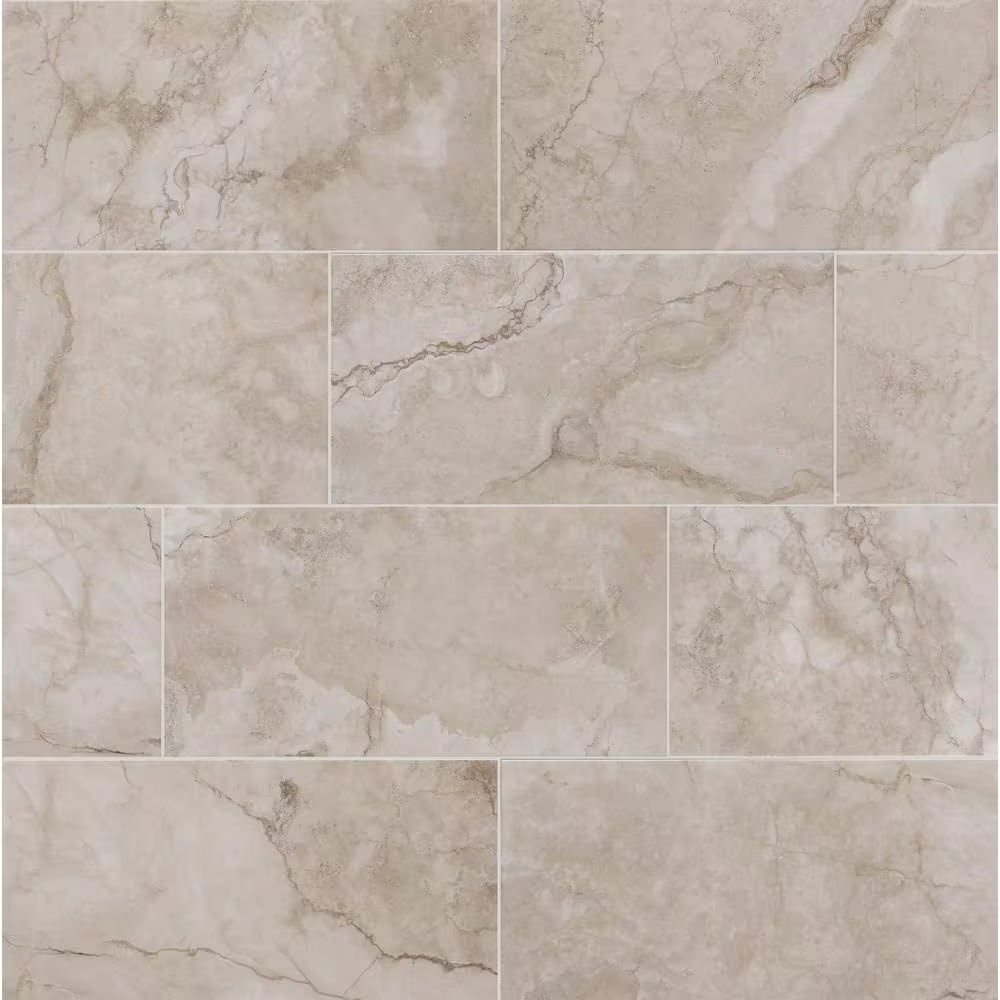
Signs You Need to Replace Your Ceramic Tiles
Recognizing when to replace your ceramic tiles is essential for maintaining the beauty and function of your tiled areas. Here are some clear signs that indicate it’s time for replacement:
- Cracked or chipped tiles: These damages can be hazardous and unsightly. They suggest that the tile’s integrity is compromised.
- Loose tiles: When tiles start to lift, it means the adhesive bond has failed. This can lead to further damage if not addressed.
- Stains and discolorations: Persistent stains or changes in color can indicate damage to the tile’s glaze. This can mar the appearance of your floors or walls.
- Mold growth: Excessive moisture can lead to mold, which is a health risk. Mold often grows where the tile has been compromised or where grout has failed.
- Outdated design: If your tiles look dated, replacing ceramic tile may be the key to updating your space.
- Audible hollow sound: A hollow sound when tapped can indicate that the tile is no longer adhering well to the subfloor.
By keeping an eye out for these issues, you can take proactive steps in replacing ceramic tile before minor problems become major. Acting early saves time, effort, and money in the long run. If you notice any of these signs, it’s time to consider a replacement to safeguard and update your space.
Tools and Materials Required for Tile Replacement
Before starting the job of replacing ceramic tile, gathering the right tools and materials is crucial. This ensures the process goes smoothly without unnecessary interruptions. Here’s what you need:
- Hammer: To assist in removing the old tiles.
- Chisel: Helps in chipping away fragments and cleaning surfaces.
- Tile Cutter: Essential for cutting tiles to the correct dimensions.
- Notched Trowel: For applying adhesive in a way that will grip the new tiles.
- Tile Spacers: They ensure even spacing between tiles for a professional finish.
- Level: To check that the tiles are laid flat and even.
- Rubber Mallet: Useful for gently tapping tiles into place.
- Grout Float: For applying and spreading grout between tiles.
- Sponge: Needed for cleaning off excess grout.
- Safety Glasses and Gloves: To protect your eyes and hands during the work.
- Adhesive and Grout: Select products suitable for your specific tile and area conditions.
It’s advisable to have extras of some materials, like tiles and grout, in case of errors or future repairs. With these tools and materials ready, you’re set for the tile replacement process. Next, we’ll dive into preparing the area for the project.
Preparing the Area for Tile Replacement
Preparing your area for replacing ceramic tile requires careful steps. Here is what to do:
- Clear the room: Remove furniture and items from the work area. This provides free space and protection for your belongings.
- Cover adjacent areas: Use sheets or plastic to shield other surfaces from dust and debris.
- Turn off power: If working near outlets, switch off electricity at the breaker box for safety.
- Remove appliances: Take out any appliances or fixtures in the tile work zone.
- Clean the floor: Sweep or vacuum to eliminate loose debris from the tiles.
- Prepare tools and materials: Make sure all tools are ready and materials are at hand for efficiency.
By following these steps, you set the stage for a smoother tile replacement process. Next, we’ll tackle the removal of old tiles.
Step-by-Step Process of Removing Old Tiles
Removing old tiles is a critical step in replacing ceramic tile. Follow these simple steps for an efficient removal process:
- Safety first: Put on your safety glasses and gloves to protect yourself from sharp edges and debris.
- Start with the broken tiles: If there are any, they’re the easiest to remove. Tap them gently with a hammer and then pry them up with the chisel.
- Remove the rest of the tiles: Place the chisel at a 45-degree angle to the edges of the full tiles. Hit the chisel with a hammer to loosen and lift the tiles. Be patient – this might take time.
- Clean up as you go: Remove tile pieces and dust regularly. This keeps your workspace clear and helps prevent accidents.
- Scrape off old adhesive: Once all tiles are out, use the chisel to scrape away old adhesive from the subfloor. Aim for a smooth surface for the new tiles.
By following these steps, you’ll have a clean slate for laying new tiles. In the next section, we’ll discuss preparing the subfloor for new tiles.
Preparing the Subfloor for New Tiles
Once you have removed the old ceramic tiles, it’s vital to prepare the subfloor before installing new ones. A well-prepared subfloor ensures a long-lasting tile installation. Here’s how to ready your subfloor for new tiles:
- Inspect the subfloor: Look for damage, like cracks or uneven areas. These issues can affect tile adhesion and alignment.
- Repair any damage: Fix any subfloor problems. Fill cracks with a suitable filler and let it dry.
- Clean the surface: Sweep and vacuum to remove all dust, debris, and remnants of old adhesive.
- Level the subfloor: Use a leveling compound if necessary. A flat surface helps prevent future tile cracking.
- Apply primer: Some subfloors may need a primer to enhance the bond with the tile adhesive.
- Dry fit tiles: Before using adhesive, lay out tiles to check their fit and plan the layout.
By taking the time to prepare the subfloor correctly, you set the foundations for a successful replacement of ceramic tiles. This critical step cannot be overlooked if you want to achieve professional results and longevity for your new tiles.
Installing New Ceramic Tiles
Once your subfloor is prepared, the next step in replacing ceramic tiles is the installation. Handling each tile with care, follow these crucial steps for a flawless finish:
- Spread adhesive: Use your notched trowel to evenly spread tile adhesive over a small section.
- Place tiles: Set the tiles firmly into the adhesive. Use tile spacers to maintain uniform gaps for grout.
- Check alignment: Regularly use a level to ensure tiles are flat and lines are straight.
- Cut tiles as needed: Measure and cut tiles to fit edges and around fixtures.
- Tap tiles: Gently tap each tile with a rubber mallet for solid adhesion.
- Continue laying: Move to the next section and repeat the process until the area is covered.
- Let adhesive set: Allow the adhesive to dry completely. Check the manufacturer’s guidelines for drying times.
After finishing these installation steps and the adhesive has set, you are ready to move on to grouting and sealing the tiles. This helps secure your new ceramic tiles and achieve a durable, polished look.
Grouting and Sealing New Tiles
After laying down your new ceramic tiles, it’s time to complete the project by grouting and sealing them. This step is crucial to protect your tiles and to give your space that clean, finished look. Here’s what you need to do:
- Prepare the grout: Mix your grout according to the manufacturer’s instructions. Aim for a smooth consistency.
- Apply the grout: Using a grout float, apply grout firmly into the spaces between the tiles. Work at a 45-degree angle.
- Remove excess grout: As you go, use a damp sponge to wipe away any excess grout from the surface of the tiles.
- Let the grout set: Allow the grout to dry. Drying times vary, so refer to the grout packaging for guidance.
- Seal the grout lines: Once the grout is dry, apply a sealer. This step shields the grout from moisture and stains.
By carefully applying grout and sealer, you are ensuring your new ceramic tiles stand up to wear and tear. It’s the final touch in replacing ceramic tiles and one that should not be skipped. Keep the keywords ‘replacing ceramic tile’ front and center in your mind to ensure your new installation lasts as long as possible.
Maintenance Tips for Your New Ceramic Tiles
After successfully replacing ceramic tile in your home, maintenance is key to ensure their longevity and beauty. To keep your ceramic tiles in top condition, here are some practical tips:
- Clean regularly: Wipe or mop your ceramic tiles with a mild detergent. Avoid harsh chemicals that can damage the tiles or grout.
- Seal grout lines: Reapply sealer to grout lines annually to prevent moisture and stains.
- Avoid abrasives: Do not use abrasive cleaners or pads on ceramic tiles. They can scratch and dull the surface.
- Immediate spill clean-up: Clean spills as soon as they happen to prevent staining or slipping hazards.
- Use mats or rugs: Place them in high-traffic areas to reduce wear and tear on the tiles.
- Check for damage: Look for cracks or loose tiles periodically and repair promptly to prevent further issues.
Maintaining your ceramic tiles is straightforward if you follow these tips. Regular upkeep will keep your floors and walls looking new for years. Replacing ceramic tile is a significant investment; protect it by caring properly for your tiles.