Tile ceramic are a popular choice for both homeowners and professional designers due to their durability, aesthetic appeal, and versatility. Whether you’re updating your kitchen, bathroom, or living space, ceramic tiles can enhance the appearance of your home while providing a long-lasting surface. In this guide, we will explore the methods and best practices for installing ceramic tiles, emphasizing the necessary tools, preparation steps, installation techniques, and post-installation care.
Understanding Ceramic Tiles
What Are Ceramic Tiles?
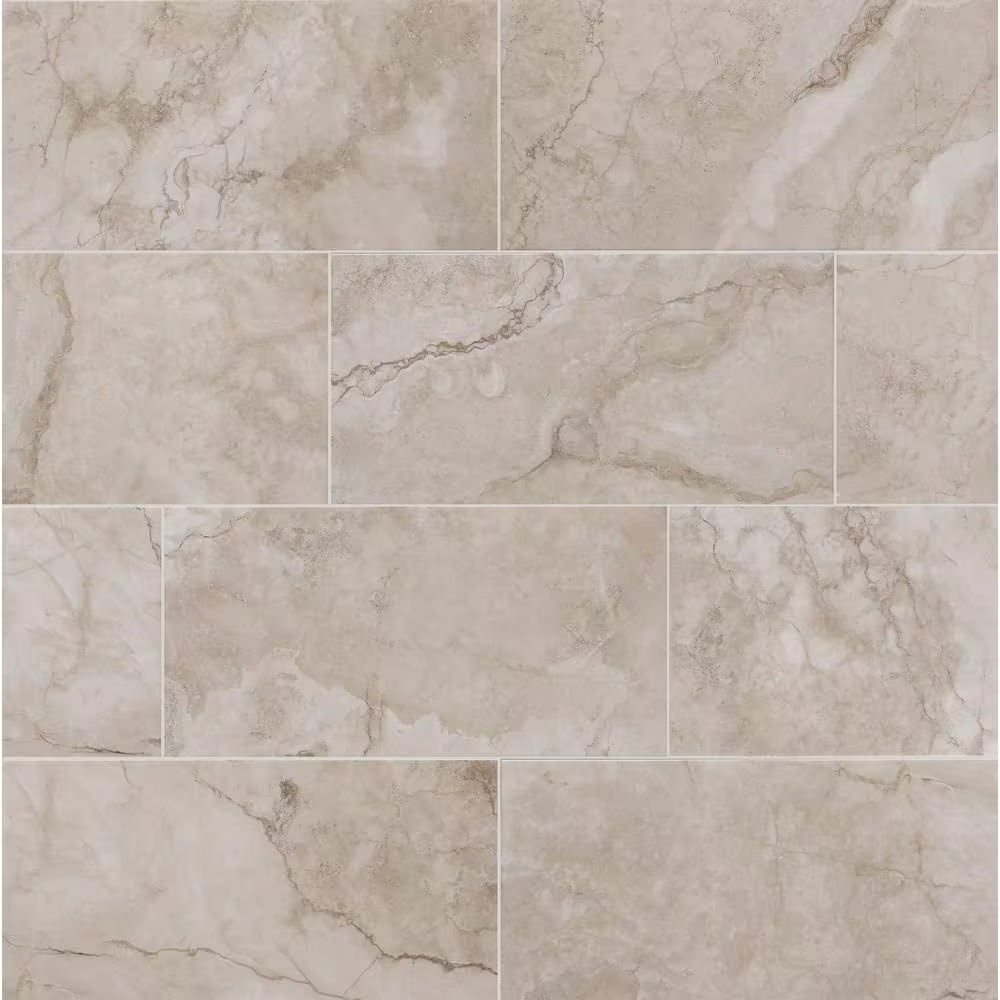
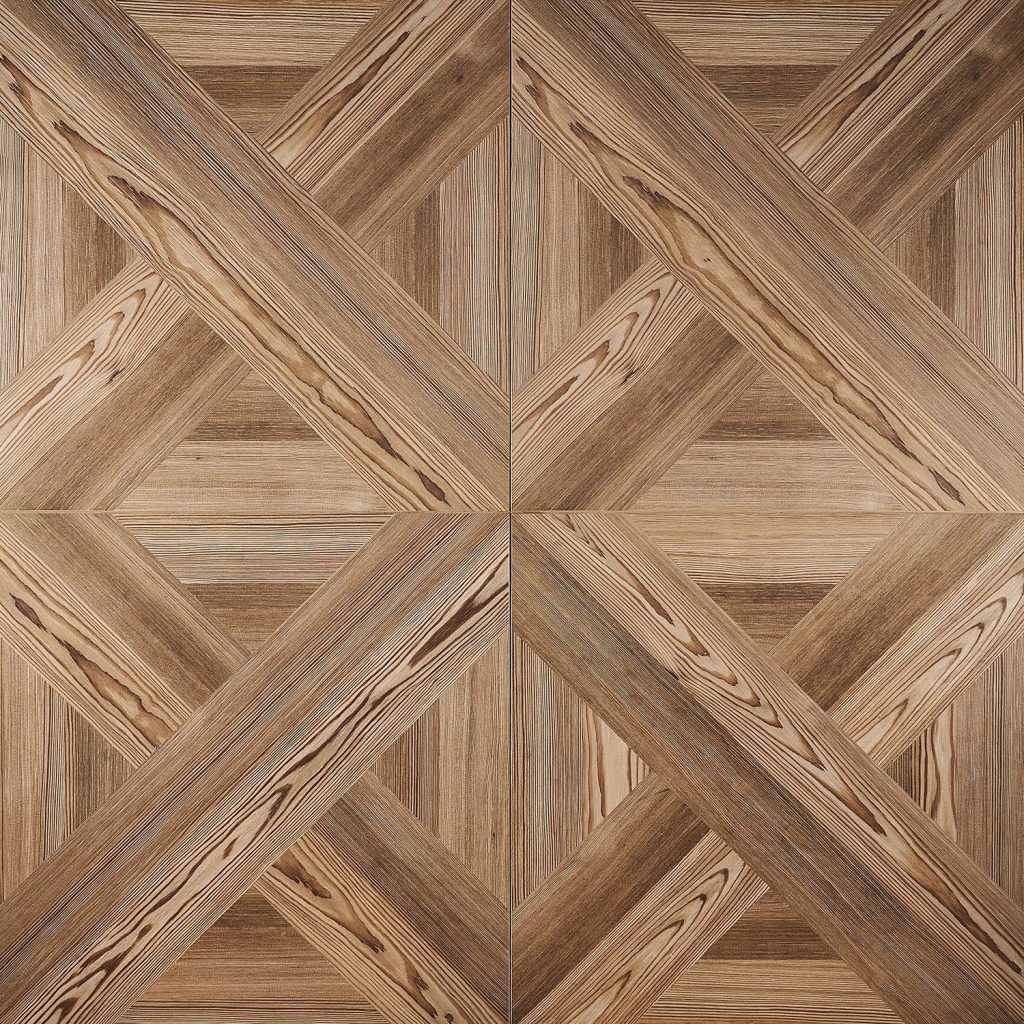
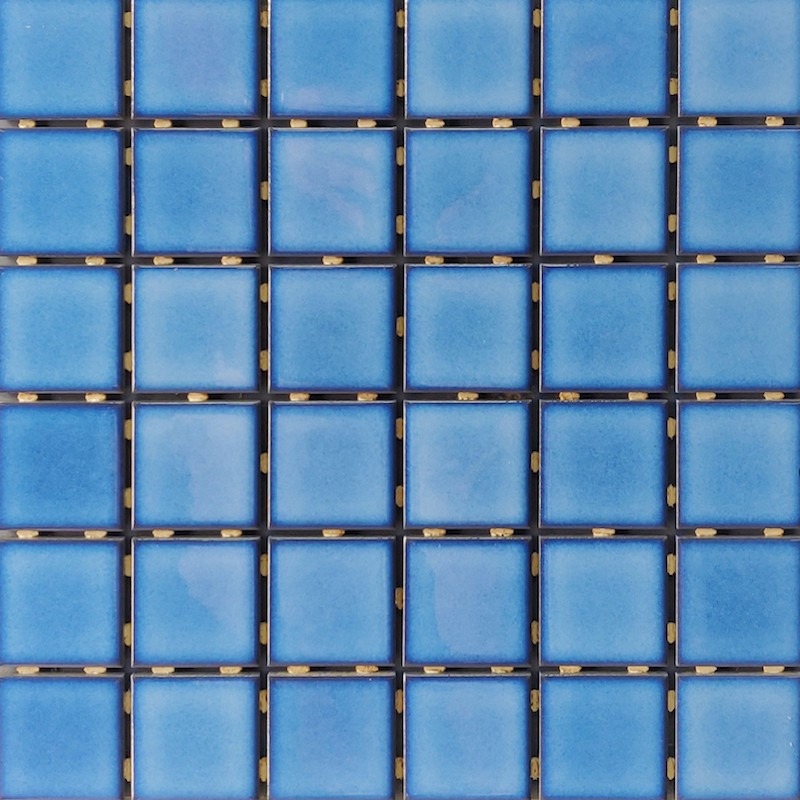
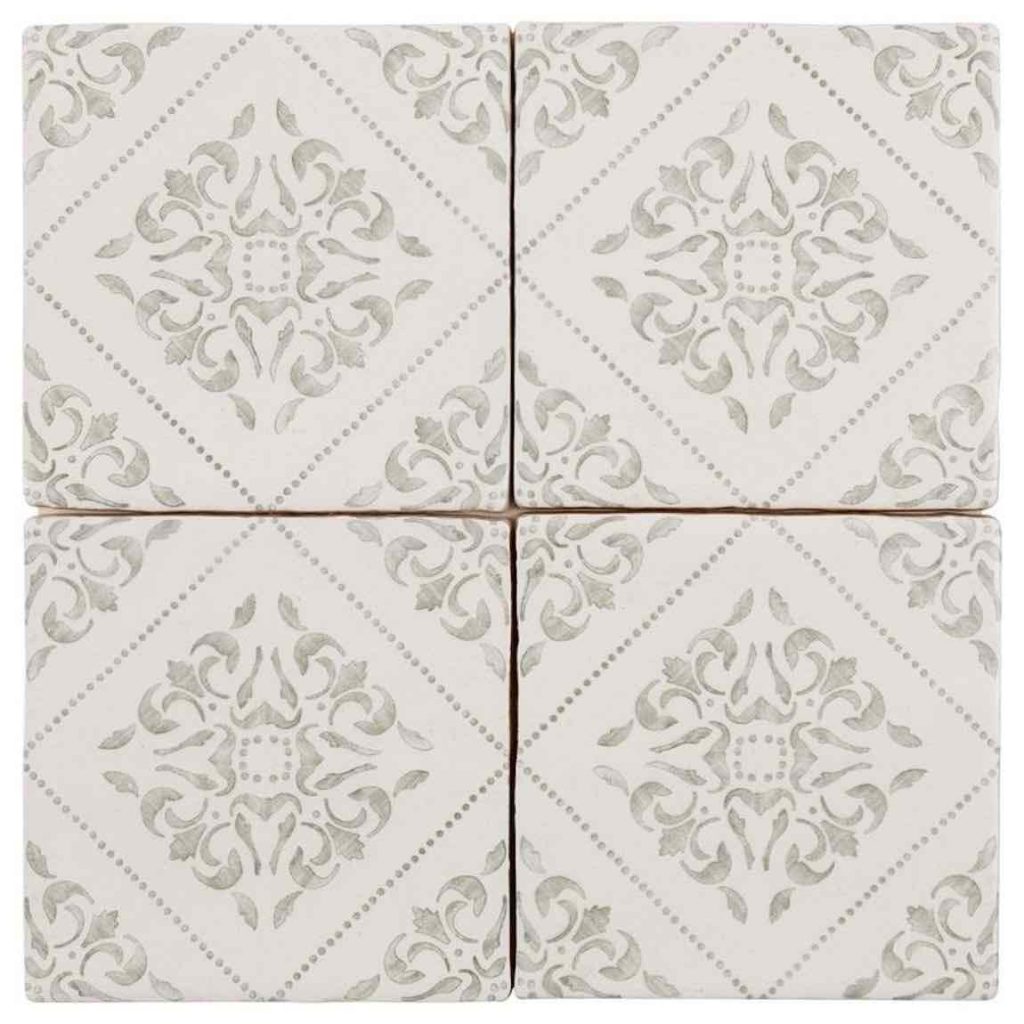
Ceramic tiles are made from natural clay that is molded and fired at high temperatures, resulting in a hard, durable surface. They come in various shapes, sizes, colors, and finishes, making them suitable for a wide range of applications, from floors to walls.
Benefits of Ceramic Tiles
- Durability: Ceramic tiles are highly resistant to scratches, stains, and moisture, making them ideal for high-traffic areas and wet spaces like bathrooms.
- Low Maintenance: These tiles are easy to clean and maintain, requiring only regular sweeping and mopping to keep them looking new.
- Aesthetic Versatility: With a vast array of designs, patterns, and finishes available, ceramic tiles can complement any interior style.
- Cost-Effective: Ceramic tiles are often more affordable than other flooring options, providing an excellent return on investment.
Tools and Materials Needed
Before beginning your ceramic tile installation, gather the necessary tools and materials. Here’s a comprehensive list:
Tools
- Tile Cutter or Wet Saw: For cutting tiles to fit around edges and corners.
- Trowel: A notched trowel for applying adhesive.
- Rubber Mallet: To gently tap tiles into place without damaging them.
- Level: To ensure the surface is even.
- Measuring Tape: For accurate measurements.
- Chalk Line: To create straight layout lines.
- Sponge: For cleaning excess grout.
- Grout Float: For applying and leveling grout.
Materials
- Ceramic Tiles: Choose the desired type and size of tiles.
- Thin-set Mortar: To adhere the tiles to the substrate.
- Grout: For filling the gaps between tiles.
- Sealant: Depending on the type of grout used, a sealant may be required.
- Underlayment: Depending on the subfloor, this may be necessary for added support.
Preparing for Installation
Step 1: Planning Your Layout
Before you begin installation, carefully plan how the tiles will be laid out. Here are steps to ensure an effective layout:
- Measure the Area: Use a measuring tape to determine the length and width of the space. Calculate the total square footage to know how many tiles you’ll need.
- Find the Center: Use a chalk line to mark the center of the area. Start from the center and work outwards to ensure an even layout.
- Dry Fit the Tiles: Lay the tiles out without adhesive to see how they fit. This will help you identify the best arrangement and potential need for cuts.
Step 2: Prepare the Subfloor
The subfloor must be clean, dry, and structurally sound to ensure a successful installation. Follow these steps:
- Clean the Surface: Remove any old flooring, debris, or dust from the subfloor.
- Repair Damages: Fill any holes or cracks in the subfloor with an appropriate filler.
- Install Underlayment: If necessary, install an underlayment to provide cushioning and sound insulation.
Installing Ceramic Tiles
Step 1: Applying Adhesive
Once preparations are complete, it’s time to apply the thin-set mortar.
- Mix the Mortar: Follow the manufacturer’s instructions to mix the thin-set mortar. Aim for a smooth, lump-free consistency.
- Spread the Mortar: Use the notched trowel to spread the mortar on the subfloor. Work in small sections to prevent it from drying out.
Step 2: Laying the Tiles
Now, you can start laying the tiles.
- Place the Tile: Starting from the center, press the tile firmly into the mortar, applying even pressure.
- Use a Level: Check to ensure the tile is level with the surrounding tiles. If necessary, tap it gently with a rubber mallet to adjust its height.
- Continue Laying: Repeat this process, using spacers to maintain even gaps between tiles. Spacers are typically placed at each corner of the tiles.
Step 3: Cutting Tiles
As you approach the edges of the installation area, you will likely need to cut some tiles.
- Measure and Mark: Measure the space where a tile needs to fit, and mark it accordingly.
- Cut the Tile: Use a tile cutter or wet saw to carefully cut the tile. Always wear safety eyewear during cutting.
- Fit the Tile: Install the cut tiles in place, ensuring a snug fit against adjacent tiles.
Grouting the Tiles
After the tiles are installed and the adhesive has set (usually 24 hours), it’s time to grout.
Prepare the Grout
- Mix the Grout: Follow the manufacturer’s guidelines to mix the grout. Aim for a thick but smooth consistency.
Apply the Grout
- Fill the Gaps: Using the grout float, apply grout between the tiles. Hold the float at a 45-degree angle to compress the grout into the joints.
- Remove Excess Grout: After filling the joints, scrape off excess grout from the surface of the tiles with the float.
Clean the Surface
- Wipe with a Sponge: Allow the grout to set for about 15-30 minutes, then use a damp sponge to wipe off any grout haze from the tile surface. Be careful not to disturb the grout in the joints.
- Final Cleanup: After the grout has dried (usually 24 hours), use a damp cloth to remove any residual haze.
Seal the Grout
For added protection, especially in moisture-prone areas:
- Apply Grout Sealer: After the grout has fully cured, apply a grout sealer using a small applicator or brush to protect it from moisture and staining.
Post-Installation Care
Regular Cleaning
To maintain the appearance of your ceramic tile installation:
- Sweep and Mop: Regularly sweep to remove dirt and debris, and mop with a mild detergent to keep the surface clean.
- Avoid Harsh Chemicals: Steer clear of abrasive cleaners that can damage the grout and tile finish.
Inspect for Damage
Periodically check the grout and tiles for any signs of cracking or damage. Prompt repairs can prevent more significant issues.
How to clean tile ceramic
Cleaning ceramic tiles is an important part of maintaining the hygiene and appearance of homes and commercial premises. Ceramic tiles are popular for their hard-wearing, easy-to-maintain properties, but dirt, stains and accumulated grime can affect their beauty and longevity if they are not cleaned and maintained regularly.
Use waterproof sealant
Regularly apply waterproof sealant to the gaps between tiles and the surface of the tiles to effectively prevent moisture, dirt and mold from growing in the gaps.
Avoid using abrasive cleaners
When cleaning tiles, avoid using strong acidic, alkaline or abrasive cleaners. These products may damage the surface of the tiles and the gaps.
Place anti-slip mats in high-traffic areas
Placing anti-slip mats at doorways and high-traffic areas can effectively reduce the introduction of dirt and protect the floor from damage.
Frequency of cleaning tiles
- High-traffic areas (such as kitchens and bathrooms): Clean 1-2 times a week.
- Low-traffic areas (such as bedrooms and living rooms): Clean once a month.
- Clean when necessary: Depending on the specific situation, such as cleaning after meals, after pets accidentally ingested, etc.
Conclusion
Installing tile ceramic is a rewarding project that can enhance your home’s beauty and functionality. By following the methods outlined in this guide, you can achieve professional-looking results, whether you’re a DIY enthusiast or a seasoned professional. While the process requires careful planning, the right tools, and a bit of patience, the long-lasting benefits of ceramic tiles make it well worth the effort. Enjoy the transformation in your space and the satisfaction that comes from completing your own home improvement project!