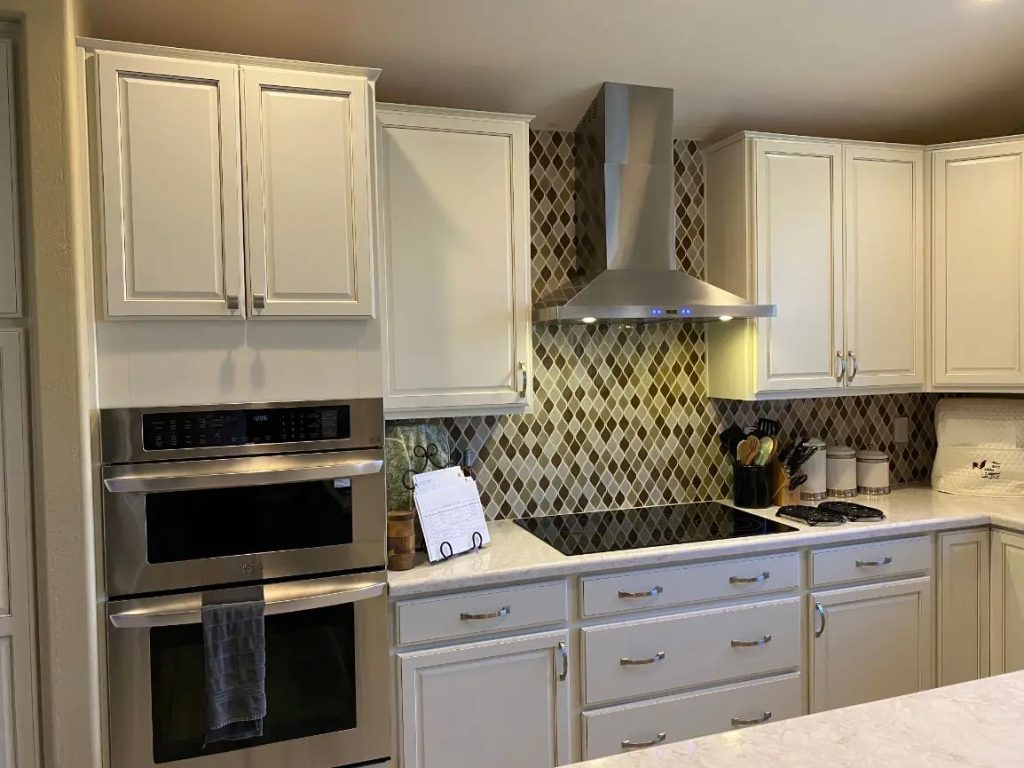
Kitchen hood vent installation requires careful planning, precise measurements, and attention to detail to ensure proper functionality and safety. In this detailed guide, we will explore the key techniques for installing a kitchen hood vent effectively. From preparation and installation to testing and final adjustments, each step plays a crucial role in the success of your project.

Step 1: Planning and Preparation
Before beginning the installation process, it’s essential to plan carefully and gather the necessary tools and materials. Here are some key points to consider during the planning and preparation phase:
- Selecting the Right Location: Choose a suitable location for the kitchen hood vent that allows for optimal ventilation and airflow. Ideally, the hood should be positioned directly above the cooktop or range to capture cooking fumes effectively.
- Measuring and Marking: Measure the dimensions of the hood vent and mark the installation area on the wall or ceiling. Ensure that there is sufficient space for the hood to fit securely and align with the cooking surface.
- Checking Ventilation Requirements: Determine the ventilation requirements for your kitchen hood, including the necessary ductwork size, length, and direction for proper airflow. Verify that the chosen location allows for easy access to an exterior wall or roof for venting.
- Gathering Tools and Materials: Prepare all the tools and materials needed for the installation, including a drill, screws, ductwork, vent hood, duct tape, vent cap, wire nuts, and a screwdriver. Having everything on hand will streamline the installation process.
Step 2: Installing the Vent Hood
With the planning phase completed, it’s time to begin the installation of the kitchen hood vent. Follow these steps to install the vent hood securely and efficiently:
- Positioning the Hood: Align the hood vent with the marked installation area on the wall or ceiling. Make sure it is level and centered above the cooktop or range.
- Securing the Hood: Use screws to secure the hood in place, following the manufacturer’s instructions for mounting. Ensure that the hood is firmly attached to the wall or ceiling to prevent any movement during operation.
- Connecting the Ductwork: Attach the ductwork to the back of the hood vent using duct tape or metal clamps. Extend the ductwork to the exterior of the building following the planned route for ventilation.
- Sealing Joints: Seal any gaps or joints in the ductwork with duct tape or sealant to prevent air leaks. Proper sealing ensures that the ventilation system operates efficiently and prevents odors from escaping into the kitchen.
- Installing the Vent Cap: Attach a vent cap to the exterior wall or roof to allow for the proper expulsion of air outside. Secure the vent cap in place and ensure that it is positioned correctly to prevent backdrafts or debris from entering the ductwork.
Step 3: Electrical Connection and Testing
After completing the physical installation of the kitchen hood vent, it’s time to address the electrical connection and test the functionality of the unit. Follow these steps to ensure proper electrical wiring and ventilation performance:
- Electrical Wiring: Connect the electrical wires from the hood vent to the power source using wire nuts and following the manufacturer’s wiring diagram. Ensure that the electrical connection is secure and insulated to prevent any hazards.
- Testing the Ventilation: Turn on the kitchen hood vent and test its ventilation function. Verify that the fan operates smoothly, and air is being expelled through the ductwork to the exterior. Check for any unusual noises or vibrations that may indicate a problem.
- Adjusting Settings: Adjust the fan speed and lighting settings on the hood vent according to your preferences. Test different settings to ensure that the ventilation system meets your needs for cooking and odor control.
Step 4: Final Adjustments and Safety Checks
Before considering the installation complete, perform final adjustments and safety checks to ensure that the kitchen hood vent functions correctly and safely. Here are some essential steps to follow:
Inspecting the Installation:
Double-check all connections, fastenings, and seals to ensure they are secure and leak-free. Inspect the entire ventilation system for any signs of damage or potential issues.
Safety Precautions:
Review the manufacturer’s safety guidelines for operating the kitchen hood vent and maintain proper clearance around the appliance. Ensure that flammable materials are kept away from the vent hood to prevent fire hazards.
Cleaning and Maintenance:
Establish a regular cleaning and maintenance schedule for the kitchen hood vent to prevent grease buildup and maintain optimal performance. Clean the filters, ductwork, and exterior surfaces as recommended by the manufacturer.
By following these techniques for installing a kitchen hood vent, you can create a functional and effective ventilation system in your kitchen. Proper installation, electrical connection, testing, and maintenance are key aspects of ensuring that your kitchen hood vent operates smoothly and enhances indoor air quality while cooking.