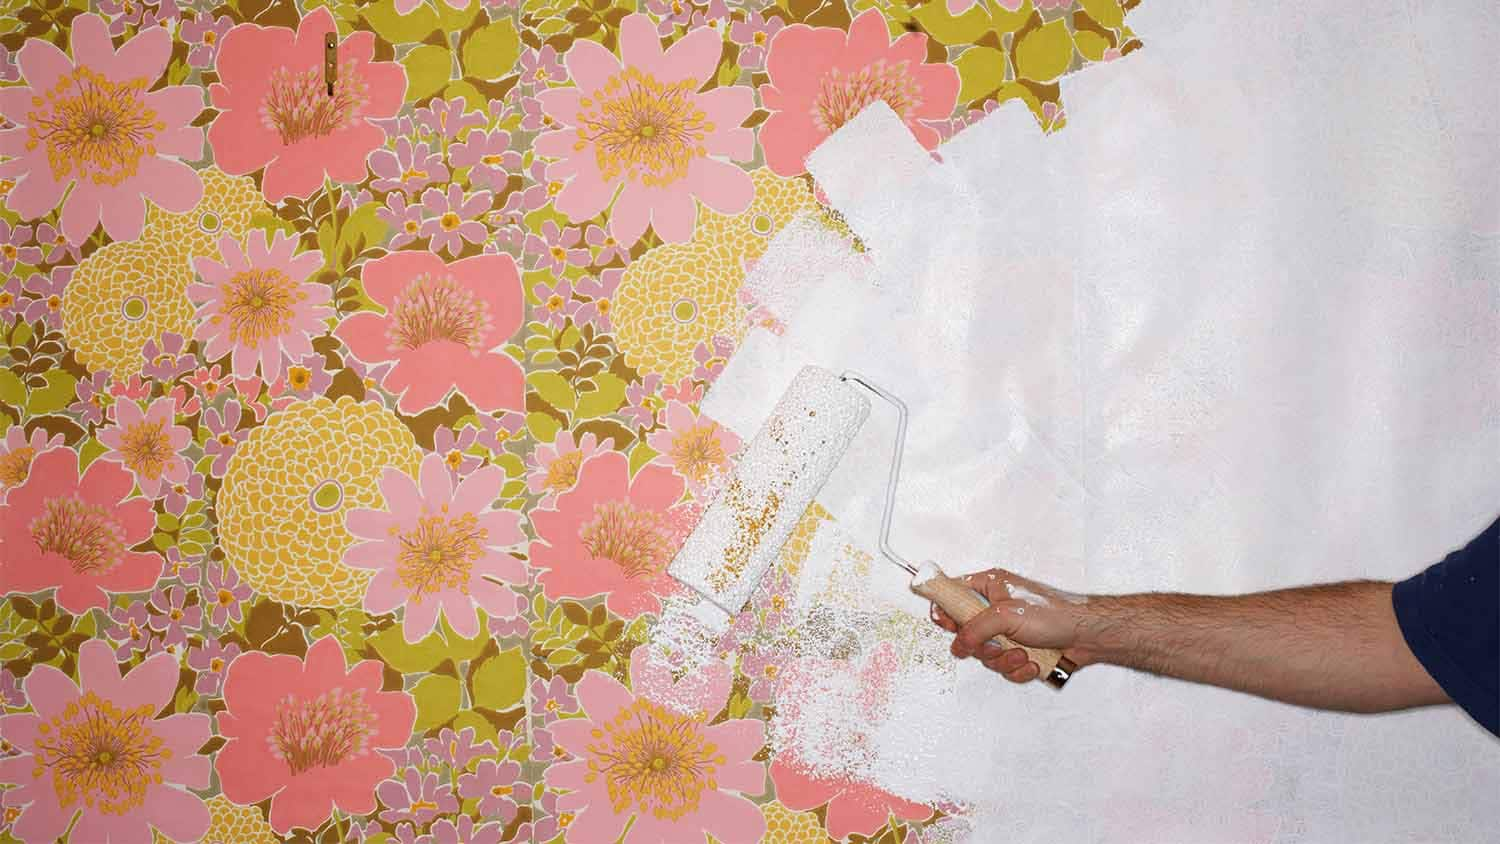
Can you paint over wall paper? Painting over wallpaper is a practical solution for homeowners seeking to refresh their walls without the hassle and expense of removing existing wallpaper. While the process may seem straightforward, it requires careful preparation and execution to ensure a successful outcome. This comprehensive guide explores the steps involved in painting over wallpaper, providing valuable tips and techniques for achieving professional results.
Assessing the Wallpaper
- Evaluate the Condition: Before painting over wallpaper, assess its condition to determine if it’s suitable for painting. Ensure that the wallpaper is firmly adhered to the wall without peeling edges or bubbles, as these issues can affect the paint’s adhesion and result in an uneven finish.
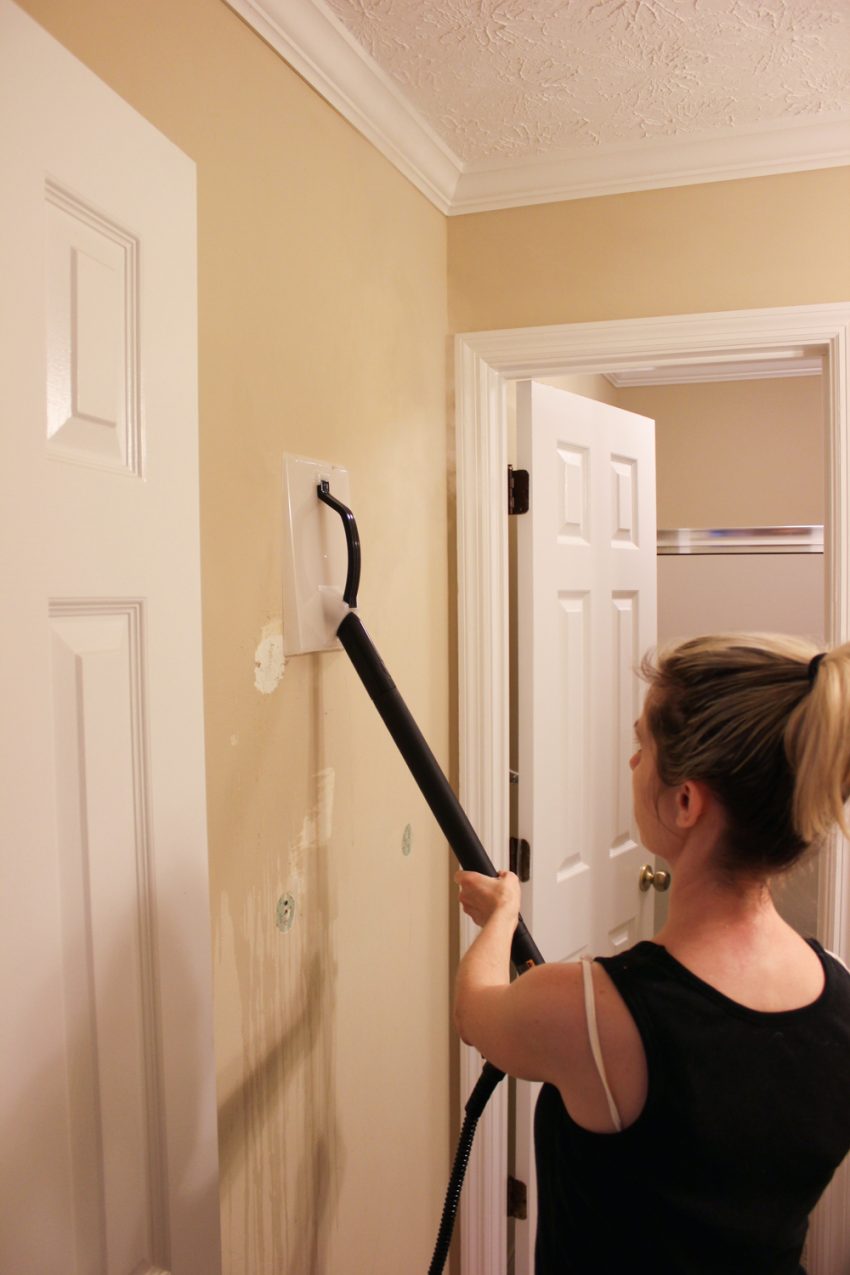
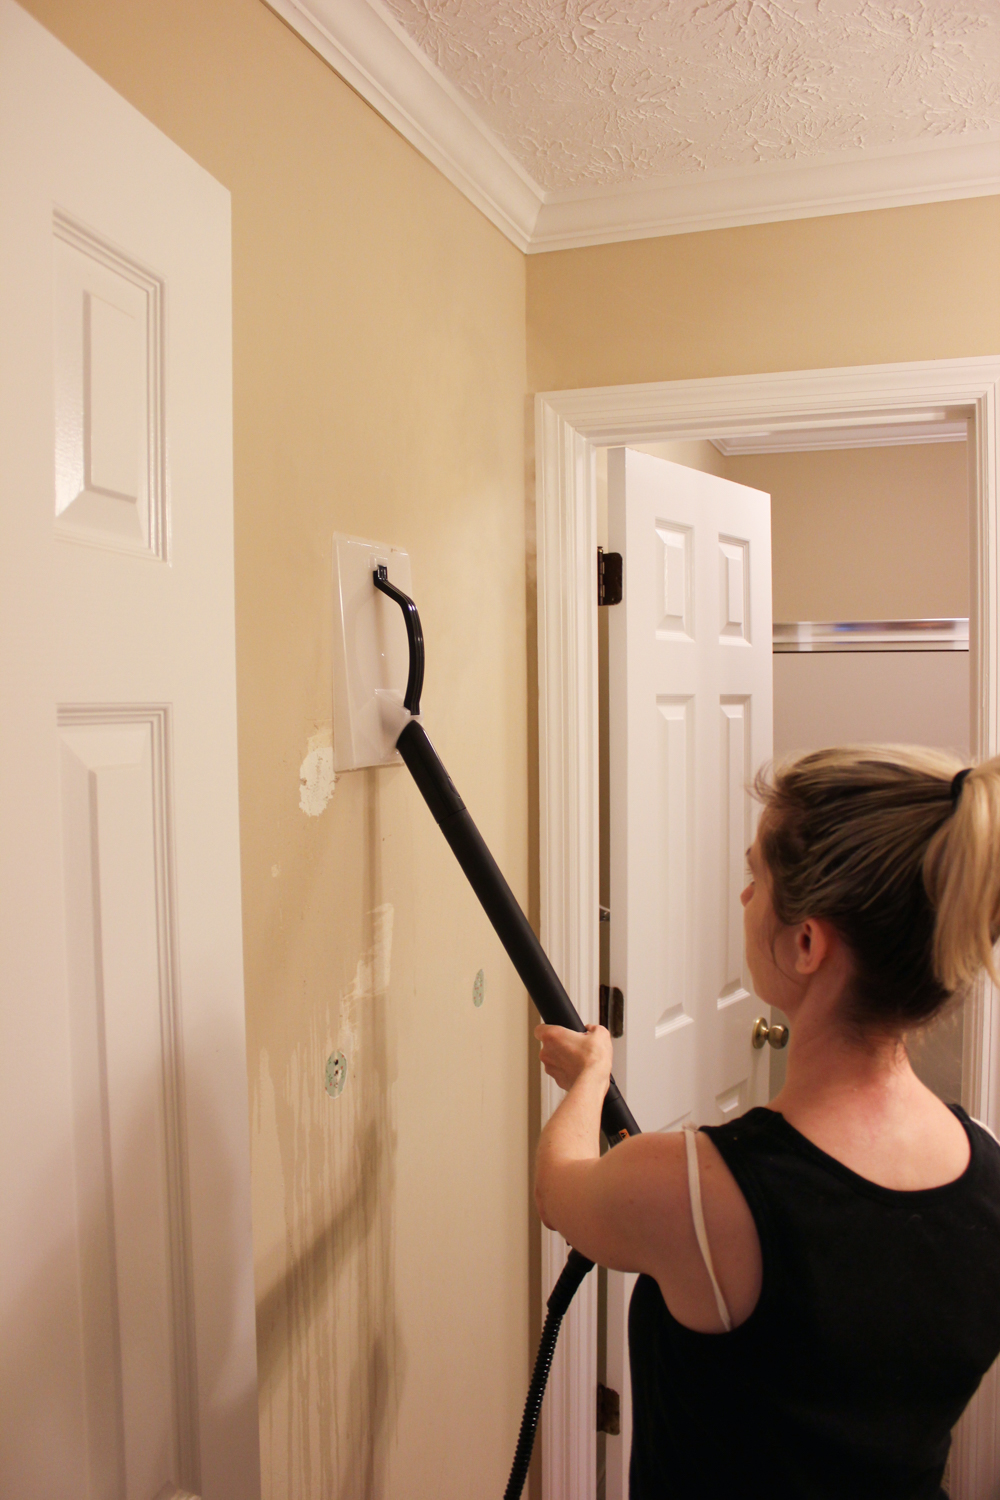
- Cleaning and Repairing: Thoroughly clean the wallpaper surface to remove any dirt, grease, or adhesive residue. Repair any tears, holes, or imperfections using wallpaper repair paste or spackle, allowing ample time for drying before proceeding to the next step.
Preparation and Priming
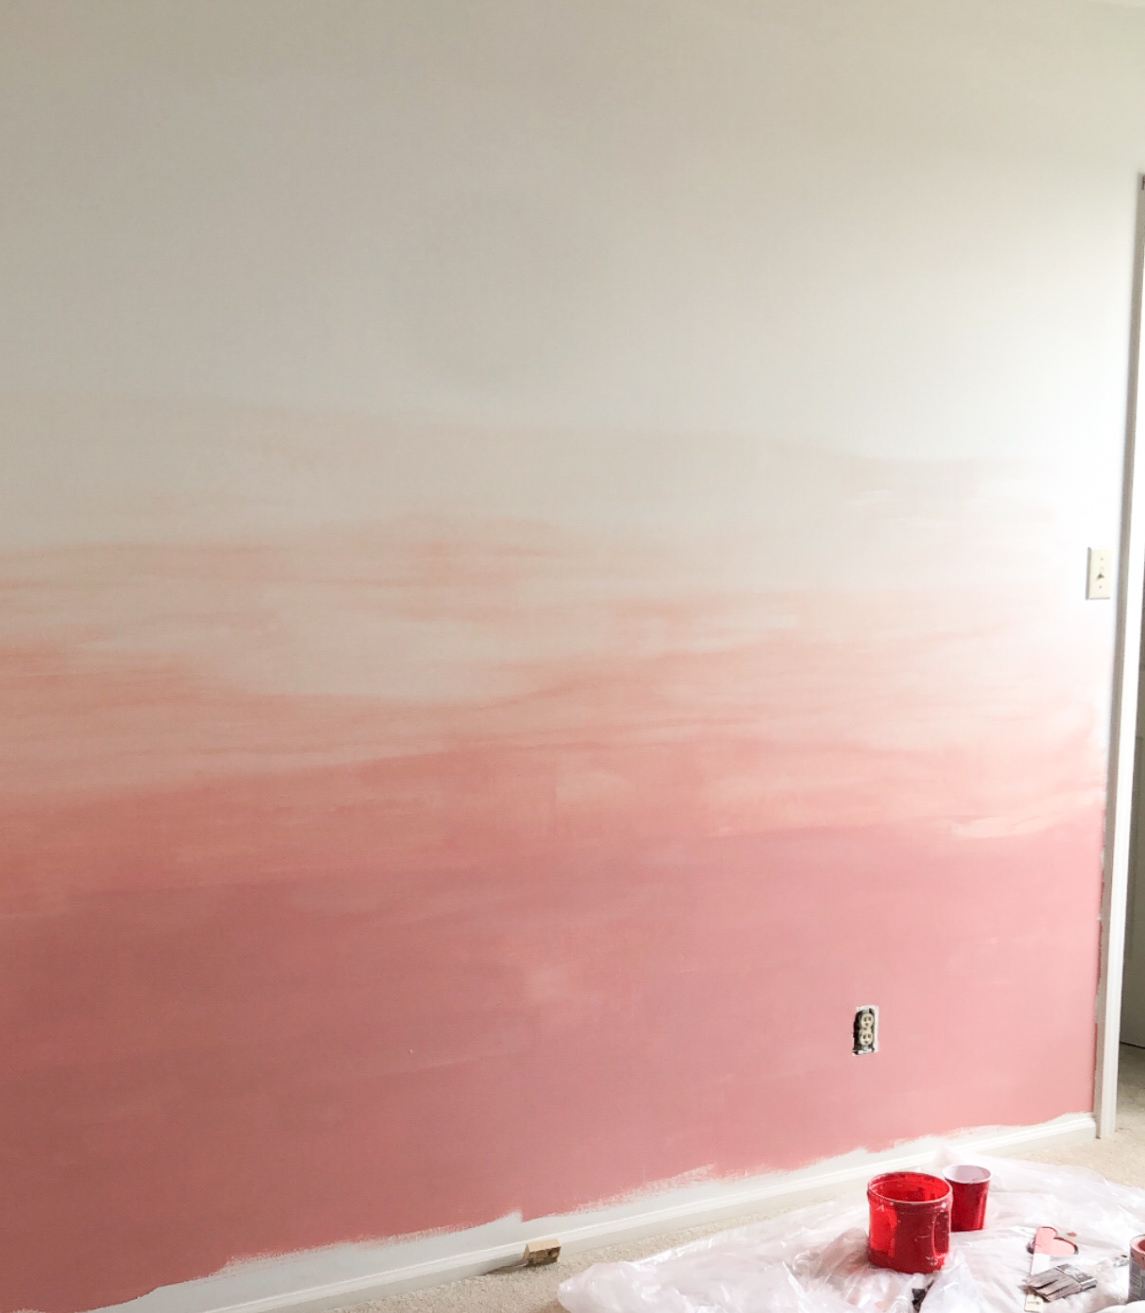
- Priming the Surface: Apply a high-quality primer specifically formulated for use over wallpaper to promote adhesion and prevent the wallpaper pattern from showing through the ombre paint wall. Use a roller or brush to evenly coat the entire surface, ensuring complete coverage and smooth application.
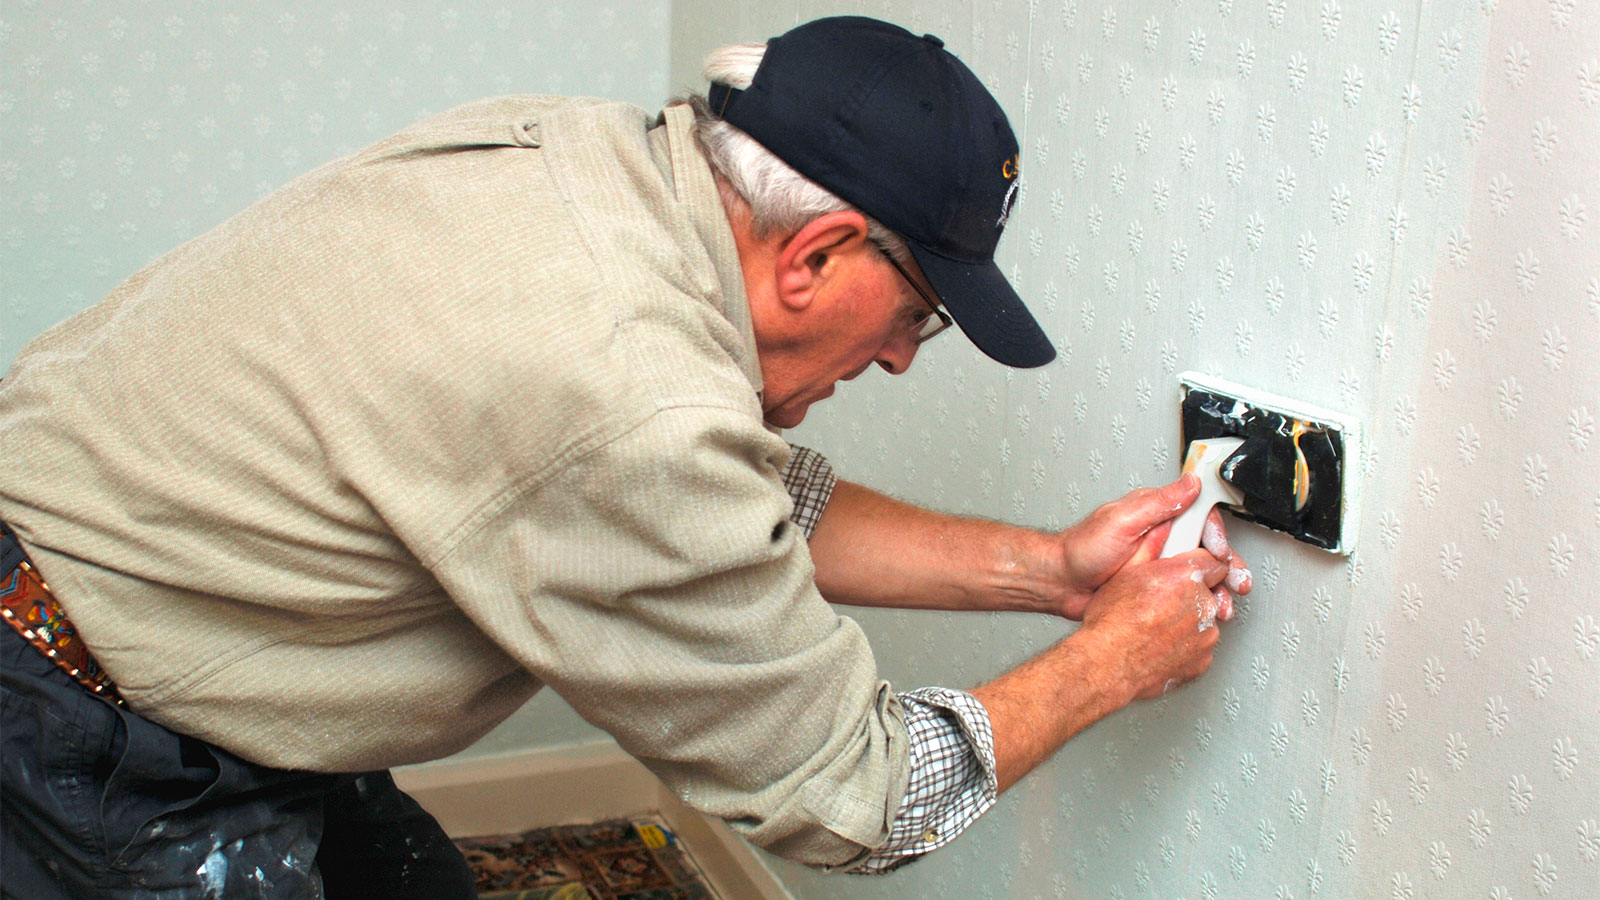
- Filling in Seams and Gaps: Fill in any visible seams or gaps between wallpaper panels using a seam adhesive or joint compound. Smooth out the excess material with a putty knife and allow it to dry completely before sanding the surface to achieve a seamless finish.
Choosing the Right Paint
- Selecting Paint Type: Choose a paint type suitable for the wallpaper material and desired finish. Acrylic latex paints are ideal for most wallpaper surfaces due to their durability, easy cleanup, and low odor. Satin or eggshell finishes offer a subtle sheen that hides imperfections while providing washability.
- Color Selection: Consider the existing wallpaper pattern and the desired aesthetic when selecting paint colors. Opt for light or neutral hues to minimize the visibility of the wallpaper pattern and create a cohesive backdrop for furnishings and decor.
Painting Techniques
- Cutting In: Begin by “cutting in” around the edges of the walls using a brush to create clean, precise lines along the ceiling, corners, and trim. This technique ensures uniform coverage and prevents paint from bleeding onto adjacent surfaces.
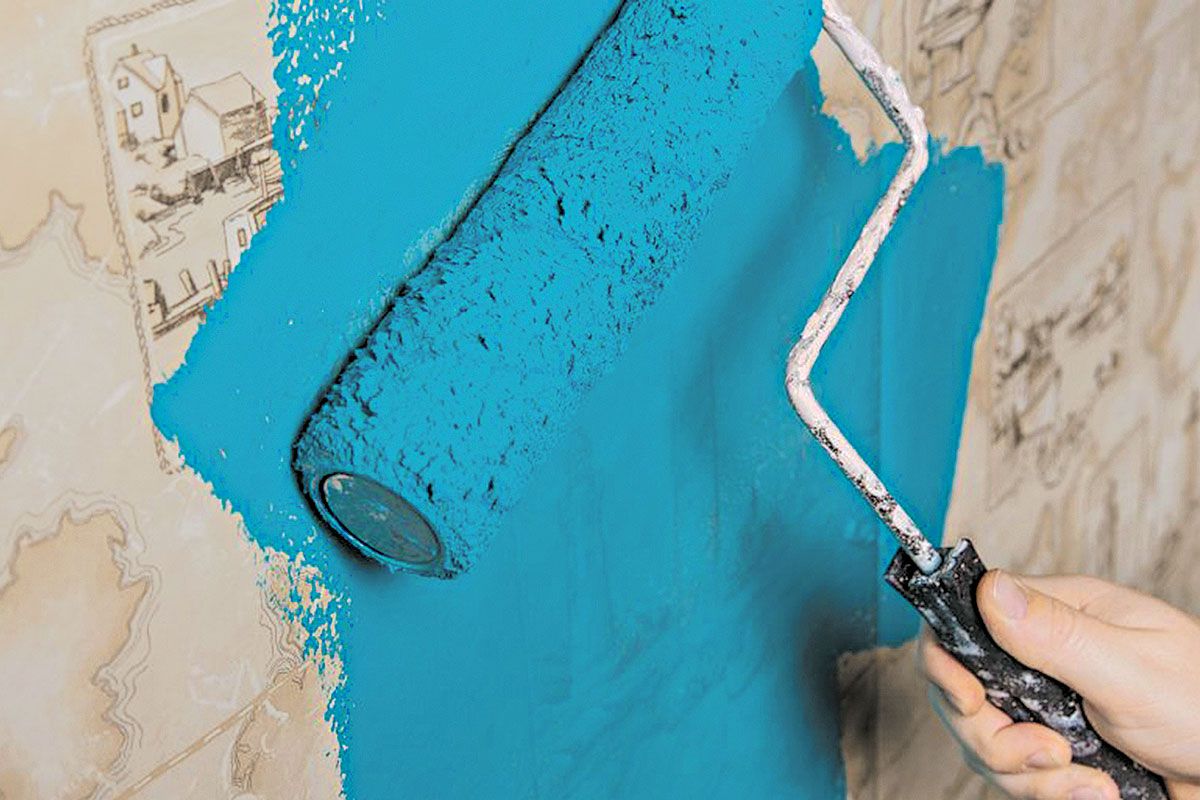
- Rolling the Walls: Use a paint roller to apply an even coat of paint to the larger wall areas, working in small sections from top to bottom. Apply light pressure and overlapping strokes to achieve consistent coverage, taking care not to oversaturate the wallpaper surface.
Finishing Touches
- Multiple Coats: Allow the first coat of paint to dry completely before applying additional coats as needed to achieve the desired opacity and color depth. Sand lightly between coats to smooth out any imperfections and promote adhesion.
- Sealing the Surface: Once the final coat of paint has dried, consider applying a clear acrylic sealer or polyurethane topcoat to protect the finish and enhance durability. Follow the manufacturer’s instructions for proper application and curing times.
How to use wall paint
Painting walls is a transformative home improvement project that can instantly refresh and revitalize any space. Whether you’re updating the color scheme, covering up imperfections, or adding a personal touch to your décor, mastering the art of accent wall designs is essential for achieving professional-looking results.
Preparation
- Gather Your Supplies: Before you begin painting, gather all the necessary supplies, including paint, primer, brushes, rollers, painter’s tape, drop cloths, sandpaper, and a ladder. Having everything on hand will streamline the process and prevent interruptions.
- Prepare the Room: Clear the room of furniture, fixtures, and other obstacles to create a spacious and clutter-free work area. Cover floors and furniture with drop cloths or plastic sheeting to protect them from paint splatters and spills.
- Prepare the Walls: Inspect the walls for any cracks, holes, or imperfections, and fill them with spackle or joint compound. Sand the patched areas smooth once dry, and wipe down the walls with a damp cloth to remove dust and debris.
Priming
- Why Prime?: Priming is essential for achieving a smooth and long-lasting paint finish. Primer helps seal porous surfaces, promotes adhesion, and improves paint coverage, especially when transitioning between dark and light colors or painting over glossy surfaces.
- Choosing the Right Primer: Select a primer that is compatible with the type of paint you’ll be using and the surface you’re painting. For example, use a latex primer for latex paint and an oil-based primer for oil-based paint. Specialty primers are available for specific needs, such as stain-blocking or mold resistance.
Painting Techniques
- Cutting In: Start by “cutting in” around the edges of the walls, ceiling, and trim using a high-quality angled brush. Dip the brush into the paint, tap off any excess, and carefully draw a straight line along the edges. This technique creates clean, crisp lines and minimizes the need for painter’s tape.
- Rolling the Walls: Use a paint roller to apply paint to the larger wall areas, working in small sections from top to bottom. Start with a “W” or “M” pattern to distribute the paint evenly, then fill in the space with vertical or horizontal strokes. Apply light pressure and overlap each stroke slightly to avoid streaks and roller marks.
Tips for Success
- Work in Sections: Divide the wall into manageable sections and focus on painting one section at a time to maintain a wet edge and ensure uniform coverage. Avoid stopping in the middle of a wall, as this can result in visible lap marks.
- Blend Paint Batches: If using multiple paint cans, mix them together in a larger container to ensure color consistency and minimize variations between batches. This step is particularly important for achieving a seamless finish on large, open walls.
Finishing Touches
- Remove Painter’s Tape: Once the wall paint is dry to the touch, carefully remove painter’s tape from the edges to reveal clean, sharp lines. Pull the tape away at a 45-degree angle to prevent peeling or tearing.
- Touch Up as Needed: Inspect the walls for any missed spots, drips, or imperfections, and touch them up with a brush or roller as necessary. Allow the touch-up paint to dry completely before assessing the final result.
Conclusion
Painting over wallpaper offers a cost-effective and time-saving alternative to wallpaper removal, allowing homeowners to update their walls with minimal effort and expense. By assessing the wallpaper condition, preparing the surface, choosing the right paint, mastering painting techniques, and applying finishing touches, you can achieve professional-quality results that enhance the beauty and longevity of your walls. With careful planning and attention to detail, painting over wallpaper can transform your space and breathe new life into your home décor.
