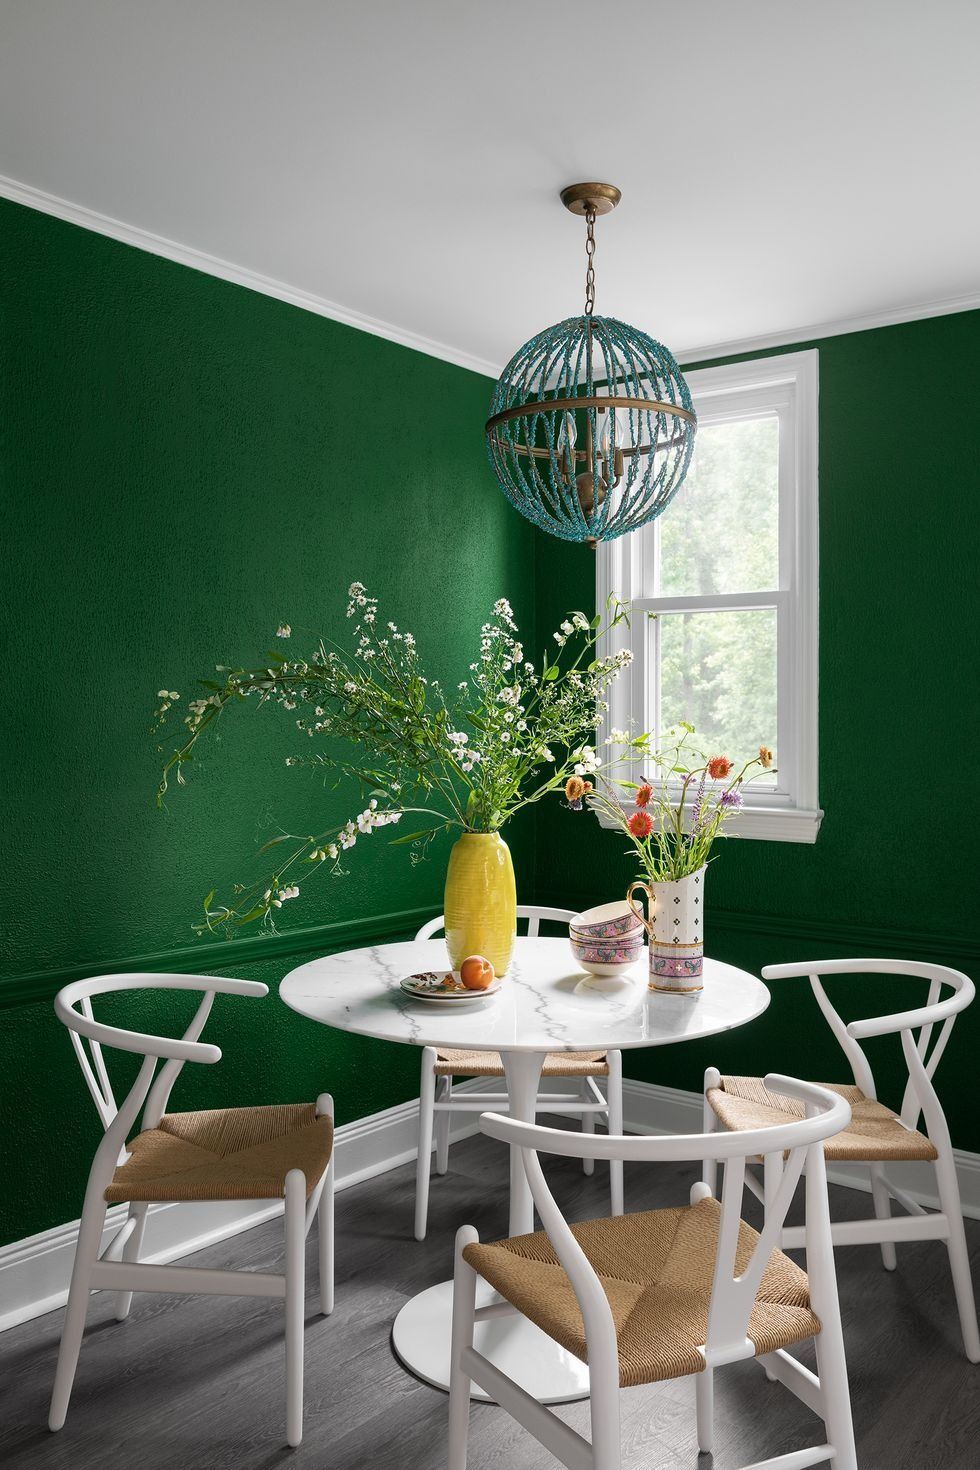
How to paint a textured wall? Painting textured walls can present unique challenges compared to painting smooth surfaces, but with the right techniques and tools, you can achieve stunning results that enhance the beauty of your space. Whether you’re dealing with textured plaster, stucco, or other textured surfaces, this comprehensive guide will walk you through the step-by-step process of painting textured walls like a pro. From surface preparation to paint application and finishing touches, you’ll learn the essential techniques and tips to create a flawless finish that transforms your walls into works of art.
Preparing the Textured Surface
Before diving into painting, proper surface preparation is crucial for ensuring optimal adhesion and a smooth finish. Follow these steps to prepare your textured walls:
- Clean the Surface: Remove any dust, dirt, or debris from the walls using a vacuum cleaner or dry cloth. For heavily soiled surfaces, consider washing with mild soap and water and allowing it to dry completely.
- Repair Damaged Areas: Fill in any cracks, holes, or imperfections in the textured surface with spackling compound or joint compound. Smooth out the repairs with a putty knife and allow them to dry according to the manufacturer’s instructions.
- Sand Rough Spots: Use a fine-grit sandpaper or sanding block to lightly sand rough or uneven areas on the textured surface. This will help smooth out the texture and create a more uniform finish.
- Prime the Surface: Apply a coat of primer formulated for textured surfaces to promote adhesion and provide a uniform base for the paint design. Use a brush or roller to apply the primer evenly, covering the entire surface of the walls. Allow the primer to dry completely before proceeding to the next step.
Choosing the Right Paint and Tools
Selecting the appropriate paint and tools is essential for achieving the desired results when painting textured walls. Consider the following factors:
- Paint Type: Opt for a high-quality latex or acrylic paint specifically formulated for textured surfaces. These paints are flexible, durable, and resistant to cracking, making them ideal for textured walls.
- Finish: Choose a finish that complements the texture of your walls and suits your aesthetic preferences. Matte or eggshell finishes are often preferred for textured walls as they help to minimize imperfections and glare.
- Tools: Use a combination of brushes, rollers, and paint sprayers to apply paint to textured walls effectively. A thick-nap roller or stippling brush is ideal for reaching into the recesses of the texture and ensuring full coverage.
Applying Paint to Textured Walls
Once the surface is prepared and you have the necessary paint and tools, it’s time to start painting your textured walls. Follow these steps for best results:
- Cut In the Edges: Use a brush to cut in around the edges of the walls, including corners, ceilings, and trim. This will create clean, crisp lines and make it easier to paint the larger areas with a roller.
- Use a Thick-Nap Roller: Load a thick-nap roller with paint and apply it to the textured walls in a crisscross or “W” pattern. Work in small sections, overlapping each stroke to ensure even coverage.
- Work in Sections: Divide the walls into manageable sections and focus on painting one section at a time. This will help prevent the paint from drying too quickly and allow you to maintain a wet edge for seamless blending.
- Apply Multiple Coats: Depending on the texture and color of your walls, you may need to apply multiple coats of paint to achieve full coverage and depth of color. Allow each coat to dry completely before applying the next one.
- Blend Seamlessly: Blend each section of wall paint into the adjacent sections while the paint is still wet to avoid visible seams or lap marks. Use a stippling brush or roller to feather out any edges and create a uniform finish.
What are the tools for painting walls?
Painting walls can be a transformative process, whether you’re refreshing the look of a room or adding your personal touch to a new space. To achieve professional results, it’s essential to have the right tools at your disposal. From preparation to finishing touches, each step of the painting process requires specific tools designed to make the job easier and more efficient.
1. Surface Preparation Tools
Before you can start painting, proper surface preparation is key to ensuring a smooth and durable finish. The following tools will help you prepare your walls for painting:
- Painter’s Tape: Used to protect trim, ceilings, and other surfaces from paint splatter and ensure clean, crisp lines.
- Drop Cloths or Plastic Sheeting: Placed on the floor and furniture to protect them from paint drips and spills.
- Spackling Compound: Used to fill in cracks, holes, and imperfections in the wall surface.
- Putty Knife: Used to apply spackling compound and smooth out repairs.
- Sandpaper or Sanding Block: Used to smooth rough spots and roughen glossy surfaces for better paint adhesion.
- Tack Cloth: Used to remove dust and debris from the walls after sanding.
2. Painting Tools
Once the surface is prepared, it’s time to apply ombre paint. The following tools are essential for painting walls:
- Paintbrushes: Used for cutting in around edges, corners, and trim. Choose brushes with synthetic bristles for latex paint and natural bristles for oil-based paint.
- Roller Frame: Holds the roller cover in place and allows for easy application of paint.
- Roller Covers: Come in various nap lengths for different textures. Use a shorter nap for smooth surfaces and a longer nap for textured walls.
- Paint Tray: Used to hold and distribute paint for roller application.
- Paint Mixer: Attaches to a drill to thoroughly mix paint before application.
- Paint Sprayer: Optional tool for large wall surfaces or when a smooth finish is desired.
3. Safety Equipment
Safety should always be a priority when painting. The following safety equipment is essential:
- Safety Glasses or Goggles: Protect your eyes from paint splatter and debris.
- Disposable Gloves: Protect your hands from irritation and chemical exposure.
- Respirator Mask: Protects your lungs from paint fumes and airborne particles.
Conclusion
Painting textured walls requires careful preparation, the right tools, and proper technique to achieve professional-looking results. By following the steps outlined in this guide, you can tackle your textured walls with confidence and transform them into stunning focal points in your home. Remember to take your time, work in small sections, and pay attention to detail for a flawless finish that enhances the beauty of your space. With patience and perseverance, you’ll soon master the art of painting textured walls like a pro.
