How to fix wall paint peel off? Wall paint peeling off can be a frustrating issue that affects the appearance of a room. However, with the right techniques and tools, it is possible to repair and restore the affected areas. In this guide, we will explore the steps for fixing wall paint peel off, ensuring a smooth and visually appealing surface. By following these steps, you can achieve professional-looking results and maintain the integrity of your painted walls.
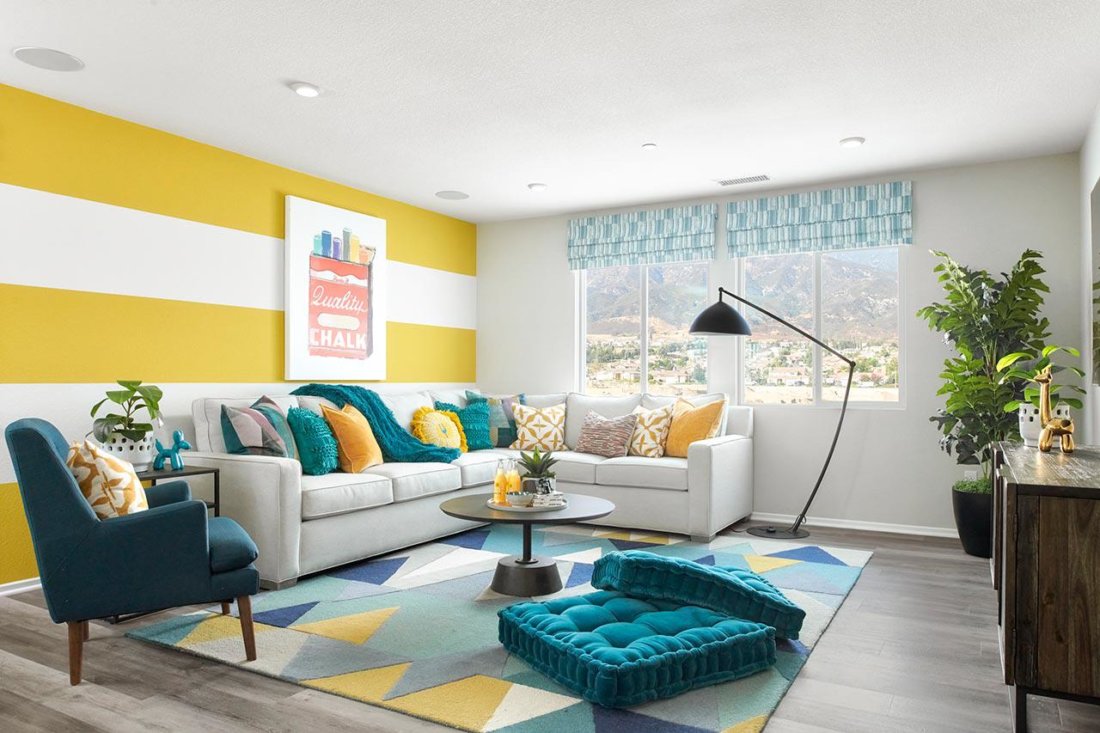
Assess the Damage:
Before starting the repair process, assess the extent and cause of the paint peel off. Consider the following factors:
- Size and Location: Identify the size and location of the peeled paint area. Determine if it’s a localized spot or if there are multiple affected areas.
- Underlying Causes: Investigate the underlying causes of the ombre wall paint, which could include moisture issues, improper surface preparation, or a lack of primer or adhesive between the paint layers.
- Surface Condition: Determine the condition of the underlying surface. Check for any irregularities, such as cracks or loose plaster, that may have contributed to the paint peeling off.
Prepare the Work Area:
Proper preparation of the work area is crucial for an effective repair. Consider the following steps:
- Clear the Area: Remove furniture, decorations, or any other items that could hinder the repair process or get in the way.
- Protect Surfaces: Cover the floor and remaining walls with drop cloths or plastic sheets to protect them from any debris or paint splatters during the repair.
- Ventilation: Ensure there is proper ventilation in the area to facilitate drying and to minimize the inhalation of paint fumes. Open windows or use fans to increase airflow.
Remove Loose or Peeling Paint:
To achieve a smooth surface, it is essential to remove any loose or peeling paint. Consider the following guidelines:
- Scrape the Area: Use a putty knife or paint scraper to gently scrape away any loose or peeling paint near the affected area. Be careful not to damage the underlying surface.
- Smooth the Edges: Feather the edges of the remaining paint by gently sanding them with fine-grit sandpaper. This creates a smooth transition between the old and repaired sections.
- Clean the Surface: After scraping and sanding, remove any dust or debris from the surface using a clean cloth or a soft brush. Ensure the surface is clean and dry before proceeding.

Repair and Prime the Area:
To ensure proper adhesion and a seamless finish, repairing and priming the area is essential. Consider the following steps:
- Fill and Smoothen: Apply a thin layer of spackling compound or a patching compound to fill any depressions or holes left after removing the best paint. Smooth the compound with a putty knife and allow it to dry according to manufacturer instructions.
- Sand the Patch: Once the compound has dried, sand it lightly with fine-grit sandpaper to create a smooth and even surface. Remove any dust or debris before proceeding.
- Prime the Area: Apply a high-quality primer to the repaired section and the surrounding area. Use a paintbrush or roller to ensure even coverage. Allow the primer to dry completely before moving on to the next step.
Repaint and Blend with the Surrounding Area:
To achieve a seamless finish, repainting the repaired area and blending it with the surrounding wall paint is necessary. Consider the following guidelines:
- Paint Selection: Select the appropriate paint color and finish that matches the existing wall paint. Take note of the original paint type, sheen, and texture to ensure a proper match.
- Paint Application: Apply the paint using a paintbrush or roller, starting at the edges and working your way toward the center of the repaired area. Feather the paint into the surrounding wall while maintaining an even coat.
- Allow Drying Time: Follow the manufacturer’s instructions for drying time between coats. Apply multiple thin coats of paint, allowing each coat to dry completely before proceeding with the next.

Finishing Touches and Cleanup:
Complete the repair process with attention to detail and finish with proper cleanup. Consider the following steps:
- Blend the Texture: If the repaired area does not perfectly match the surrounding texture, replicate the texture using techniques such as stippling, sponging, or feathering. Experiment on a scrap piece of cardboard before applying it to the wall.
- Final Inspection: Once the repaired area is completely dry, inspect it under different lighting conditions to ensure a seamless result. Make any necessary touch-ups before declaring the repair complete.
- Clean Tools and Work Area: Properly clean all tools and brushes used during the repair process. Dispose of any debris, drop cloths, or protective coverings. Return furniture and decorations to their original positions.
When do you need to fix wall paint?
The integrity and appearance of wall paint can be compromised over time due to wear and tear, improper maintenance, or other factors. Knowing when to fix wall paint is essential for maintaining a clean and visually appealing living space.
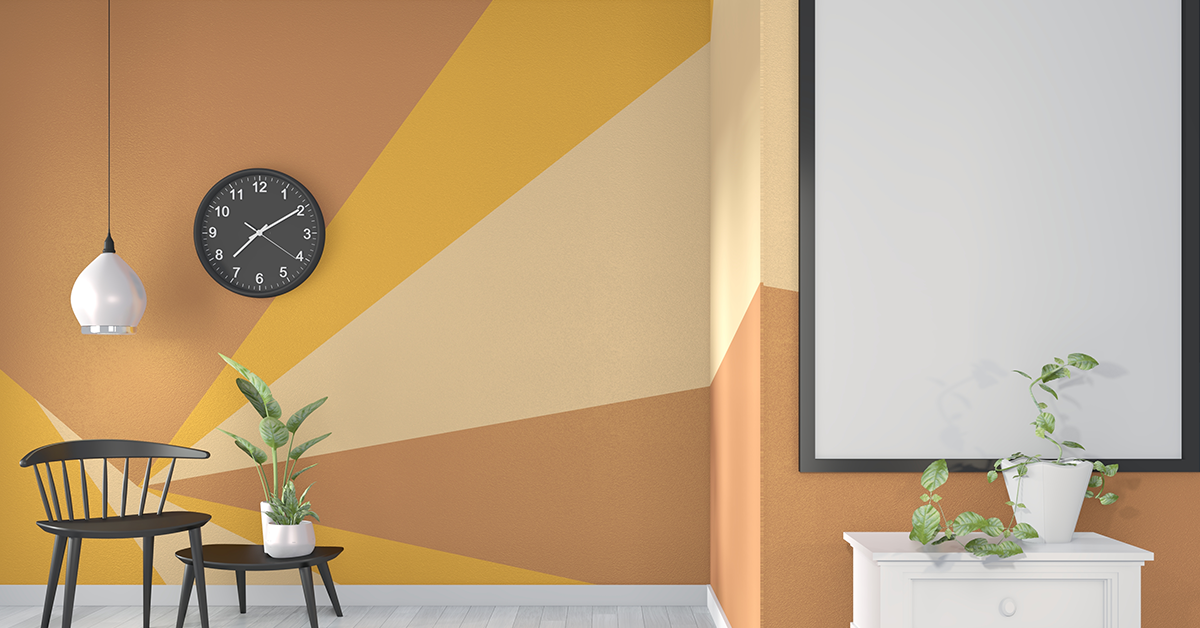
Cracks and Flaking:
Cracks and flaking are among the most common issues that require fixing. Consider the following circumstances:
- Age and Settling: Over time, walls can settle, leading to cracks or flakes in the geometric wall paint . These cracks may appear in the corners of walls or near windows and doors due to structural movement.
- Moisture Damage: Moisture, whether from leaks, humidity, or condensation, can penetrate walls, causing the paint to crack or peel. Bathrooms, kitchens, and basements are more prone to moisture-related paint damage.
- Temperature Changes: Extreme temperature fluctuations can affect the integrity of wall paint. Heat can cause paint to expand, while cold temperatures can cause it to contract, leading to cracks or flaking.
Stains and Discoloration:
Stains and discoloration on walls can be unsightly and require attention. Consider the following scenarios:
- Water Stains: Water leaks, plumbing issues, or roof problems can result in noticeable water stains on walls. These stains often appear as dark patches or yellowish discoloration.
- Smoke or Fire Damage: Smoke from fire incidents can leave soot or smoke stains on walls, which are difficult to remove without proper care and attention.
- Mildew or Mold Growth: Damp environments, high humidity, or inadequate ventilation can lead to mildew or mold growth on walls. This not only causes discoloration but also poses health risks.
Fading or Sun Damage:
Excessive exposure to sunlight can cause paint to fade or discolor. Consider the following situations:
- Direct Sunlight: Walls that receive direct sunlight for prolonged periods can experience fading or discoloration over time, particularly with lighter paint colors.
- UV Rays: Ultraviolet (UV) rays in sunlight can break down the pigments in paint, leading to color variations or a washed-out appearance.
Conclusion:
Fixing wall paint peel off requires a systematic approach to achieve a smooth and visually appealing surface. By assessing the damage, preparing the work area, removing loose paint, repairing and priming the area, repainting and blending, and finishing with attention to detail, you can effectively restore your walls. Following these steps, you will be able to achieve professional-looking results while maintaining the integrity and aesthetics of your painted walls.
