How to paint an arch on a wall? Painting an arch on a wall can add a touch of elegance and sophistication to any room. Whether you are a seasoned DIY enthusiast or a beginner, learning the proper technique for painting an arch can be a fun and rewarding project. In this article, we will guide you through the step-by-step process of painting an arch on a wall, from choosing the right materials to creating a smooth and flawless finish.
Choosing the Right Materials
Before you begin painting, it’s important to gather all the necessary materials to ensure a successful outcome. Here is a list of the materials you will need:
- Paint primer
- Paintbrushes
- Paint roller
- Painter’s tape
- Measuring tape
- Pencil
- Level
- Arch stencil (optional)
- Paint
- Drop cloth or plastic sheeting
- Sandpaper
Preparing the Wall
The first step in painting an arch on a wall is to prepare the surface. Start by removing any furniture or decorations from the area and laying down a drop cloth or plastic sheeting to protect the floor. Next, use a sandpaper to smooth out any rough spots or imperfections on the wall. Once the wall is smooth, apply a coat of paint primer to create a smooth and even base for the accent wall paint.
Measuring and Marking the Arch
Using a measuring tape, determine the height and width of the arch you want to paint. Once you have the measurements, mark the center of the arch on the wall with a pencil. Then, use a level to draw a straight line from the top center mark to the bottom corners of the arch. This will serve as the outline for your arch and help guide the painting process.
Creating the Arch
There are several methods for creating the arch shape on the wall. One simple and effective way is to use a pre-made arch stencil. If you choose to use a stencil, carefully align it with the outline you created and secure it in place with painter’s tape. Then, use a paintbrush to carefully fill in the stencil with your desired paint color.
If you prefer to freehand the arch, start by lightly sketching the shape of the arch with a pencil. Once you are satisfied with the outline, use a paintbrush to carefully fill in the arch with your chosen paint color. Take your time and use steady, even strokes to create a smooth and uniform finish.
Finishing Touches
After you have painted the arch, carefully remove any painter’s tape or stencils from the wall. Use a small paintbrush to touch up any areas that may need additional coverage or smoothing. Once the paint is dry, step back and admire your handiwork.
What are the styles of paint an arch on a wall?
When it comes to adding a touch of elegance and sophistication to a room, painting an arch on a wall can be a great way to achieve this. Whether you are looking to create a focal point, divide a space, or simply add visual interest, an arch can be a beautiful addition to any wall.
Styles of Arches
There are various styles of arches that you can choose from when it comes to painting on a wall. Each style has its own unique characteristics and can create a different visual impact in a room. Some common styles of arches include:
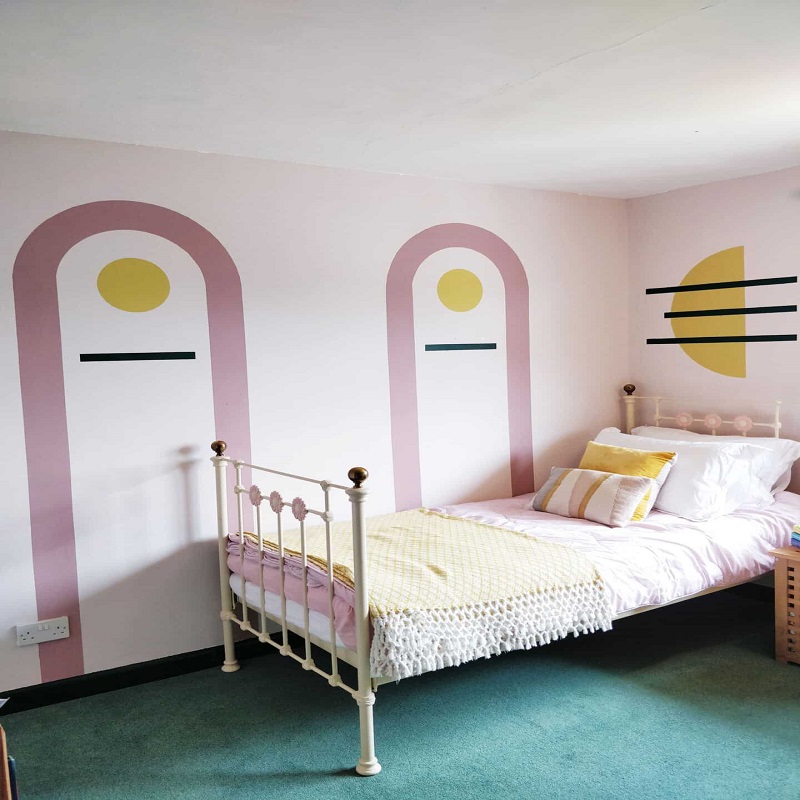
- Classic Arch: This style features a simple, symmetrically curved arch that adds a timeless and traditional look to a wall.
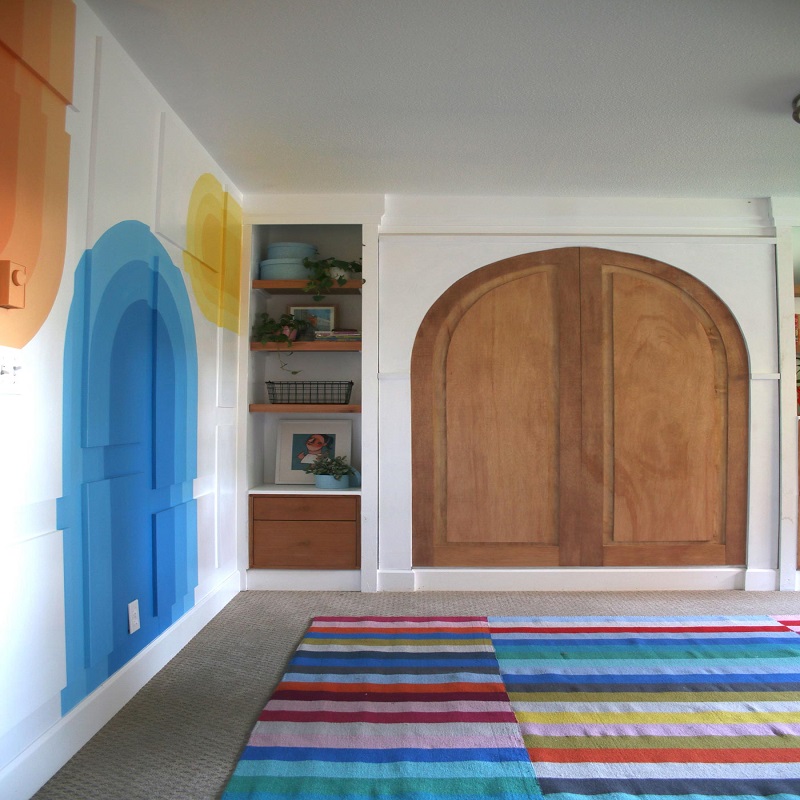
- Gothic Arch: The Gothic arch is characterized by a pointed top and is often associated with medieval architecture. It can add a dramatic and striking effect to a wall.
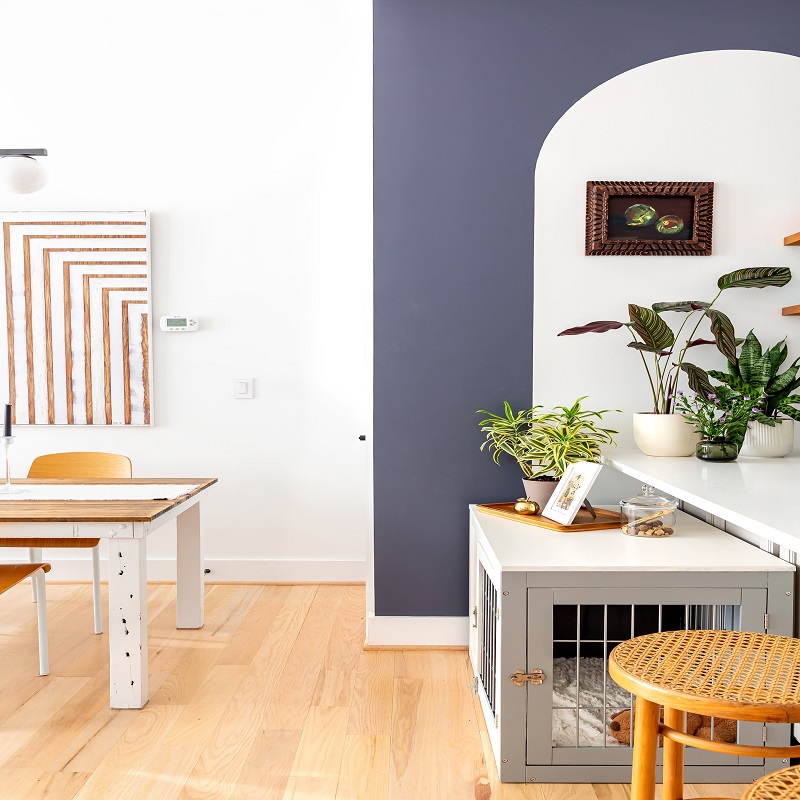
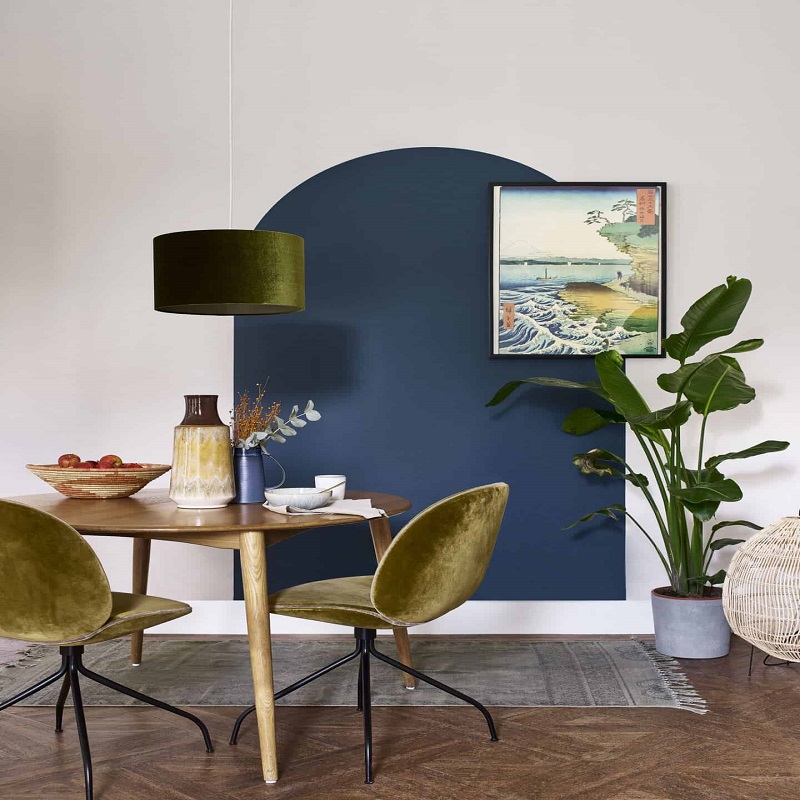
- Roman Arch: This style features a semi-circle shape and is inspired by ancient Roman architecture. It can create a sense of grandeur and elegance in a room.
- Keyhole Arch: The keyhole arch has a unique shape that resembles a keyhole, with a wider base and a narrow top. It can add a touch of whimsy and charm to a wall.
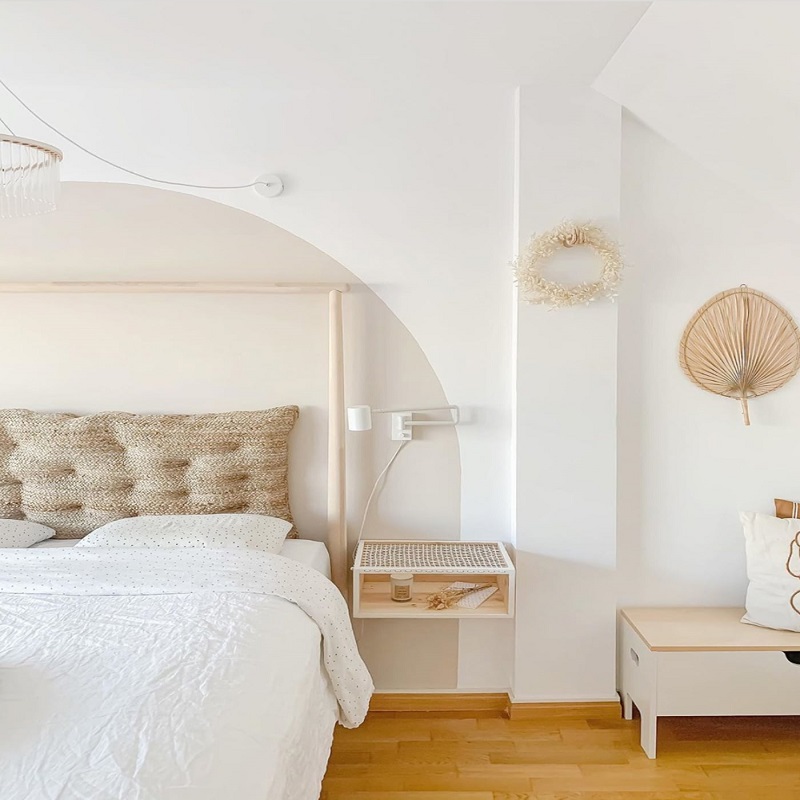
- Elliptical Arch: This style features an elongated and horizontally stretched arch, creating a graceful and refined look on a wall.
Techniques for Painting an Arch
Once you have chosen the style of arch you want to tone wall paint on your wall, it’s time to consider the different techniques for creating the arch. Here are some popular techniques for painting an arch on a wall:
- Freehand Painting: This technique involves using a brush and paint to freehand the shape of the arch directly onto the wall. This method requires precision and a steady hand, but it allows for a more organic and natural look.
- Stencil Painting: Stencils can be used to create a precise and uniform arch shape on the wall. Simply secure the stencil in place and use a roller or brush to fill in the design with paint.
- Tape Method: Using painter’s tape, create the outline of the arch on the wall. Once the tape is in place, you can easily paint within the taped area to create a clean and crisp arch design.
Step-by-Step Instructions for Painting an Arch
Now that you have chosen the style and technique for your arch, let’s walk through the step-by-step instructions for painting an arch on a wall.
Prepare the Wall
Before you begin painting, make sure to prepare the wall by cleaning it and filling in any holes or imperfections with spackle. Sand the wall smooth and apply a coat of primer if needed.
Mark the Arch
Using a pencil and a measuring tape, mark the outline of the arch on the wall. Take your time to ensure that the shape and proportions are to your liking.
Paint the Background
If you want the arch to stand out against a different colored background, now is the time to paint the surrounding area. Use painter’s tape to create clean edges and apply the paint evenly.
Paint the Arch
Using your chosen technique, whether it’s freehand garage wall paint, stenciling, or the tape method, carefully paint the arch onto the wall. Take your time and be patient to achieve a smooth and professional finish.
Add Detailing
If desired, you can add detailing to the arch, such as decorative trim, accents, or even a faux finish to create texture and depth.
Finish and Seal
Once the paint has dried, remove any tape or stencils and touch up any areas that may need it. Finally, apply a coat of clear sealant to protect the painted arch and give it a polished look.
Painting an arch on a wall is a wonderful way to add character and charm to any space. Whether you opt for a classic, gothic, or Roman style arch, and whether you use a freehand, stencil, or tape method, the end result will surely enhance the aesthetic appeal of the room. With the right techniques and a creative approach, you can create a stunning arch design that will become a focal point and conversation starter in your home.
Conclusion
Painting an arch on a wall may seem like a daunting task, but with the right materials and technique, it can be a simple and enjoyable project. By following these step-by-step instructions, you can create a beautiful and elegant arch that will enhance the beauty of any room. So go ahead, grab your paintbrushes, and let your creativity flow as you add a touch of style to your walls.