Prepare Your Tools and Materials
How to remove stickers from wall? Before you start the sticker removal process, gathering the right tools and materials is key. Here’s what you’ll need:
- Hairdryer or Heat Gun: A common and effective way to loosen the adhesive is by using heat. A hairdryer works well for this purpose.
- Plastic Card or Spatula: You’ll need a thin but sturdy object to help peel the sticker edges. A plastic card or a spatula can be gentle on your walls.
- Cleaning Solution: Prepare a mixture of warm water and mild dish soap. This will help remove any residual glue.
- Soft Cloth or Sponge: After applying the cleaning solution, use a soft cloth or sponge to wipe the wall clean.
- Adhesive Remover (optional): For stubborn sticker residue, you might require a specialized adhesive remover.
Using these tools and materials can make the task of how to remove stickers from wall far less daunting and more effective. Remember to use them with care to avoid any unwanted damage.
Start by Heating the Sticker
The first step in learning how to remove stickers from wall is to heat them. Apply heat evenly across the surface of the sticker using a hairdryer or heat gun. Set the tool to a moderate temperature to avoid wall damage. Hold it a few inches away from the sticker. Move it around in a circular motion. This softens the adhesive and makes peeling easier.
Be patient during this process. Take your time to ensure the heat penetrates. Don’t rush or you might tear the sticker and leave residue. If you’re using a heat gun, be extra cautious as it gets very hot. Keep heat application short to prevent wall paint from bubbling.
After a minute or two, test a corner of the sticker with your plastic card or spatula. If it lifts easily, the sticker is ready for removal. If not, apply more heat and try again. The goal is to gently loosen the sticker so it peels off effortlessly.
Gently Peel Off the Sticker
Once the sticker has been sufficiently heated, begin the peeling process. Start at a corner or edge that lifts easily when tested with your plastic card or spatula. Gently insert the tool under the sticker and slowly push it forward, ensuring you’re not pulling too hard to avoid tearing. If you encounter resistance, stop and apply more heat to soften the adhesive further.
It’s essential to maintain a steady and gentle pace. Rapid movements can rip the sticker and leave parts of it stuck to the wall. Continue lifting the sticker evenly and gently until the entire piece is removed. This careful approach is key to removing the sticker without causing any harm to the wall surface.
After peeling off the entire sticker, inspect the wall for any remaining bits of sticker or adhesive. If some residue remains, do not scrape it off harshly. Instead, prepare for the next part of the process which involves using a cleaning solution for effective removal.
Remove Residue with Appropriate Cleaners
After removing the sticker, you may notice some sticky residue. Take the next steps to clean it. Use your prepared mixture of warm water and mild dish soap. Soak a soft cloth or sponge in the solution. Gently wipe the wall to remove any adhesive left behind. Rinse the cloth or sponge and repeat until the wall is clean.
For tougher residue, consider using an adhesive remover. Apply a small amount to a cloth and test it on a small area first. This will ensure that the remover won’t damage the paint. Carefully rub the area until the residue comes off. Sometimes, you might need to apply the adhesive remover and wait a few minutes. This helps break down the glue.
Always use these products according to the manufacturer’s guidelines. It’s key to prevent wall discoloration or further damage. After all the residue is gone, give the wall one final wipe. Use a damp cloth to remove any remaining cleaner. This will leave your wall clean and clear of any sticky spots.
Clean and Dry the Wall Post-Sticker Removal
After you remove the sticker and any residue, you’ll need to clean and dry the area. Here’s how to do it:
- Wipe the Wall with a Damp Cloth: Start by wiping down the wall with a damp cloth. Use gentle motions to avoid damaging the paint.
- Dry the Surface: Immediately after wiping, dry the wall with a clean, soft towel. This prevents any water marks from forming.
- Inspect for Dampness: Check the wall for any remaining damp spots. If you find any, pat them dry carefully.
- Allow to Air Dry: If possible, leave the area to air dry for a short time. This ensures all moisture evaporates.
By ensuring the wall is clean and completely dry, you prevent mold growth and prepare the wall for future decorating. Remember, take it slow and be gentle throughout the process to keep your walls in top condition.
Repair Any Wall Damage if Necessary
Sometimes removing stickers from walls can leave minor scuffs or marks. If you encounter this, it’s important to address it promptly. Repairing wall damage ensures your walls remain in excellent condition. Here’s how you can do it:
- Identify the Damage: Look for any dents, holes, or discolored spots where the sticker was located.
- Use Wall Putty or Filler: For holes or deep scratches, apply wall putty or filler. Fill it carefully and smooth it out.
- Sand the Area: Once the putty or filler is dry, gently sand it down to make it level with the wall surface.
- Apply Primer: Before repainting, apply a primer. It helps in covering the patched areas effectively.
- Touch-up Paint: Find a matching paint for your wall. Apply it over the primed area to blend it seamlessly.
Remember, gentle care is key when managing how to remove stickers from wall and repair any ensuing damage.
Tips for Preventing Wall Damage in the Future
Preventing wall damage when removing or applying stickers is key to maintaining your walls’ integrity over time. Here are practical tips you can follow to ensure your walls stay in pristine condition:
- Choose High-Quality Stickers: Opt for stickers made with high-quality materials and adhesives. These are usually easier to remove and less likely to leave residue.
- Apply Heat Properly: Always use a moderate heat setting when loosening a sticker’s adhesive. This prevents the paint from bubbling under intense heat.
- Test Small Areas First: Before fully committing to peeling or cleaning, test your methods on a small, inconspicuous part of the wall. This helps ensure that your approach won’t damage a larger area.
- Use Gentle Tools: Avoid sharp objects that could scratch or gouge the wall. Soft plastic cards or spatulas are preferable.
By following these simple steps on how to remove stickers from wall, you can enjoy your wall decorations without worry. Remember, preserving your wall’s surface is all about the technique and materials you use.
Alternatives to Stickers for Wall Decoration
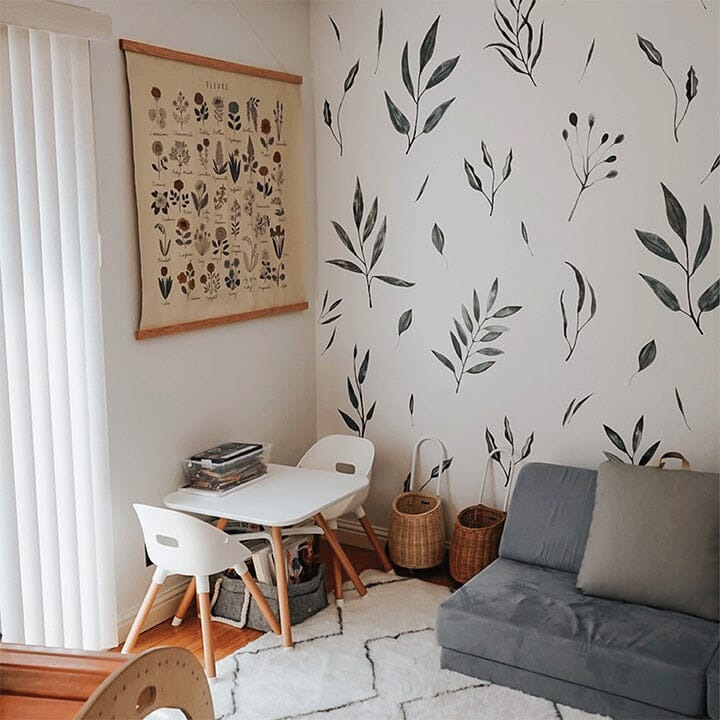
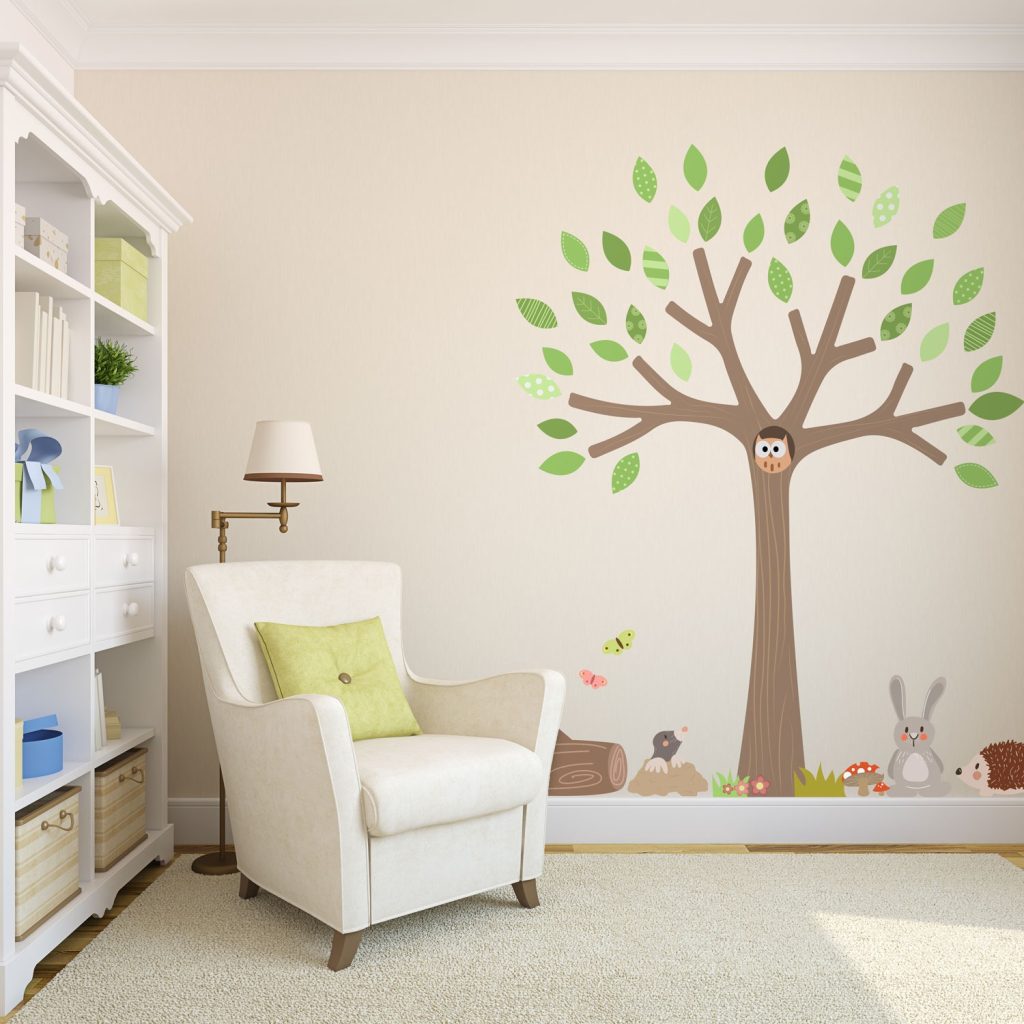
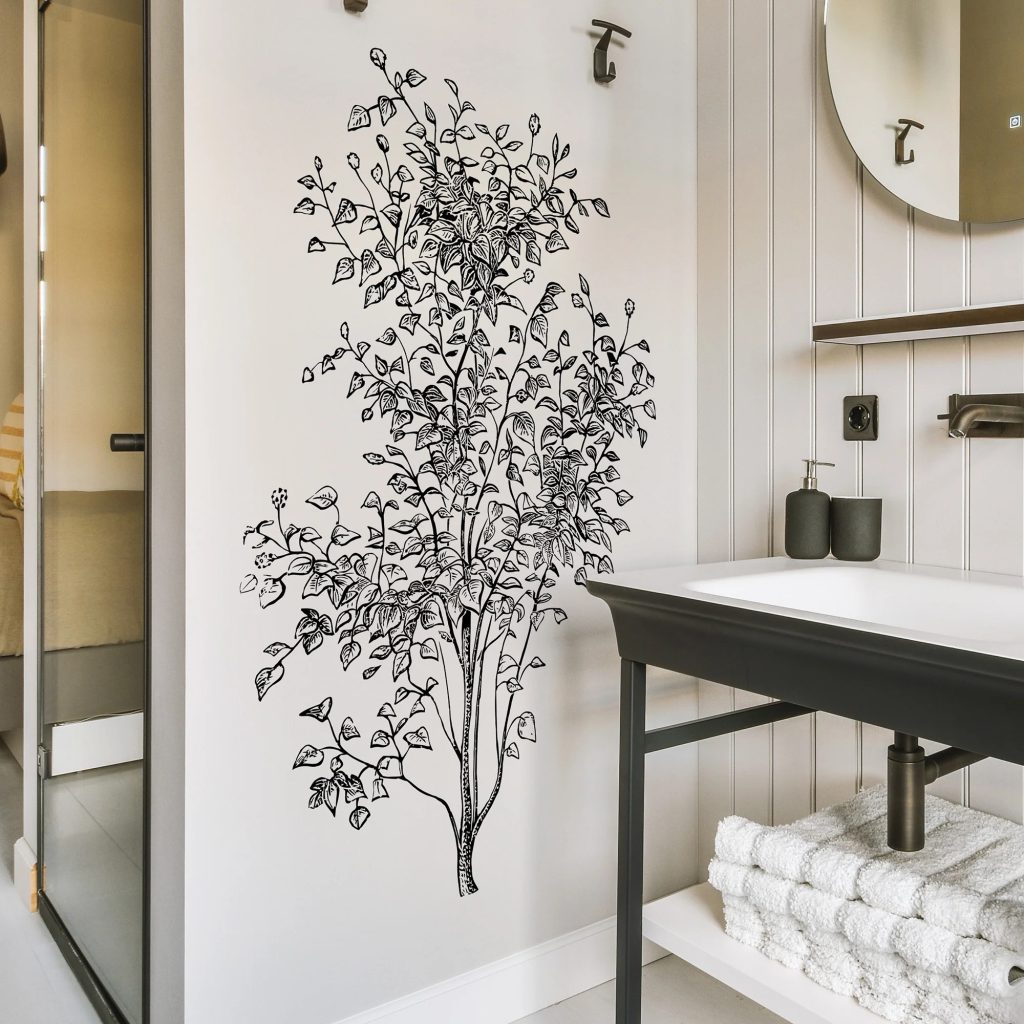
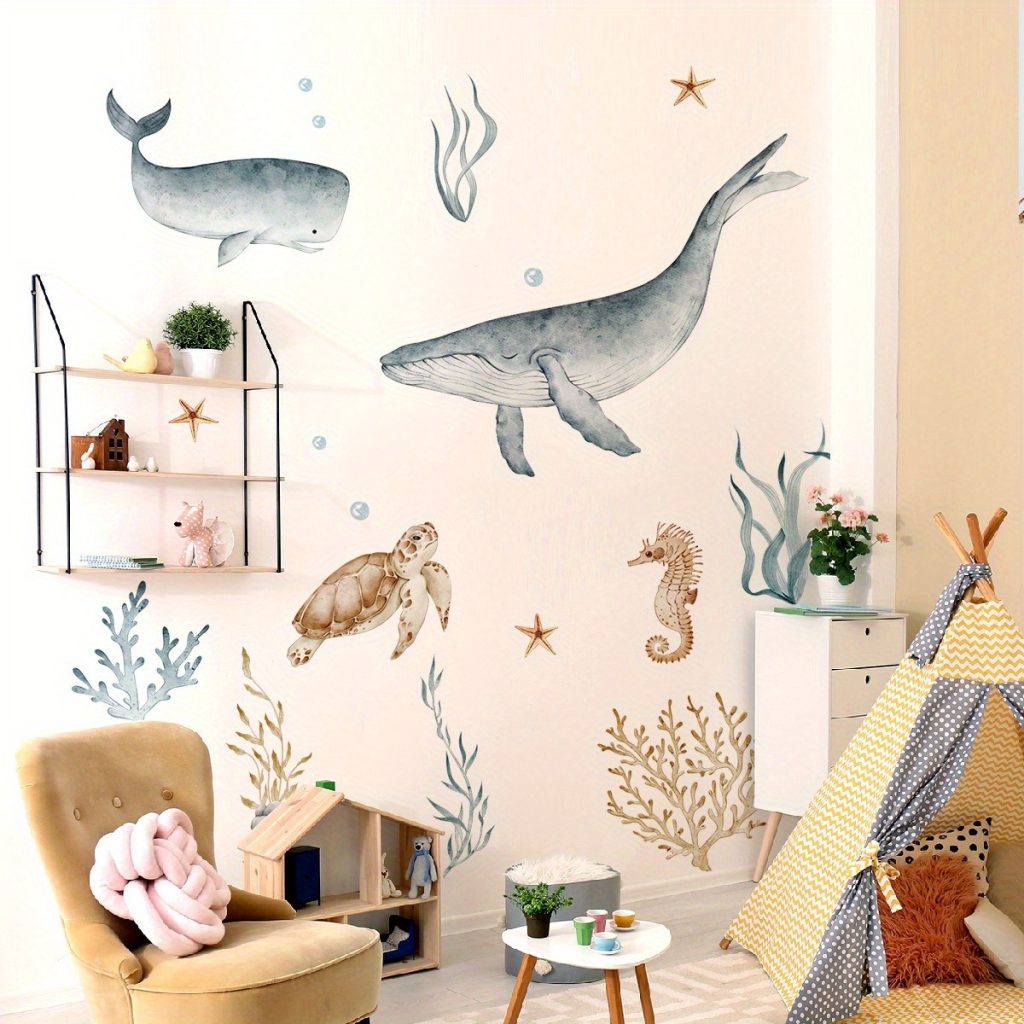
Once you’ve mastered how to remove stickers from wall without damage, you might seek alternative ways to decorate your space without the fear of future hassles. Here are some creative and safe options for wall decoration:
- Removable Wall Decals: These are specifically designed to come off easily without leaving residue.
- Wall Hangings: Tapestries, woven fabrics, or canvas prints can add texture and color without sticking to the wall.
- Magnetic Paint: Apply this to walls and use magnets to hang posters and pictures. It’s changeable and doesn’t damage the surface.
- Washi Tape: It comes in various designs and is easy to remove. Create patterns or frames on your wall with this tape.
By exploring these alternatives, you can keep your walls vibrant and undamaged. Get creative and switch up your decor often without worry.
