
Assessing the Need for Tile Replacement
Before embarking on a ceramic tile replacement project, it’s crucial to assess the necessity of this undertaking. Here are key factors that demand your attention:

- Evaluate the Damage: Inspect the tiled area for any signs of damage. Look for cracks, chipped edges, or loose tiles. These indicate the need for replacement.
- Consider the Age: Older tiles may show wear and tear that affects their appearance and function. If your tiles are outgrown and fading, consider an update.
- Assess for Mold and Mildew: These can develop due to trapped moisture. Black spots or musty smells are warnings. Ignoring these can be unhealthy.
- Check for Discoloration and Stains: Certain stains can be persistent and beyond cleaning. In such cases, replacing the tile may be the only solution for a fresh look.
- Listen to the Tiles: Loose tiles often produce a hollow sound when tapped. This can signify that the mortar has deteriorated and tiles need replacing.
When deciding on ceramic tile replacement, ensure that it is indeed necessary. Unnecessary projects can be costly and time-consuming. Use your sound judgment and consider consulting a professional to make an informed decision.
Tools and Materials Required for Tile Replacement
When undertaking a ceramic tile replacement project, gathering all necessary tools and materials beforehand is essential. Here’s a list of what you’ll need:
- Safety Equipment: Dust mask, safety glasses, and gloves to protect against debris and sharp edges.
- Tile Chisel and Hammer: To remove the old tiles without damaging the surrounding area.
- Notched Trowel: For applying the adhesive evenly across the surface.
- Tile Cutter: An essential tool to cut tiles to the correct size.
- Tiles: Purchase extra to account for any mistakes or future repairs.
- Tile Spacers: For maintaining even spacing between new tiles.
- Adhesive: A high-quality adhesive suitable for ceramic tiles.
- Grout: To fill in the spaces between the tiles after installation.
- Sponge and Bucket: For cleaning up excess grout on the tile surface.
- Level: To ensure tiles are laid evenly and flat.
Prior preparation of these items will smooth out the process and help prevent setbacks during your ceramic tile replacement. Ensure you have these items on hand before starting your project to make the experience as efficient as possible.

Step-by-Step Process of Removing Old Ceramic Tiles
Removing old ceramic tiles is a critical step before installing new tiles. Here’s how to do it efficiently:
- Prepare the Area: Clear the space of furniture and appliances. Cover anything you can’t move with a drop cloth.
- Safety First: Wear safety glasses, gloves, and a dust mask to protect yourself from debris and sharp edges.
- Loosen the Tiles: Start by removing the grout around the tiles with a grout saw. Then, gently tap a tile chisel with a hammer at a 45-degree angle under the edges of the tile.
- Lift the Tiles: Pry up the tiles with the chisel. For tiles that are stubborn, you may need to strike more forcefully.
- Remove Adhesive: After the tiles are up, use the chisel and hammer to chip away any adhesive left on the surface. Be careful not to damage the substrate.
This careful approach to removing old ceramic tiles prepares the surface for a successful ceramic tile replacement project. Keep the workspace neat and the safety measures in place throughout the process.
Preparing the Surface for New Tiles
After removing the old ceramic tiles, it’s time to prepare the surface for new ones. Here’s what to do:
- Ensure a Clean Surface: Sweep and vacuum the area thoroughly. A clean surface ensures better adhesion for the new tiles.
- Level the Underlayment: Check for levelness using a level. An even surface is crucial for proper tile installation. Fill in any dips and sand down high spots.
- Apply Primer: If required, a primer can improve the bonding between the underlayment and the adhesive.
- Plan the Layout: Measure the space. Decide tile placement to minimize cuts and waste.
- Mix Adhesive: Following manufacturer instructions, prepare your tile adhesive. It should be consistent and free of lumps.
By preparing the surface with care, you set the stage for a successful ceramic tile replacement. A well-prepped underlayment ensures your new tiles look great and last long.
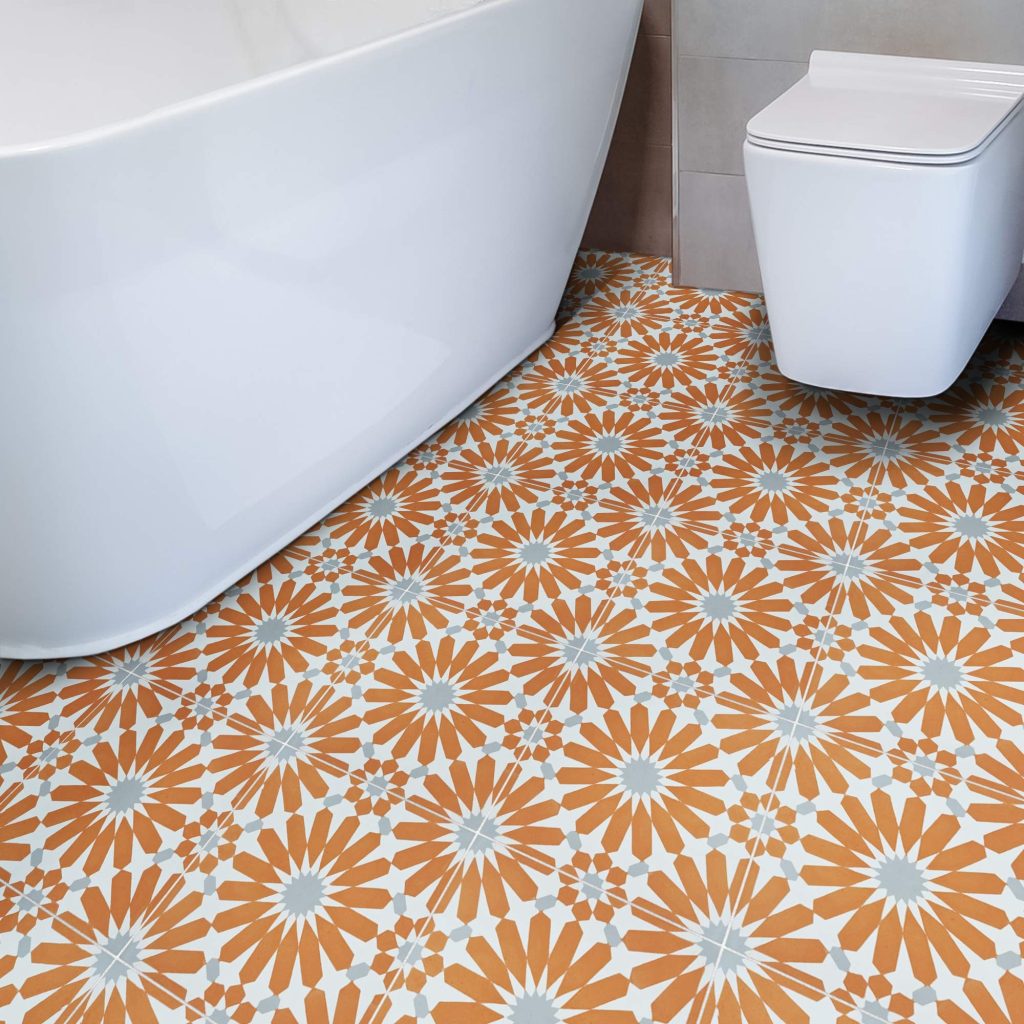
Choosing the Right Ceramic Tiles for Your Space
Selecting the appropriate ceramic tiles is crucial to the success of your replacement project. Here are some tips to help you make the right choice:
- Consider the Room’s Function: Tiles for wet areas like bathrooms should have non-slip properties. For high-traffic areas, choose durable and hard-wearing tiles.
- Think About Color and Style: Colors can set a room’s mood, and styles should match the room’s decor. Lighter shades can make a small room appear larger, while darker tiles can add warmth.
- Size Matters: Large tiles can make a space look bigger and are easier to clean. Smaller tiles work well for intricate patterns or smaller rooms.
- Check Tile Ratings: Tiles come with ratings for hardness and slip resistance. Choose ones that fit the wear and slip expected in the space.
- Texture and Finish: Glossy tiles reflect light and brighten a room. Matte finishes reduce slipperiness and hide smudges well.
Keep these considerations in mind when shopping for ceramic tiles. A thought-out choice will enhance your space’s look and ensure a lasting ceramic tile replacement.
Installation Techniques for Ceramic Tiles
After selecting the right ceramic tiles, installation is the next critical phase. A solid install preserves the beauty and extends the lifespan of your tiles. Here’s how to lay them down effectively:
- Spread the Adhesive: Use your notched trowel to apply adhesive on the surface. Work in small sections to prevent it from drying out.
- Place the Tiles: Set your tiles firmly into the adhesive. Use spacers to ensure even gaps for grouting. Check each tile’s level and alignment.
- Cutting When Necessary: Measure and use a tile cutter for any tiles that need resizing. Do this before setting them in adhesive.
- Continue the Process: Repeat spreading adhesive, placing tiles, and ensuring uniformity. Use your level frequently to maintain an even surface.
- Apply Even Pressure: Press down each tile with even pressure. This ensures a strong bond and helps avoid unevenness.
By following these steps, your ceramic tile replacement will not only look professional but will stand the test of time.
Grouting and Sealing Ceramic Tiles
After you have placed your ceramic tiles, grouting and sealing are the next key steps.
- Apply the Grout: Choose a grout color that complements your tiles. Use a grout float to push grout into the gaps between tiles.
- Wipe Excess Grout: Do this immediately with a damp sponge. Rinse the sponge often to avoid grout haze.
- Allow Grout to Set: Follow the manufacturer’s instructions for drying time. Keep the surface dry during this period.
- Seal the Grout: Once dry, apply a grout sealant. This helps protect against moisture and stains.
- A Clean Finish: After sealing, wipe tiles with a soft cloth for a clean appearance.
By grouting and sealing correctly, you ensure the longevity and beauty of your ceramic tile replacement. Remember, proper application is key for lasting results.
Maintenance Tips for Newly Installed Ceramic Tiles
To keep your new ceramic tile installation looking fresh and lasting long, follow these maintenance tips:
- Regular Cleaning: Sweep or vacuum your tiles regularly to remove dirt and dust. Avoid using harsh chemicals that can damage the tile surface.
- Mop with Care: Use a damp mop with a mild detergent for tougher stains. Always rinse the tiles well to prevent soap residue build-up.
- Spot Clean Spills: Clean up spills as soon as they occur to prevent stains from setting in. Use a soft cloth or sponge for cleaning.
- Grout Maintenance: Keep your grout lines clean by using a specialized grout cleaner. Apply a grout sealer annually to resist moisture and dirt.
By adhering to these simple yet effective maintenance tips, you can ensure that your ceramic tile replacement remains as stunning as the day they were installed.