How to touch up wall paint? Over time, walls can develop scuffs, scratches, or small areas of damage that require touch-ups to maintain a fresh and clean appearance. Knowing how to touch up wall paint can help you keep your walls looking their best without the need for a full repainting job. In this guide, we will provide a step-by-step process for touching up wall paint, ensuring seamless results and a professional finish.

Gather the Necessary Materials:
Before starting the touch-up process, gather the following materials:
- Paint: Ensure you have the same paint color and finish that was used on the existing wall. If you don’t have leftover paint, visit a local paint store with a sample or the color code to get an exact match.
- Paintbrushes: Choose brushes appropriate for the size of the touch-up area. Small, angled brushes work well for precise touch-ups, while larger brushes are suitable for larger areas.
- Painter’s Tape: Use painter’s tape to mask off adjacent areas, protecting them from accidental paint splatters.
- Drop Cloth or Newspapers: Lay down a drop cloth or old newspapers to protect the floor or furniture from paint over wall paper and spills.
- Sandpaper: If the damaged area has raised paint or rough texture, use fine-grit sandpaper to smooth it before painting.
Prepare the Wall Surface:
Properly preparing the wall surface ensures better adhesion and an even finish. Follow these steps:
- Clean the Area: Wipe the damaged area with a mild detergent solution or a damp cloth to remove dust, dirt, and grease. Allow it to dry completely before proceeding.
- Sand the Area (If Necessary): If the damaged area has uneven or raised paint, lightly sand it in a circular motion using fine-grit sandpaper. The goal is to create a smooth and level surface.
Paint Mixing and Testing:
To ensure a seamless touch-up, follow these steps when mixing and testing the paint:
- Mix the Paint: If you are using leftover paint, stir it thoroughly to ensure an even consistency. If you had to purchase new paint, follow the manufacturer’s instructions on proper mixing.
- Test the Paint: Before applying the paint to the damaged area, it’s important to test the color and consistency on a small inconspicuous part of the wall. This allows you to ensure it matches perfectly and blends well with the existing paint.

Apply the Touch-Up Paint:
Follow these steps to effectively apply the touch-up paint:
- Prime (If Necessary): In some instances, applying a primer may be required for better coverage, especially when touching up a significant color difference or over repaired areas. Follow the primer manufacturer’s instructions for proper application and drying time.
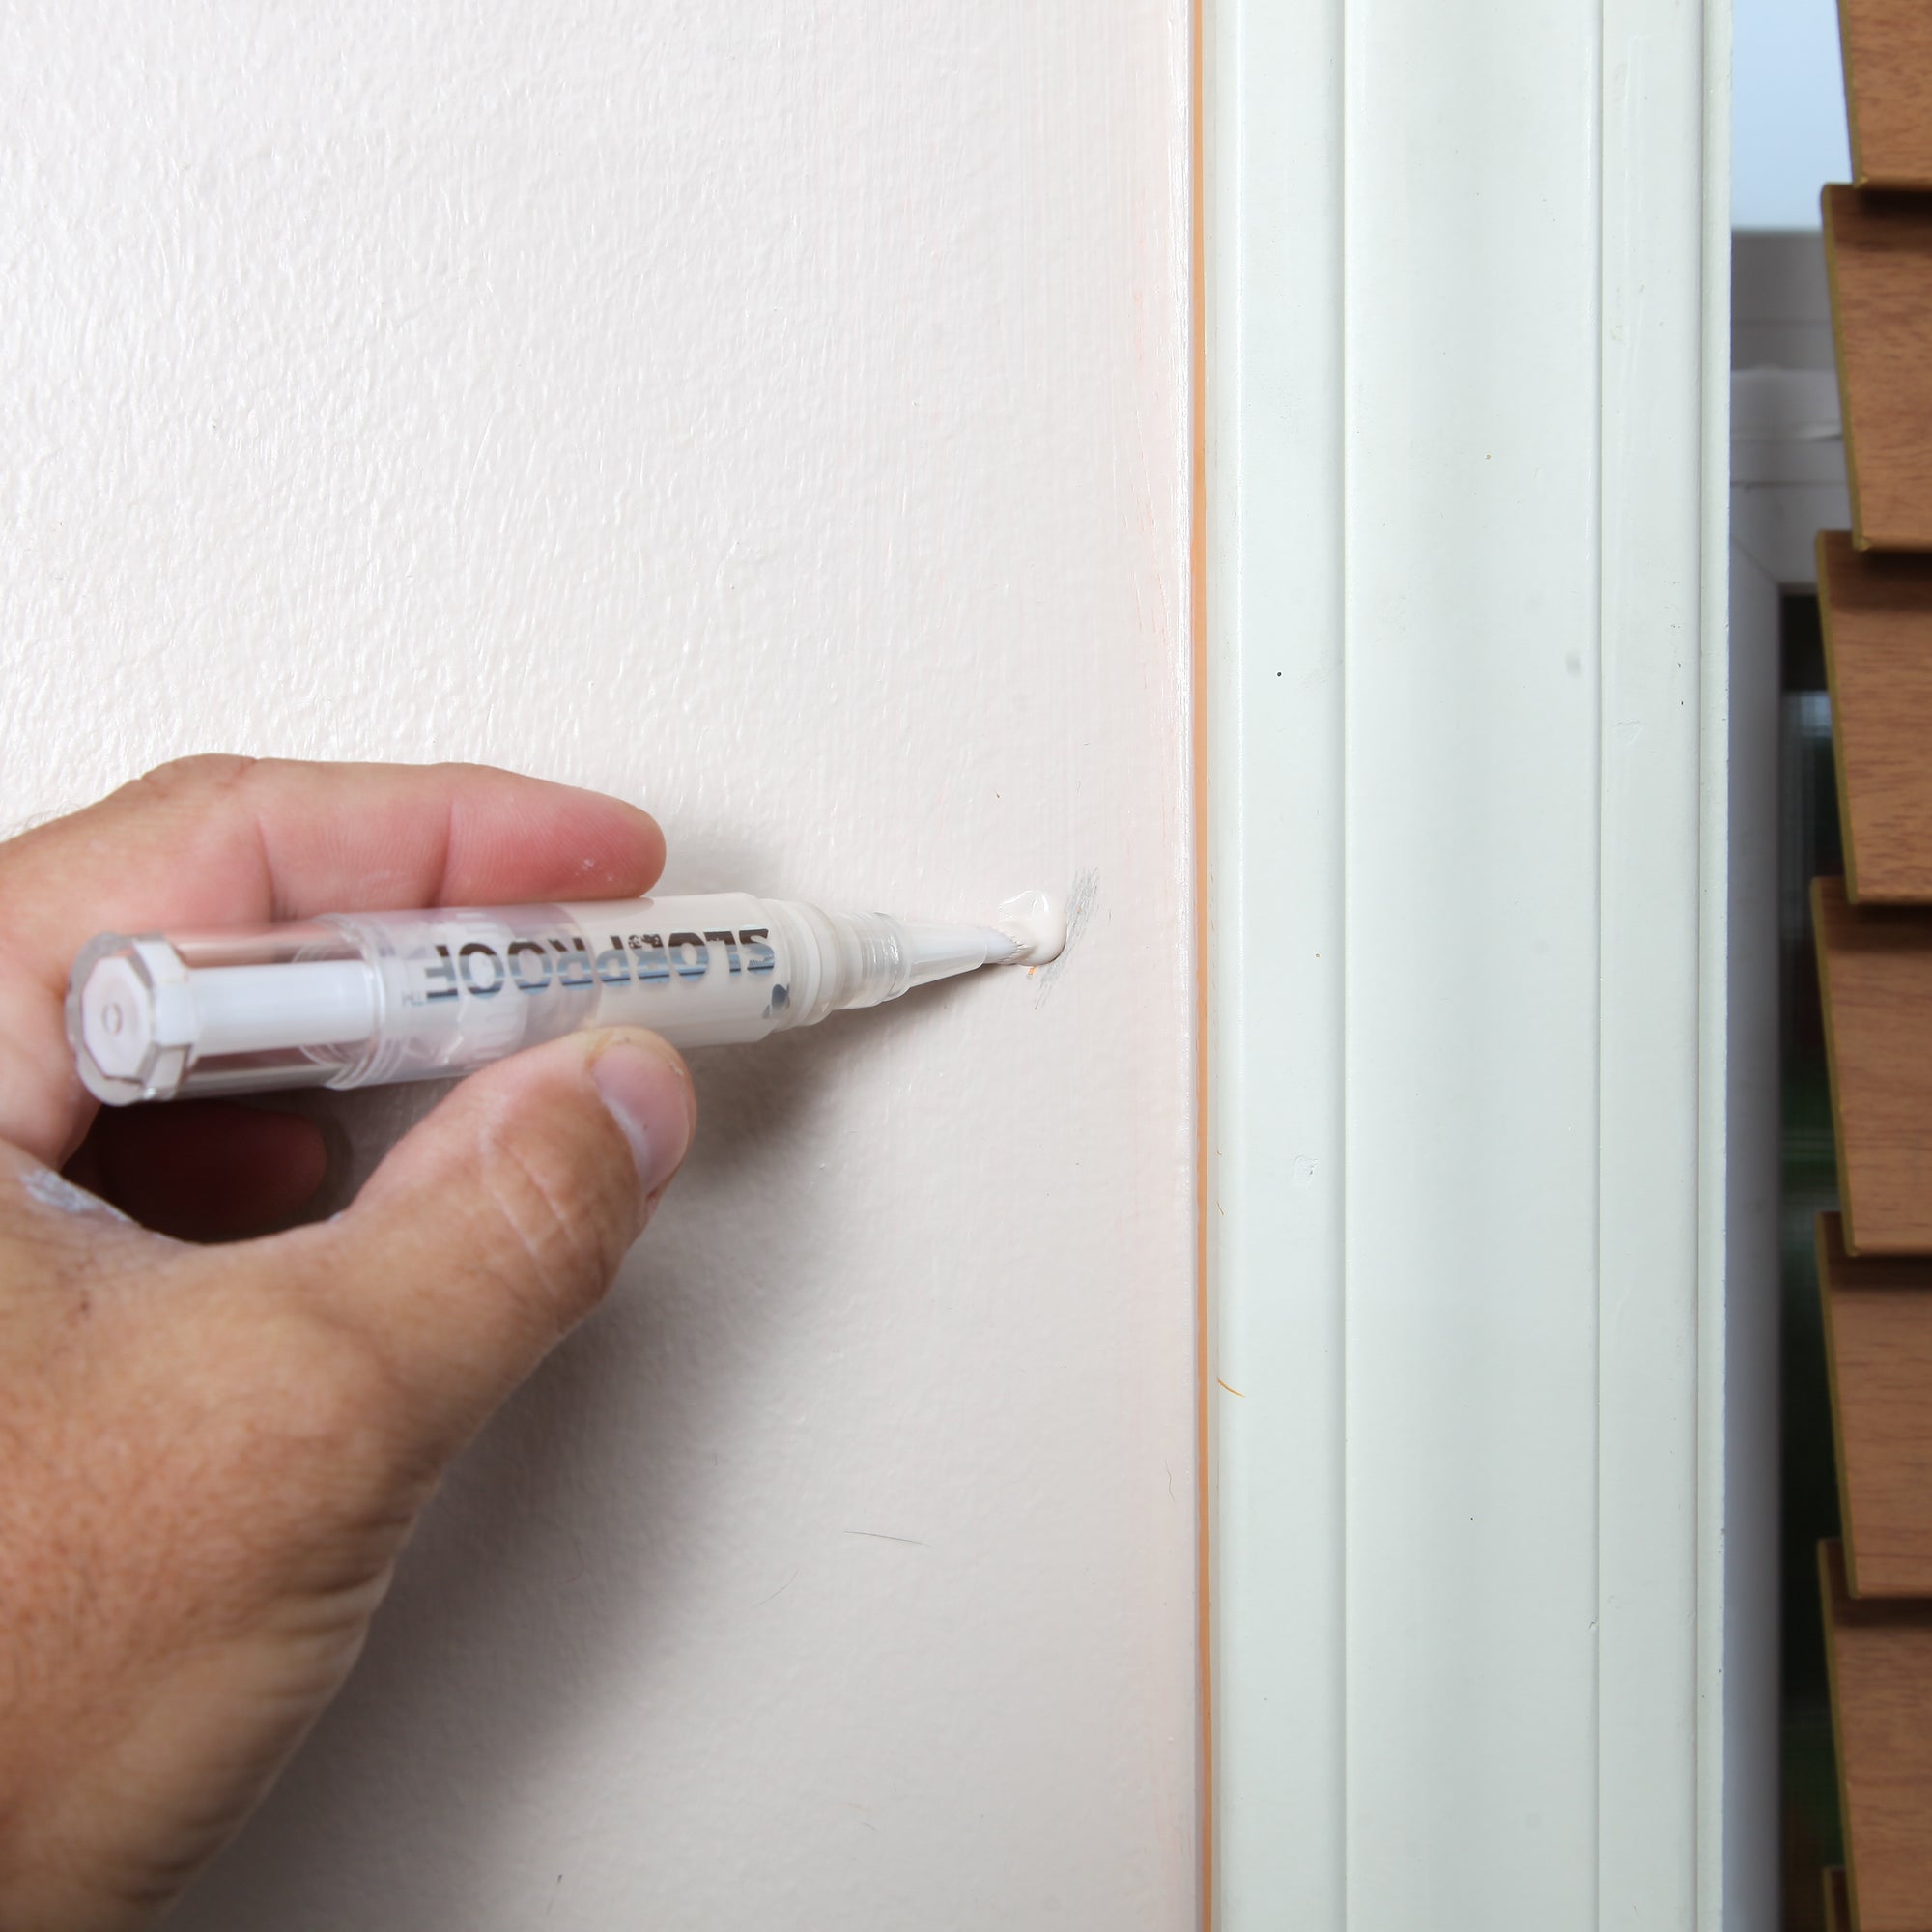
- Apply Thin Coats: Using a clean brush or a small roller, apply the touch-up paint in thin, even coats. Start from the center of the damaged area and work outward, feathering the edges to blend with the surrounding paint.
- Let it Dry: Allow the first coat of garage wall paint to dry completely before applying subsequent coats. Follow the manufacturer’s instructions for recommended drying times.
- Apply Additional Coats (If Necessary): Assess the coverage and color match after the first coat has dried. If needed, apply additional thin coats until the touch-up area matches the rest of the wall. Ensure each coat is dry before applying the next.
Finishing Touches:
After applying the touch-up paint, consider the following finishing touches:
- Feather the Edges: To create a seamless blend, use a clean, dry brush to feather the edges of the touch-up area. This softens any visible transition lines between the newly painted area and the surrounding wall.
- Remove Painter’s Tape: Once the touch-up paint is dry, carefully remove any painter’s tape, taking care to avoid peeling off the fresh paint.
- Clean Up: Clean brushes, rollers, and any other tools used with soap and water or according to the paint manufacturer’s instructions. Dispose of used drop cloths or newspapers.

Precautions for using wall paint
Painting walls is a common task undertaken to enhance the appearance and transform the atmosphere of a living space. Whether you’re embarking on a DIY project or hiring professionals, understanding important considerations for using wall paint ensures a successful and satisfactory outcome.
Surface Preparation:
Proper surface preparation is essential to ensure effective paint adhesion and a smooth finish. Consider the following steps:
- Clean the Surface: Before applying paint, clean the walls thoroughly to remove dust, dirt, grease, and any other contaminants. Use a mild detergent solution and a sponge or cloth, paying close attention to corners, edges, and areas near light fixtures.
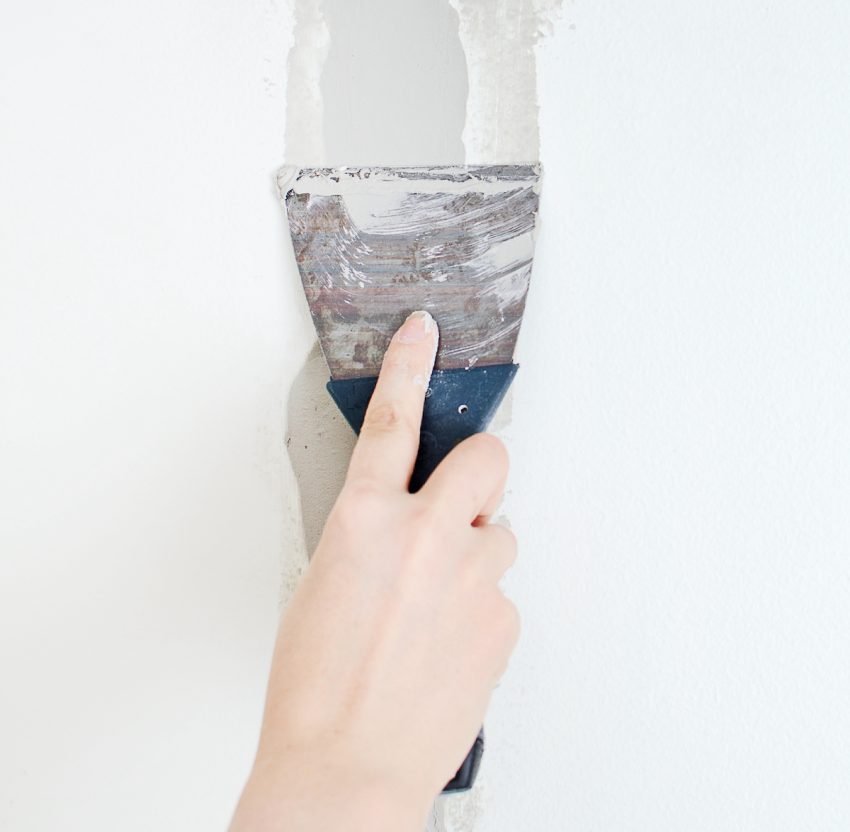
- Repair Imperfections: Inspect the walls for cracks, holes, or other imperfections. Fill them using an appropriate filler or spackle, ensuring they are smooth and level. Sand the filled areas after they dry to create a seamless surface.
- Sand the Surface: Lightly sand the walls with fine-grit sandpaper to remove any remaining roughness or imperfections. This step helps create a better surface for the paint a wall to adhere to.
Paint Selection:
Choosing the right type and quality of paint is crucial for achieving a desirable and long-lasting finish. Consider the following factors:
- Paint Type: Determine the appropriate paint type based on the surface you are painting. Common options include water-based latex paint, oil-based paint, or specialty paint for specific surfaces like bathrooms or kitchens.
- Quality: Invest in high-quality paint to ensure better coverage, color retention, and durability. Quality paints tend to have better pigments, offering richer and truer colors.
- Finish: Consider the desired finish for your walls – whether you prefer a matte, flat, eggshell, satin, or glossy appearance. Keep in mind that different finishes have unique attributes, such as varying levels of sheen and ease of cleaning.

Application Techniques:
Proper painting techniques greatly influence the final result. Consider the following guidelines:
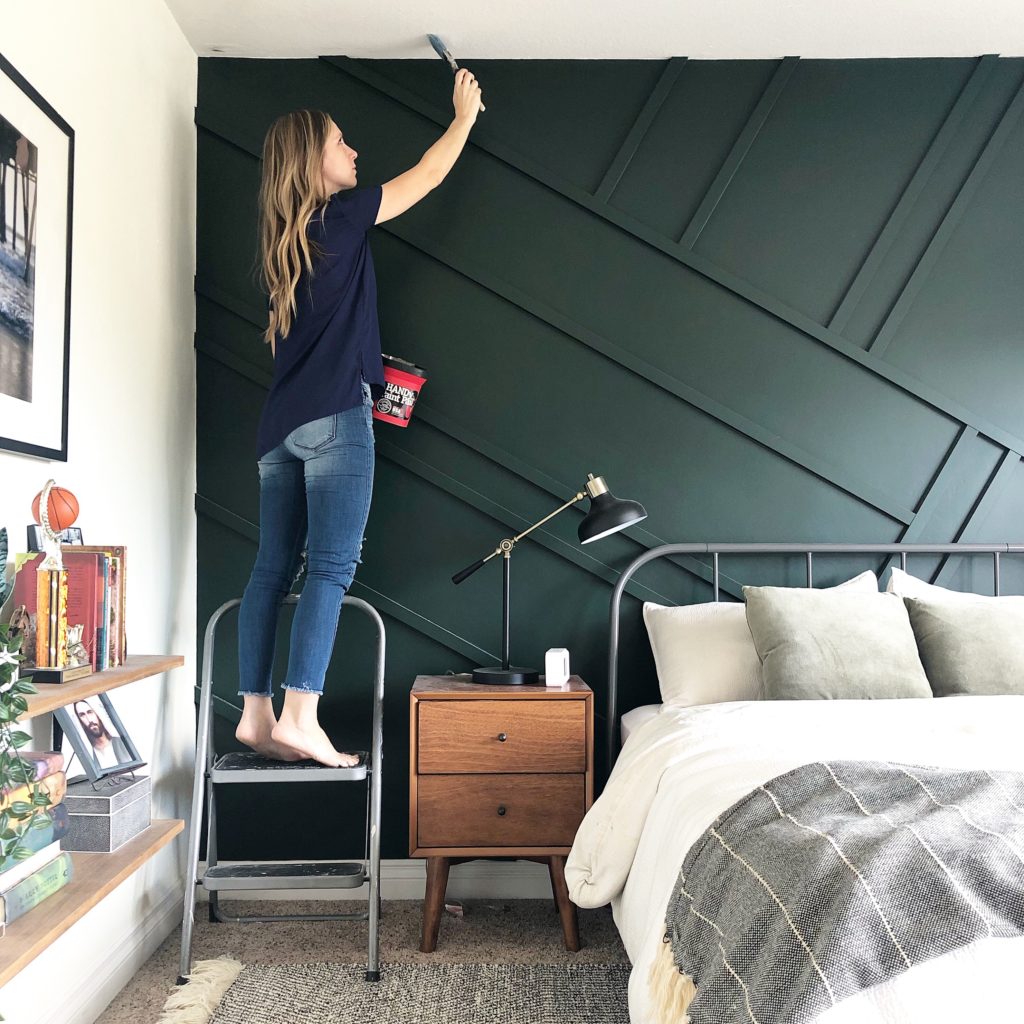
- Cutting In: Start by cutting in – using a brush or smaller roller – around edges, corners, and areas where the roller cannot easily reach. This creates clean and precise lines.
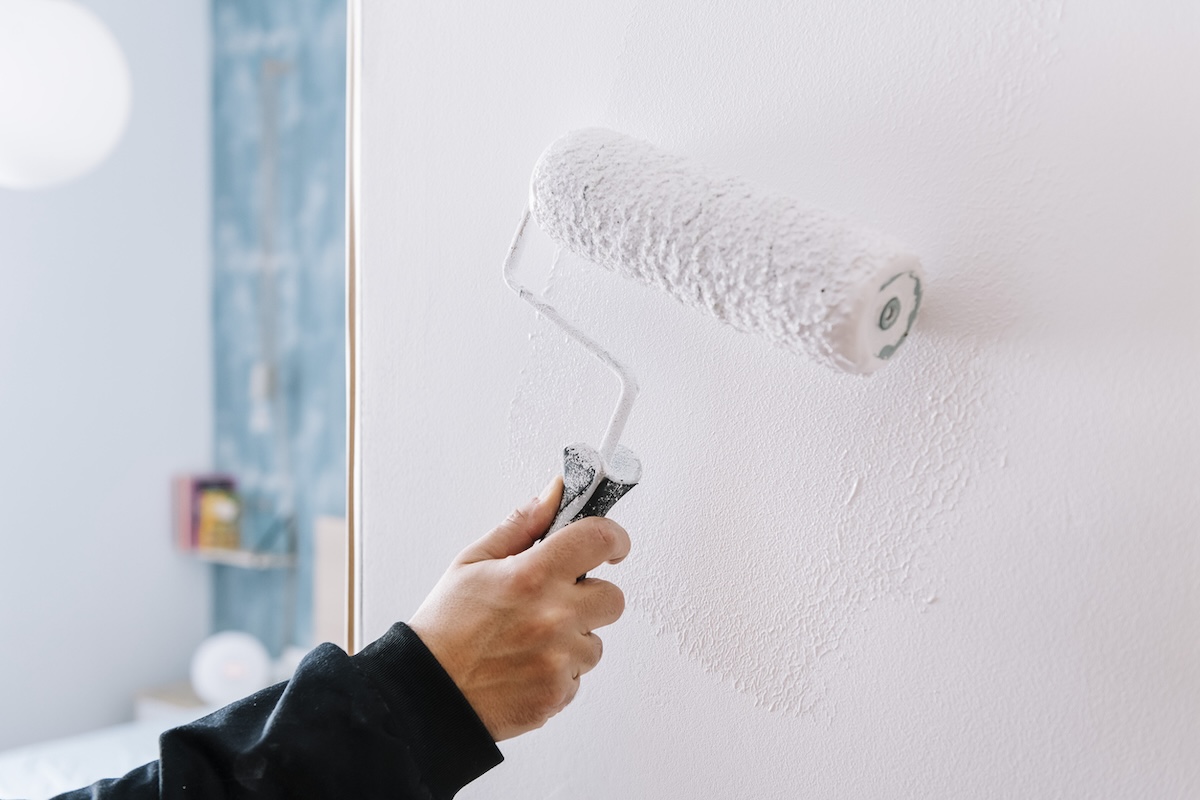
- Rolling Technique: Use a roller to apply paint to larger wall areas. Apply light pressure, working in a “W” or “M” pattern to ensure even coverage. Avoid excessive rolling or overloading the roller with paint to prevent drips or blobs.
- Multiple Coats: For optimal coverage and a consistent finish, apply multiple thin coats of paint rather than one thick coat. Follow the manufacturer’s instructions for recommended drying times between coats.
- Feathering Technique: When starting a new section or at the edge of a previously painted area, use a feathering technique by slightly overlapping the wet paint onto the dried painted area. This technique helps blend the fresh coat with the existing paint seamlessly.
Conclusion:
Knowing how to touch up wall paint can help you maintain a fresh and flawless appearance in your living space. By following the step-by-step guide, preparing the surface, mixing and testing the paint, and applying it in thin, even coats, you can seamlessly touch up scuffs, scratches, or other minor damages. With patience and attention to detail, you can achieve a professional-looking finish, preserving the aesthetics of your walls and ensuring a well-maintained home.

