How to paint a wall with a roller for beginners? Painting a wall with a roller is an accessible and cost-effective way to refresh or transform the look of a room. While it may seem daunting for beginners, with the right tools and techniques, anyone can achieve a professional-looking paint finish. In this guide, we will walk you through the step-by-step process of painting a wall with a roller, ensuring successful results. By following these instructions, you can confidently embark on your painting project and give your walls a fresh and vibrant makeover.

Materials Needed:
- Drop cloths or plastic sheets
- Painter’s tape
- Bucket
- Paint roller tray
- Paint roller frame
- Paint roller cover (nap length appropriate for your wall surface)
- Paint (appropriate for interior walls)
- Stir stick
Prepare the Room:
Before you start painting, make sure to prepare the room properly. Consider the following steps:
- Clear the Room: Remove furniture, fixtures, and accessories from the area or move them to the center of the room and cover them with drop cloths or plastic sheets to protect them from paint splatters.
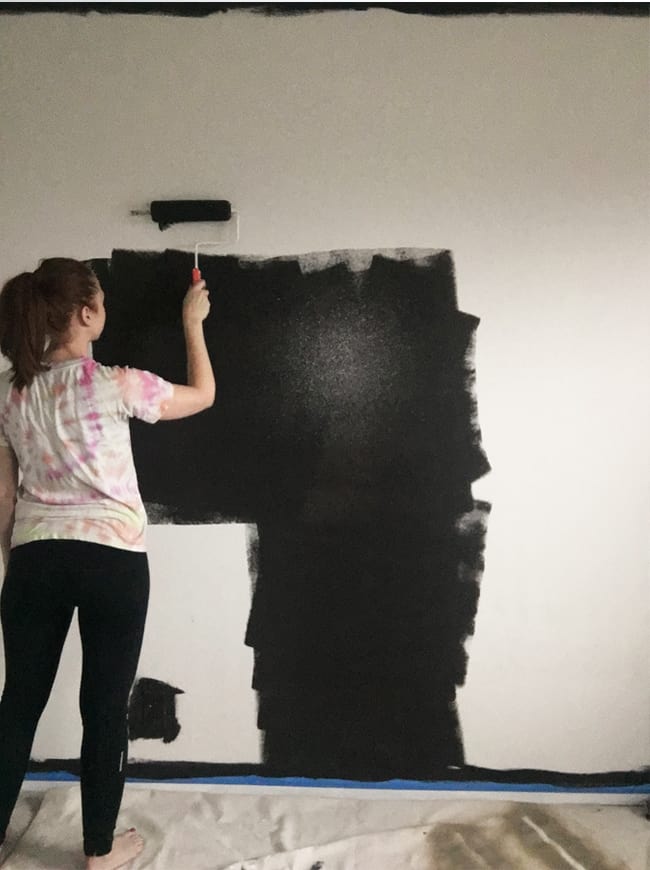
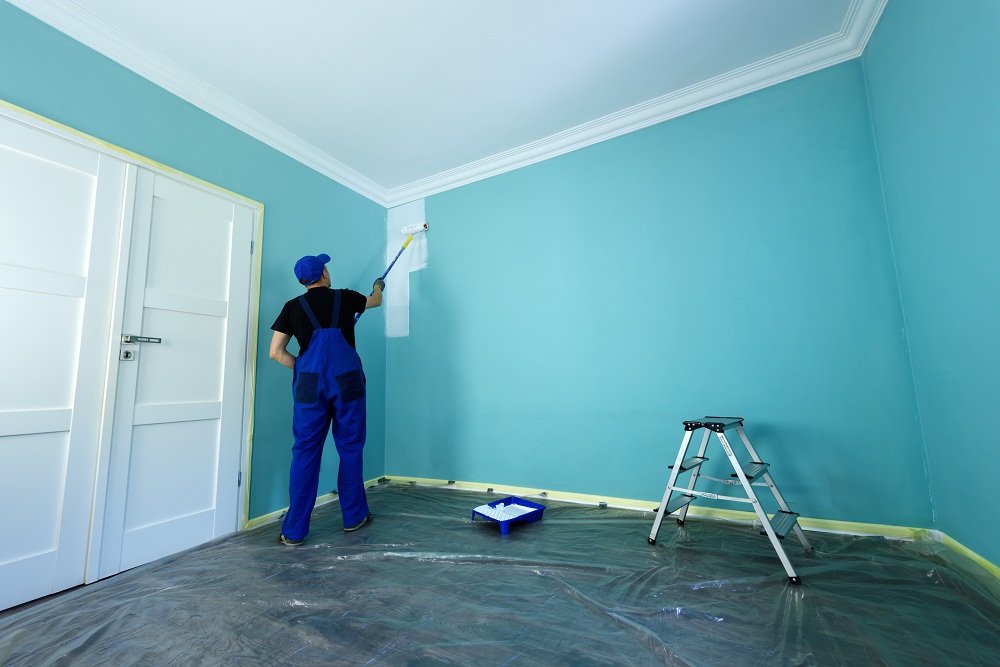
- Protect the Floor: Cover the floor beneath the walls you are painting with drop cloths or plastic sheets to prevent paint stains. Secure the edges with painter’s tape to keep them in place.
- Tape Edges: Apply painter’s tape along the edges of trim, baseboards, and corners to protect them from accidental paint spills and achieve clean lines.
Prepare the Wall and Paint:
Preparing the wall is crucial for achieving a smooth paint over wall. Consider the following steps:
- Clean the Surface: Wipe down the wall with a damp cloth or sponge to remove dirt, dust, and grease. If there are any stubborn stains or residue, use a mild detergent and water solution, and allow the wall to dry completely.
- Patch and Repair: Inspect the wall for any cracks, holes, or imperfections. Fill them with spackling compound or putty, following the manufacturer’s instructions. Allow the patched areas to dry and sand them smooth.
- Stir the Paint: Open the paint can and stir the paint thoroughly with a stir stick. This ensures an even distribution of color and pigments.
- Pour Paint into Tray: Pour an appropriate amount of paint into the paint roller tray. Fill it about halfway to prevent spills and allow for easy rolling.

Apply the Paint:
Now it’s time to start painting! Consider the following steps:
- Start with Cutting In: Use a paintbrush to cut in, painting along the edges, corners, and trim that cannot be reached with a roller. Apply a straight line of paint next to the painter’s tape for sharp and clean lines.
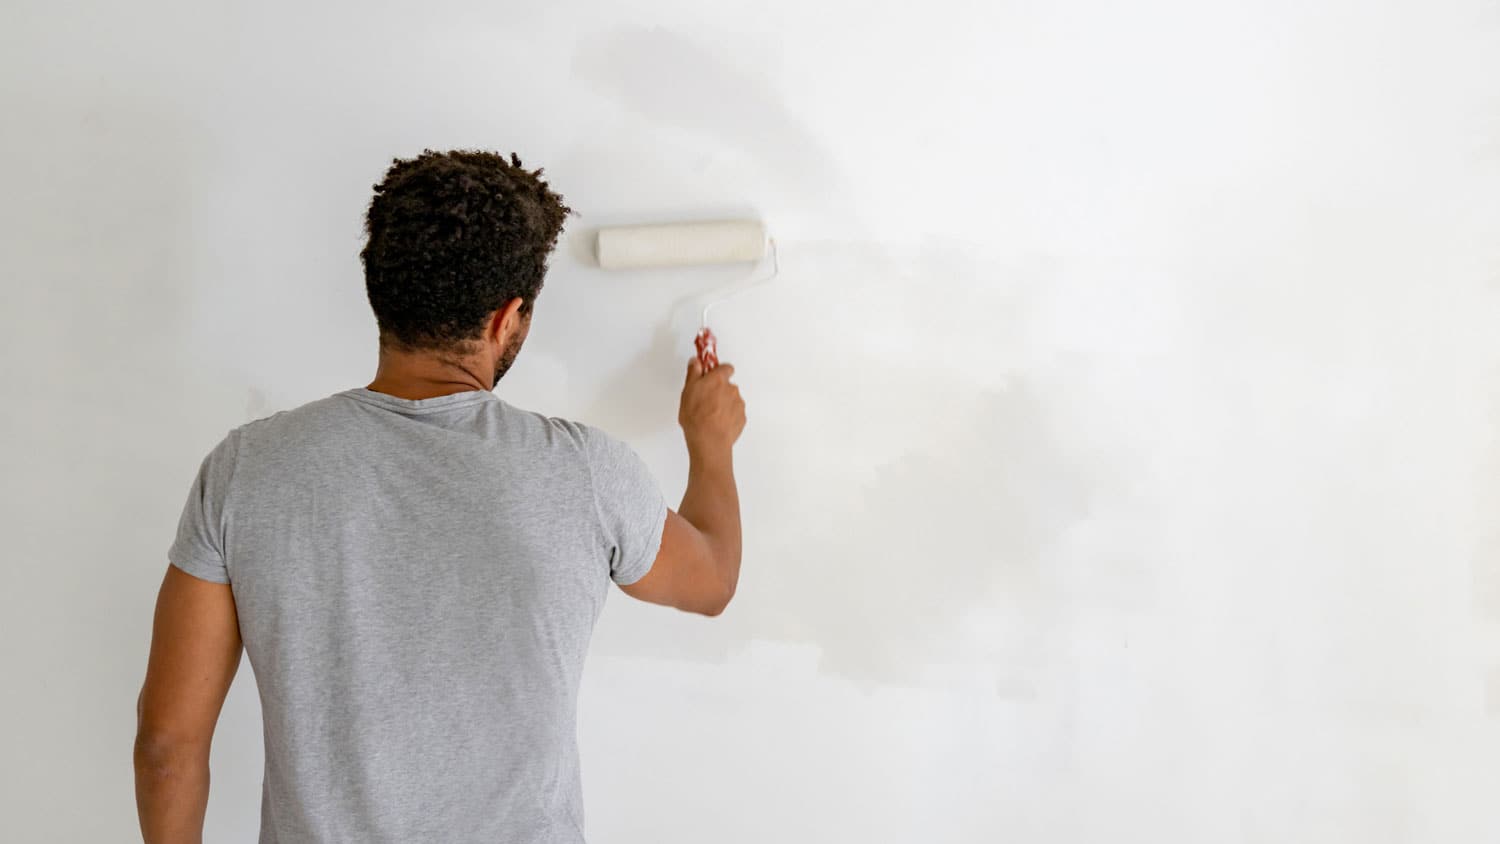
- Roll the Wall: Dip the roller cover into the paint tray, coating it evenly but not excessively. Roll off any excess paint on the tray’s ridges or using a roller screen. Start at the top corner of the wall, rolling downward in a “W” or “M” shape to evenly distribute the paint.
- Maintain Wet Edges: Work in sections, ensuring you maintain a “wet edge” by slightly overlapping the previously painted area. This prevents visible lines or streaks and ensures a smooth finish.
- Reload and Repeat: Periodically reload the roller with paint as needed. Repeat the rolling process, covering the wall one section at a time, until the entire accent wall paint. Take breaks if necessary, but try to complete a wall or section without interruptions for consistent drying.
Finishing Touches and Clean-Up:
After painting, there are a few final steps to wrap up the project. Consider the following:
- Check for Gaps or Uneven Coverage: Inspect the painted wall for any gaps, uneven coverage, or visible brush marks. Touch up these areas with a roller or a brush as needed.
- Remove Painter’s Tape: Carefully remove the painter’s tape while the paint is still wet or slightly dried. Start at a slow and steady angle away from the wall to avoid peeling or tearing the paint.
- Clean Tools: Clean the paint roller frame, tray, brushes, and any other tools used with water or according to the paint manufacturer’s instructions. Remove excess paint and allow them to dry properly before storing.

Things to note when painting a wall
Painting a wall can be an exciting and transformative DIY project that freshens up the look and feel of a room. While the process may seem straightforward, paying attention to certain key considerations is crucial for achieving a smooth and professional finish.
Surface Preparation:
Proper surface preparation is essential for achieving a flawless paint finish. Consider the following factors:
- Cleaning: Ensure the wall is clean and free from any dirt, grease, or dust. Use a mild detergent and water solution to remove any stains or residue. Rinse the wall thoroughly and allow it to dry completely before beginning your painting project.
- Patching and Repairing: Inspect the wall for cracks, holes, or imperfections. Use spackling compound or putty to fill in these areas, following the manufacturer’s instructions. Sand the patched areas smooth, ensuring they are flush with the surrounding wall surface.
- Sanding: If the wall has a glossy or uneven surface, lightly sand it with fine-grit sandpaper. This creates a rougher texture that allows the paint to adhere better and results in a smooth finish.

Choosing the Right Paint:
Selecting the right paint for your wall is essential for achieving the desired outcomes. Consider the following factors:
- Paint Type: Choose a paint that is appropriate for your specific needs, such as latex-based or oil-based paints. Latex-based paints are generally more common for interior walls due to their ease of use, quick drying time, and low odor.
- Finish: Different paint finishes, such as matte, eggshell, satin, or semi-gloss, offer varying levels of sheen and durability. Consider the desired aesthetics as well as the practicality of the space when selecting a paint finish.
- Color: Consider the color scheme of the room and how the geometric wall paint will complement the overall design. Test paint samples on a small section of the wall to see how they look under different lighting conditions before making a final decision.
Safety Precautions:
Painting involves working with chemicals and tools, so safety should be a priority. Consider the following precautions:
- Ventilation: Ensure proper ventilation in the room by opening windows or using fans. This helps remove paint fumes from the vicinity, allowing for a healthier working environment.
- Protective Gear: Wear appropriate safety gear, such as goggles, gloves, and a face mask, to protect yourself from paint splatters, fumes, and potential irritants.
- Ladder Safety: If you need to use a ladder, ensure it is stable and properly positioned. Always follow ladder safety guidelines and have someone assist you if necessary.

Conclusion:
Painting a wall with a roller is an achievable task for beginners with the right tools and techniques. By adequately preparing the room, preparing the wall surface, and applying the paint methodically, anyone can achieve a professional-looking finish. Following the step-by-step process outlined in this guide, you can confidently embark on your painting project and transform your walls with a fresh and vibrant coat of paint. Embrace the opportunity to showcase your creativity and add a personal touch to your living space.
